
Mastering Your Lightroom Workflow: 20 Tips for a Seamless Editing Experience
In this digital age, Adobe Lightroom has become an essential tool for shooters who want to streamline and speed up their work.

Lightroom has changed the way we edit and organize our photos with its powerful features and easy-to-use layout. This complete guide will show you 20 ways to improve your Lightroom process.
These tips will help you edit photos better and get the most out of this powerful software.
1. Get your catalog in order so it works well.

Get started with Lightroom by getting your catalog in order. Organize your photos into folders that make sense. This will make it easier to find them and handle them. To further sort and group your pictures, use keywords, star ratings, and color labels.
In Adobe Lightroom, a catalog is a database that stores information about your photos and their metadata. It does not contain the actual image files but serves as a reference to where those files are located on your computer or external drives. The catalog is essential for organizing, managing, and editing your photos efficiently.
2. Make use of collections and collection sets
By using Lightroom's collections, you can put pictures together in different ways. You can order collections in a hierarchical way by making Collection Sets. This can be very helpful for certain topics, events, or projects.

Collections in Adobe Lightroom are a powerful organizational tool that allows you to group and manage your photos based on various criteria. Collections are virtual groupings, meaning they don't physically move or duplicate your photos but provide a way to organize and access them more efficiently. Here's a guide on working with collections in Lightroom:
In the Library module, go to the left panel and choose the "Collections" tab.
Click the '+' icon to create a new collection.
Give your collection a name and choose whether it's a standard collection, a collection set (a group of collections), or a smart collection (based on specific criteria).
3. Portable Smart Previews
Smart samples might be useful if you switch between devices a lot. You can easily make changes to these small, editable copies of your pictures even when you don't have access to the original files.

In Adobe Lightroom, Smart Previews are smaller, lossy DNG (Digital Negative) files that allow you to work with your photos even when the original files are not accessible, such as when the external hard drive or the original image files are not connected to your computer. Smart Previews are especially useful for mobile or on-the-go editing. Here's how you can work with Smart Previews in a more portable way:
In the Library module, ensure that your catalog is synchronized with the folder containing your photos.
Select the photos for which you want to create Smart Previews.
Go to the Library menu and choose "Previews" > "Build Smart Previews."
Lightroom will generate Smart Previews for the selected photos.
4. Learning how to use and understand the library module

The Library module in Adobe Lightroom is where you manage and organize your photos. It provides tools and features for importing, viewing, sorting, keywording, and rating your images. Here's an overview of the key features and functions within the Library module:
5. Develop Module: Editing Without Losing Data

One of the best things about Lightroom is that you can change photos without damaging them. Learn how to use the Develop module's tools. In this module, you can change things like color, contrast, brightness, and more without changing the original file.
6. Make presets and use them

Lightroom Presets are pre-defined settings or configurations that you can apply to your photos in Adobe Lightroom to achieve a specific look or style. These presets contain a combination of adjustments to settings such as exposure, contrast, saturation, white balance, and more.
They serve as a way to apply a consistent and predefined set of edits to your images, saving time and providing a starting point for further customization.
Using Lightroom presets can significantly speed up your editing workflow, especially when you have a specific look or style in mind. They provide a starting point for your edits, allowing you to achieve a particular aesthetic without starting from scratch with every photo.
7. Try new things with virtual copies
Before you make any changes, make virtual copies to try out different changes. This lets you look at differences between versions of the picture without changing the original.

In Adobe Lightroom, virtual copies are duplicates of your original photo within the Lightroom catalog. Unlike physical copies that take up additional disk space, virtual copies are lightweight and only store the different development settings applied to them. Creating virtual copies is a useful feature when you want to experiment with different edits or maintain multiple versions of the same photo. Here's how to create virtual copies in Lightroom:
Creating Virtual Copies:
Open the Library Module:
Navigate to the Library module by clicking on the "Library" module at the top right of the Lightroom interface.
Select the Photo:
In the Library Grid, select the photo for which you want to create virtual copies.
Create Virtual Copy:
Right-click on the selected photo or use the keyboard shortcut:
Windows:
Ctrl + ' (apostrophe)Mac:
Cmd + ' (apostrophe)
Alternatively, you can go to "Photo" in the top menu and choose "Create Virtual Copy."
View Virtual Copies:
You'll see the original and the virtual copy displayed in the Library Grid with a small folded corner icon indicating it's a virtual copy.
8. Getting good at using the histogram
This graph will help you a lot in the Develop section. Learn how to read it to make sure your photos have the right brightness and tone balance.

In photography, a histogram is a graphical representation of the distribution of tones in an image. It provides a visual representation of the exposure and tonal range of a photograph, helping photographers analyze and adjust their camera settings to achieve the desired results. Understanding the histogram is crucial for achieving proper exposure and capturing a well-balanced image.
Understanding and interpreting the histogram is essential for photographers to achieve proper exposure and create well-balanced images. Regularly checking the histogram while shooting and during post-processing helps in making informed decisions to enhance the overall quality of your photographs.
9. Radial and graduated filters for making small changes

To make accurate changes in one area, learn how to use graduated and radial filters. These tools let you change in a targeted way, whether you want to improve the sky or draw attention to a subject.
In Adobe Lightroom, Radial and Graduated Filters are powerful tools in the Develop module that allow you to apply selective adjustments to specific areas of your photos. These filters help enhance specific portions of an image, create artistic effects, or correct exposure imbalances. Here's an overview of how to use Radial and Graduated Filters in Lightroom:
Graduated Filter:
Access the Graduated Filter:
In the Develop module, find the toolbar on the right side.
Click on the "Graduated Filter" icon or press the keyboard shortcut
Mto activate the Graduated Filter tool.
Draw the Graduated Filter:
Click and drag on your image to draw a line representing the gradient.
The adjustment effect gradually decreases from the starting point to the endpoint of the drawn line.
Adjustment Controls:
Once you've drawn the filter, a panel with adjustment controls will appear.
Modify settings such as Exposure, Contrast, Saturation, Sharpness, etc., to apply selective adjustments to the filtered area.
Rotate and Resize:
Adjust the angle and size of the gradient by dragging the handles or using the Angle and Size sliders in the adjustment panel.
Multiple Graduated Filters:
You can apply multiple graduated filters to different areas of your photo, each with its own set of adjustments.
Radial Filter:
Access the Radial Filter:
In the Develop module, click on the "Radial Filter" icon in the toolbar or press the keyboard shortcut
Shift + Mto activate the Radial Filter tool.
Draw the Radial Filter:
Click and drag to draw an elliptical shape on your image.
The adjustment effect is applied inside or outside the drawn ellipse, depending on your preference.
Adjustment Controls:
Like the Graduated Filter, a panel with adjustment controls will appear after drawing the Radial Filter.
Modify settings such as Exposure, Contrast, Saturation, Sharpness, etc., to apply adjustments to the filtered area.
Rotate and Resize:
Adjust the orientation, size, and position of the radial filter by dragging the handles or using the sliders in the adjustment panel.
Invert Mask:
You can invert the mask, causing adjustments to be applied outside the drawn ellipse rather than inside, and vice versa.
Multiple Radial Filters:
Apply multiple radial filters to different areas of your photo, each with its own set of adjustments.
These filters in Lightroom provide a non-destructive way to apply targeted adjustments to specific areas of your photos, giving you more control over the final look and feel of your images.
10. Use the Power of Brushes

In Adobe Lightroom, the Brush tool is a powerful feature within the Develop module that allows photographers to apply selective adjustments to specific areas of an image. This tool is particularly useful when you want to fine-tune and control adjustments on a localized level. Here's an overview of the power and capabilities of brushes in Lightroom:
Dodging and Burning: Brighten or darken specific areas of an image to enhance contrast and draw attention to certain elements.
Selective Saturation and Desaturation: Add or reduce saturation to specific colors in your photo.
Sharpening and Noise Reduction: Apply localized sharpening or noise reduction to specific areas of an image.
Skin Retouching: Soften skin, remove blemishes, or enhance specific facial features.
Changing Color Tones: Adjust the color temperature or tint in specific areas to create a more harmonious color balance.
Enhancing Details: Bring out details in specific parts of an image, such as textures in landscapes or architectural elements.
Selective Vignetting: Darken or lighten specific areas of the frame to control the viewer's focus.
Custom Creative Effects: Apply creative effects like adding a subtle glow, adding a color cast, or creating a vintage look to specific areas.
11. Soft Proofing to Get the Best Print Results
Soft proofing in Lightroom is a valuable tool for photographers who want to ensure that their prints accurately represent the colors and tones of their digital images. It allows you to make informed adjustments to optimize the appearance of your photos when printed on a specific printer and paper combination.

Calibrate Your Monitor: Before you start soft proofing, it's essential to calibrate your monitor. This ensures that what you see on your screen accurately represents the colors that will be printed. Use a hardware calibration tool for the most accurate results.
Open the Image in Lightroom: Import the image you want to print into your Lightroom catalog.
Go to Develop Module: Switch to the Develop module by clicking on the "Develop" tab in the top-right corner.
Activate Soft Proofing: In the Develop module, locate the "Soft Proofing" panel on the right-hand side. Click on the "Soft Proofing" checkbox to activate it.
Choose the Printer Profile: In the "Soft Proofing" panel, select the printer profile that corresponds to the printer and paper you plan to use. If you don't have the appropriate profile installed, you may need to download it from the printer manufacturer's website.
Adjust the Rendering Intent: Choose the rendering intent that best suits your needs. The two main options are "Perceptual" and "Relative." Perceptual often provides smoother color transitions, while Relative may maintain more color saturation. It's recommended to try both and see which one works better for your image.
Check the Soft Proofing View: In the toolbar below the image, there's a "Before/After" view. Switch to the "Soft Proof" view to see a split screen with the soft proof on one side and the original on the other. This allows you to see the changes applied by the soft proofing.
13. Make use of the HSL/Color Panel

The HSL/Color panel in Adobe Lightroom is a powerful tool in the Develop module that allows you to adjust the Hue, Saturation, and Luminance of individual color channels within your photos. This panel provides precise control over the colors in your image, allowing you to fine-tune and enhance the overall look and feel. Here's an overview of the HSL/Color panel and how to use its features:
HSL/Color Panel Overview:
Accessing the Panel:
Open your image in the Develop module in Lightroom.
Find the HSL/Color panel on the right side of the Develop module.
HSL (Hue, Saturation, Luminance):
The panel is divided into three sections: Hue, Saturation, and Luminance.
Each section contains sliders for specific color channels: Reds, Oranges, Yellows, Greens, Aquas, Blues, Purples, and Magentas.
Using the HSL Section:
Hue: Adjusts the actual color tone of a specific color channel. For example, you can shift the red tones more towards orange or magenta.
Saturation: Controls the intensity or vividness of a color. Increasing saturation makes colors more vibrant, while decreasing it desaturates the colors.
Luminance: Adjusts the brightness or darkness of a color. Increasing luminance makes the color brighter, while decreasing it darkens the color.
14. How to Use the Tone Curve

The Tone Curve is a powerful tool in Adobe Lightroom that allows photographers to make precise adjustments to the tonal values (brightness and contrast) of an image. It provides a graphical representation of the distribution of tones in your photo and allows you to create a custom curve for fine-tuning the overall look and feel of the image. Here's an overview of the Tone Curve in Lightroom:
Accessing the Tone Curve:
Open the Develop Module: Navigate to the Develop module in Lightroom.
Find the Tone Curve Panel: The Tone Curve panel is located on the right side of the Develop module, below the Basic panel.
15. Keep an eye on calibration to make sure edits are consistent

Calibrating a computer display for photography is crucial because it ensures that the colors and tones you see on your monitor accurately represent the colors and tones in your photographs. Without calibration, there can be significant discrepancies between what you see on your screen and how the images will look when printed or viewed on other devices.
In summary, calibrating your computer display is a fundamental step for photographers who want to ensure accurate and consistent color representation in their images. It helps you make informed editing decisions, produces reliable prints, and ensures that your photos look as intended across various viewing platforms.
16. Turn on auto-sync and copy/paste

Auto Sync is a feature in Adobe Lightroom that allows you to automatically apply the same adjustments to multiple selected photos simultaneously. It can be a time-saving tool when you need to make consistent edits across a series of images. Here's how to use Auto Sync in Lightroom:
Enabling Auto Sync:
Go to the Develop Module:
Navigate to the Develop module in Lightroom.
Select Multiple Photos:
In the Filmstrip or Grid view at the bottom of the screen, select the photos you want to edit. You can use Ctrl (Windows) or Cmd (Mac) to select multiple non-contiguous photos or Shift for a range of photos.
Enable Auto Sync:
In the Develop module, look for the "Sync" button.
To the right of the "Sync" button, you'll find a switch. Toggle it to enable Auto Sync. Once Auto Sync is enabled, any adjustments you make will be applied to all selected photos.
Auto Sync in Lightroom is particularly useful when you have a series of photos shot under similar conditions and you want to apply consistent edits quickly. It streamlines the editing process and ensures a uniform look across multiple images.
17. Use plugins from other websites
Adobe Lightroom supports plugins that extend its functionality and allow users to enhance their workflow by integrating additional features or services. These plugins can provide various capabilities, from exporting photos to social media platforms to adding advanced editing tools. Here are some popular types of plugins for Lightroom:
Export Plugins: These plugins allow you to export your photos directly to various online platforms, file formats, or services. Examples include plugins for exporting to Flickr, SmugMug, or specialized file formats.
Publish Services Plugins: Publish Services plugins enable you to publish your photos directly to online platforms, such as social media or portfolio websites. This includes plugins for Instagram, Facebook, and other online galleries.
Editing and Effects Plugins: Some plugins add new editing tools or effects to Lightroom, extending its capabilities. Examples include plugins for adding film simulations, special effects, or advanced retouching tools.
Metadata and Keywording Plugins: These plugins help streamline the metadata and keywording processes. They may offer advanced keywording tools, import/export features, or integration with external databases.
Workflow and Productivity Plugins: Workflow plugins enhance productivity by automating certain tasks or providing additional organizational features. Examples include plugins for file renaming, metadata management, and batch processing.
Printing Plugins: Printing plugins offer additional options and control when it comes to printing photos directly from Lightroom. They may provide features like custom layout options or integration with specialized printing services.
Map and Location Plugins: These plugins enhance Lightroom's mapping capabilities, allowing for more advanced geotagging and location-based organization of photos.
External Editors Plugins: External Editors plugins enable you to seamlessly integrate Lightroom with external image-editing applications. This is useful if you use other software for specific editing tasks.
Camera and Lens Profiles: Some plugins provide additional camera and lens profiles, helping to correct lens distortions and optimize image quality based on specific camera models.
AI and Machine Learning Plugins: Emerging technologies have led to plugins that incorporate artificial intelligence and machine learning into Lightroom, offering advanced image recognition, enhancement, or content-aware features.
To find and install plugins for Lightroom, you can visit the Adobe Exchange website, where many developers share their plugins. Additionally, some third-party websites offer a variety of Lightroom plugins for different purposes.
18. Back up your catalog often
Backing up your Lightroom catalog regularly is a crucial practice to ensure the safety of your photo library and metadata. The catalog contains information about your photo edits, organization, metadata, and more. Here's why and how to back up your Lightroom catalog:
Why Back Up Your Lightroom Catalog?
Protect Against Data Loss: A catastrophic event, such as a hardware failure or accidental deletion, could result in the loss of your entire photo catalog. Regular backups protect against such incidents.
Preserve Edits and Metadata: Your catalog stores information about your photo edits, metadata, and organizational structure. Regular backups ensure that these details are preserved.
Facilitate Recovery: If your catalog becomes corrupted or encounters issues, having a recent backup allows you to restore your catalog to a previous state, minimizing potential data loss.
How to Back Up Your Lightroom Catalog:
Navigate to the Catalog Settings: In Lightroom, go to "Edit" (Windows) or "Lightroom" (Mac), then choose "Catalog Settings."
Go to the General Tab: In the Catalog Settings dialog, go to the "General" tab.
Check the Backup Frequency: Under the "Backup" section, check the frequency of the automatic backup. You can set Lightroom to back up the catalog once a week, once a month, or each time Lightroom exits.
Choose the Backup Location: Decide where you want to save your backups. It's recommended to choose a location different from your main catalog location, such as an external hard drive or cloud storage.
Manually Back Up Your Catalog: While automatic backups are helpful, you can also manually back up your catalog at any time. To do this, go to "File" > "Export as Catalog" and choose a location to save the backup.
Verify Backups: Periodically check and verify that your backups are being created successfully. You can open the backup folder and confirm that recent backups are present.

19. Get new features as they come out
Updating Adobe Lightroom involves getting the latest version of the Lightroom software, which may include new features, bug fixes, and performance improvements. Here are the general steps to update Lightroom:
Open Adobe Creative Cloud: Launch the Adobe Creative Cloud application on your computer.
Go to the Apps Section: In the Creative Cloud interface, navigate to the "Apps" section.
Find Lightroom: Locate Adobe Lightroom in the list of installed applications.
Check for Updates: If an update is available, you'll see an "Update" button next to Lightroom. Click on it to start the update process.
Wait for the Update to Complete: The Creative Cloud application will download and install the latest version of Lightroom. Depending on your internet connection, this process may take some time.
Restart Lightroom: After the update is complete, restart Lightroom to apply the changes.
20. Find out how to use keyboard shortcuts to edit quickly
Lastly, learn important computer shortcuts to speed up your work. Learning how to use shortcuts can greatly increase your productivity, whether you're switching between programs or making quick changes.
In conclusion
Learning how to use Adobe Lightroom is a process that blends technical skills with artistic expression. Adding these 20 tips to your writing process will not only make it more fun, but it will also help you get the most out of this powerful tool.
These tips cover everything from basic planning to advanced editing techniques. They are useful for both new and experienced photographers and will help you have a smooth and enjoyable experience with Lightroom.


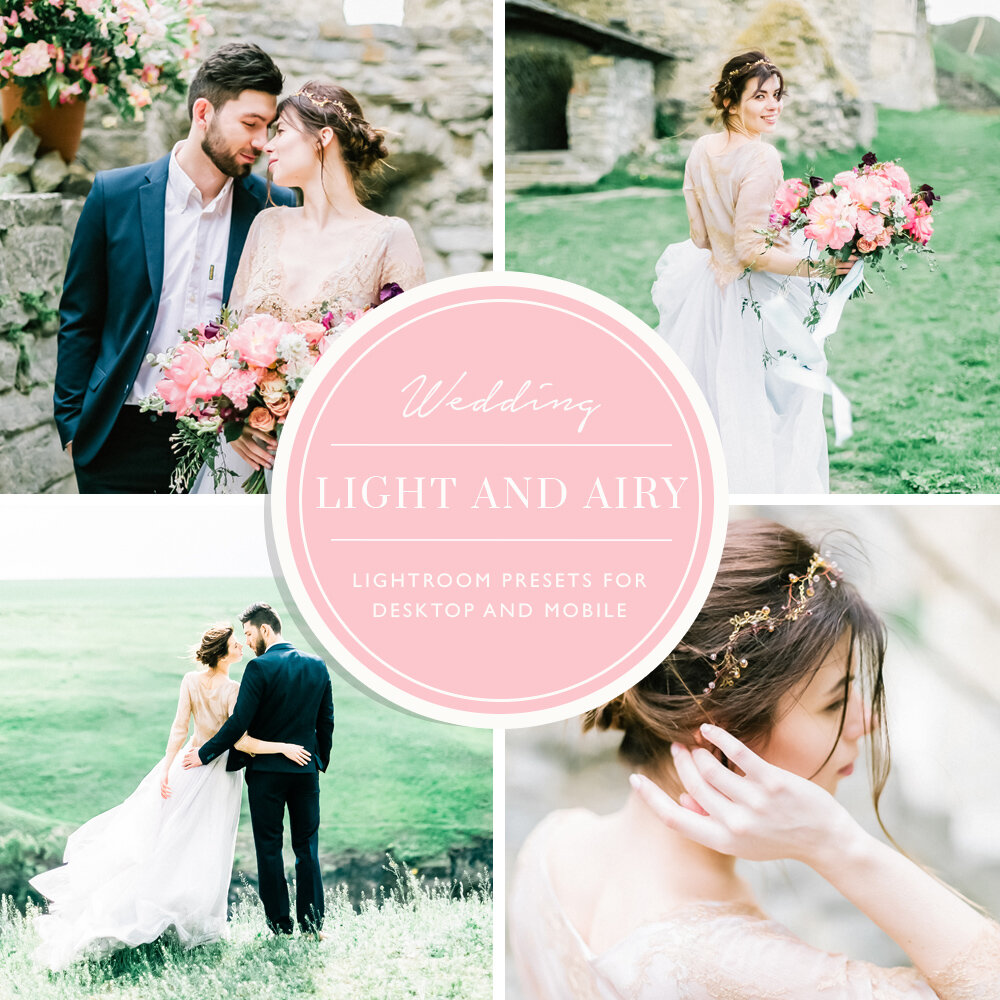
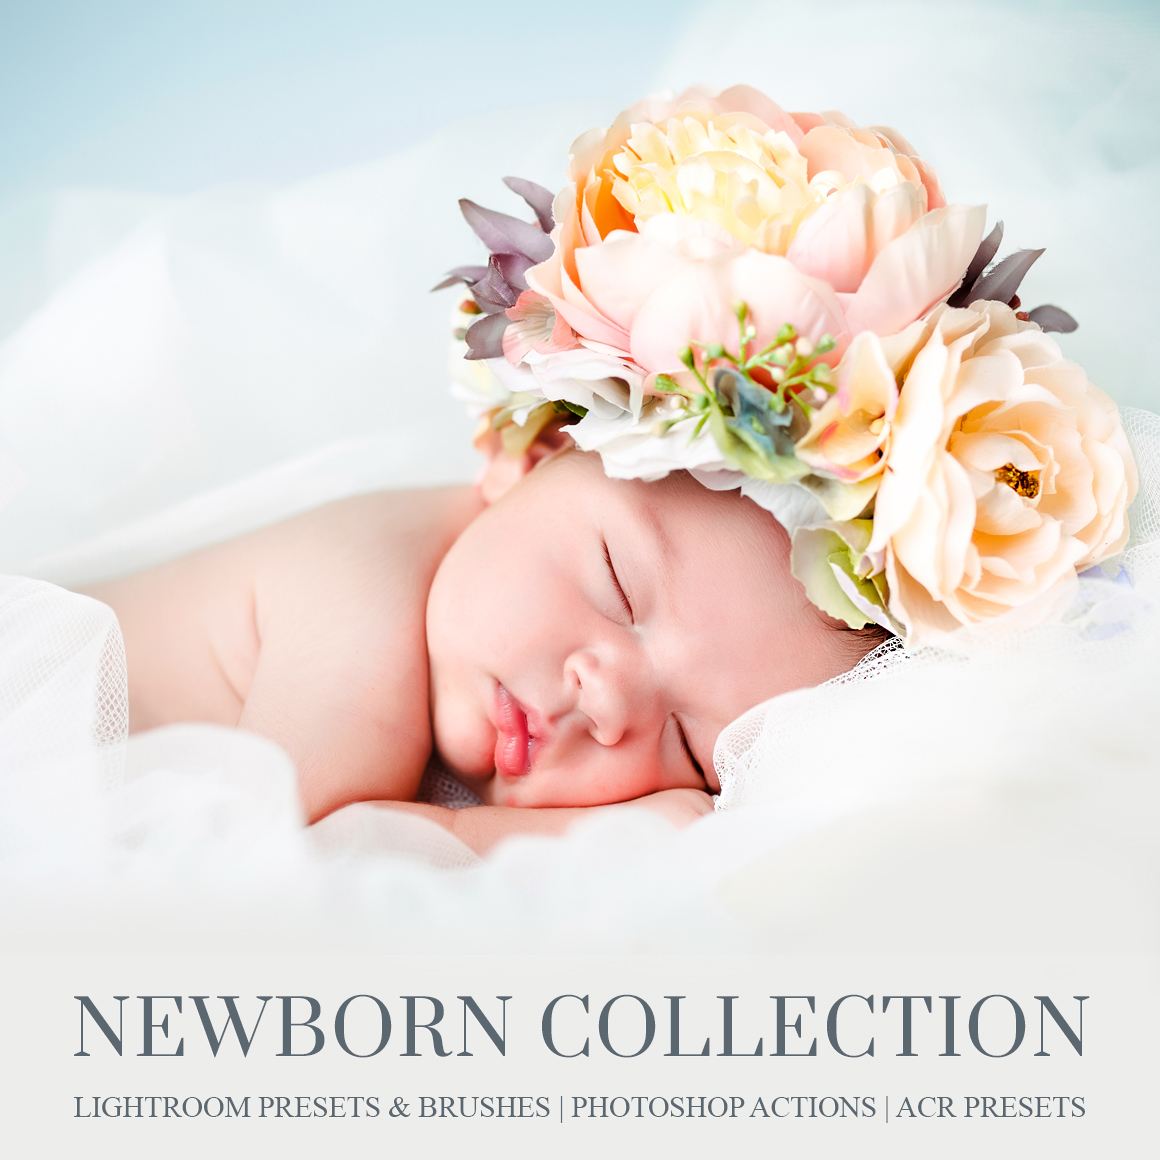
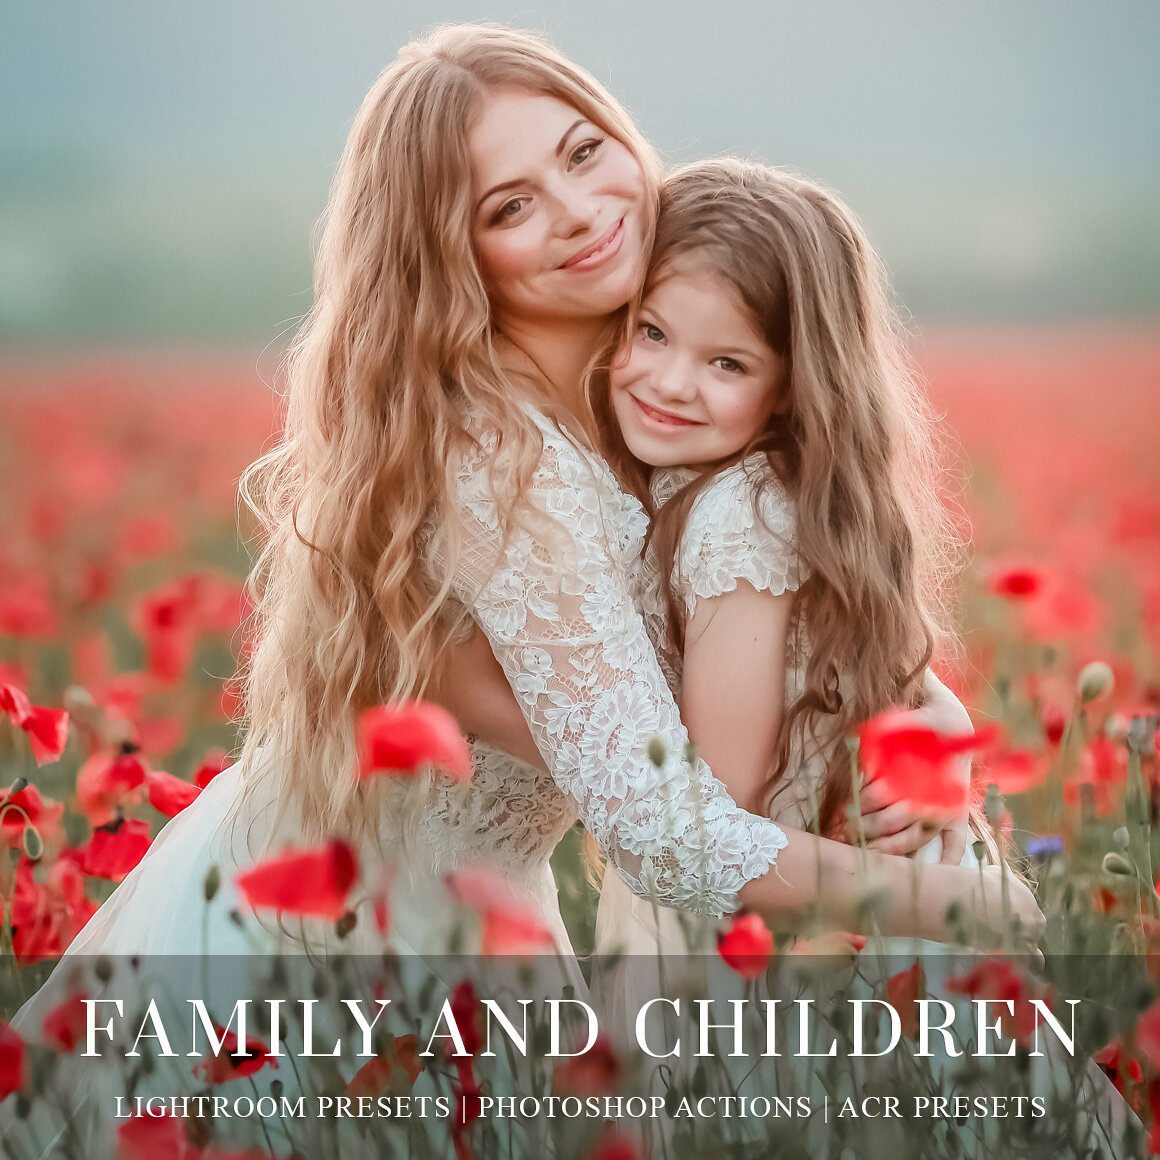


Get Free Presets for Lightroom created by top photographers to update your presets collection, save down on editing time, and open up new artistic horizons.