how to install presets in lightroom mobile
(.dng Files & sync)
METHOD 1
Note 1: If you have a paid Creative Cloud membership, you can use Method 2!
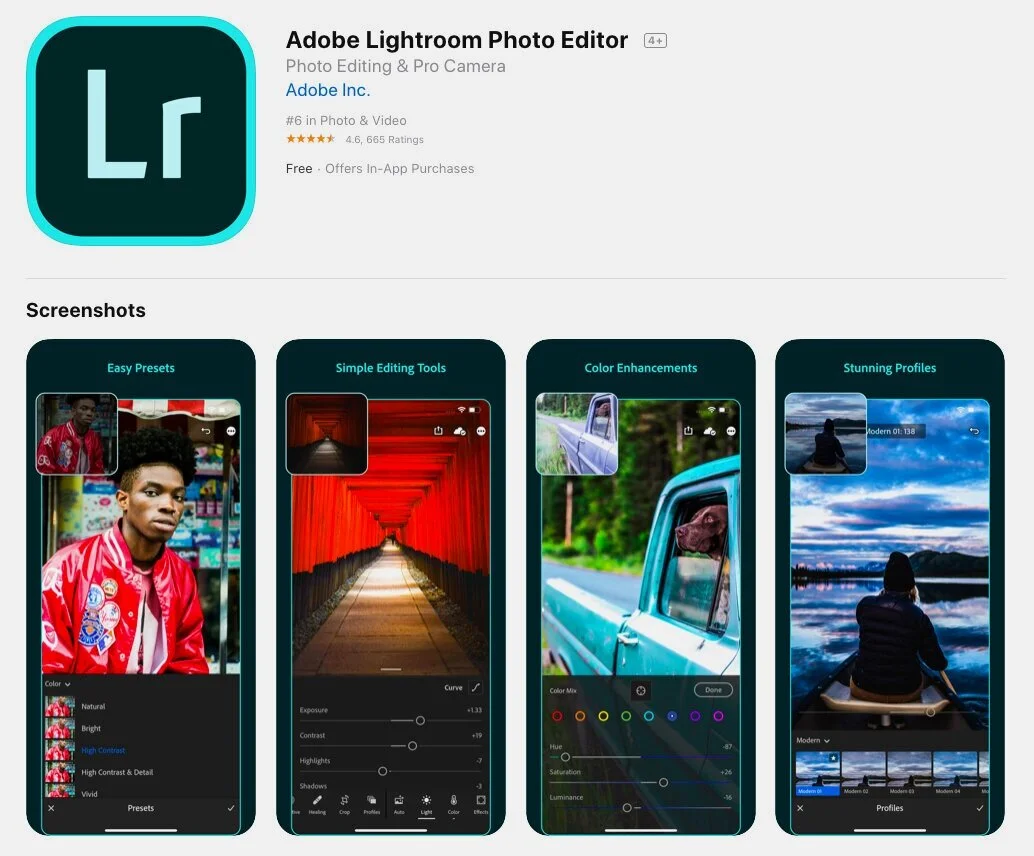
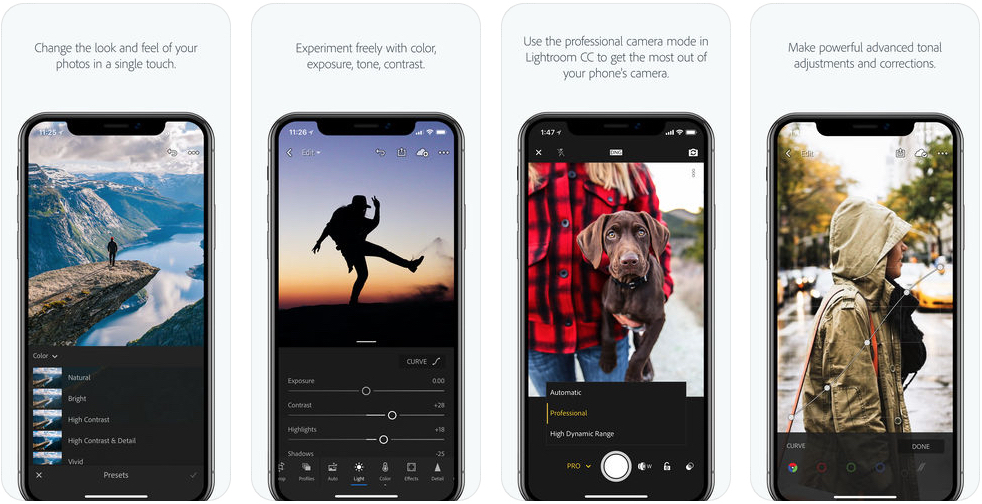
We’re so excited to share that some of our best Lightroom presets are now available for Lightroom CC Mobile, and the best part is that: you won’t need paid Adobe Subscription or any Lightroom for desktop! The only thing you need is a FREE Lightroom CC Mobile Application, which is available for iOS and Android devices. Access, edit, organize, and share photos on your iPad, iPhone, or Android device and edit your photos using our mobile presets on the go.
As promised, below are detailed instructions on how to import Presets to Lightroom Mobile. It should only take you a few minutes to get started on your .dng files in Lightroom Mobile. We hope you will find them useful. So, how to add .dng files by BeArt-Presets to Lightroom Mobile? Below we provide text with preview and video instructions for you, on how to install and use .dng files you've downloaded:
Note 2: Before we start, don't forget to unzip a downloaded zip file. We have provided instructions how to open a zip file on your mobile phone.
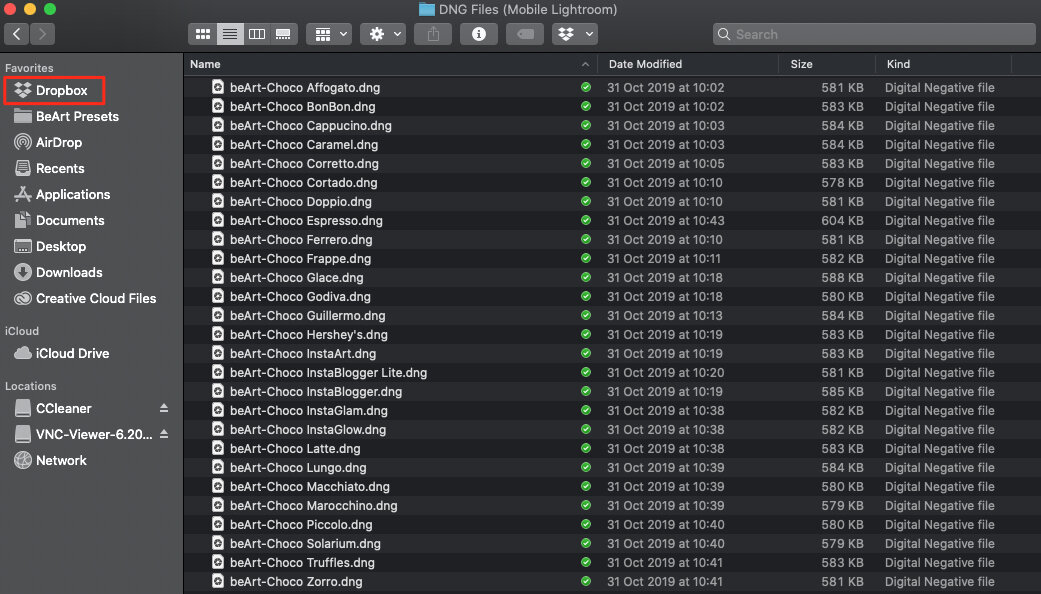
1. Upload Unzipped Folder with .dng files to your Cloud storage (for example Dropbox)
2. Open Adobe Photoshop Lightroom for Mobile

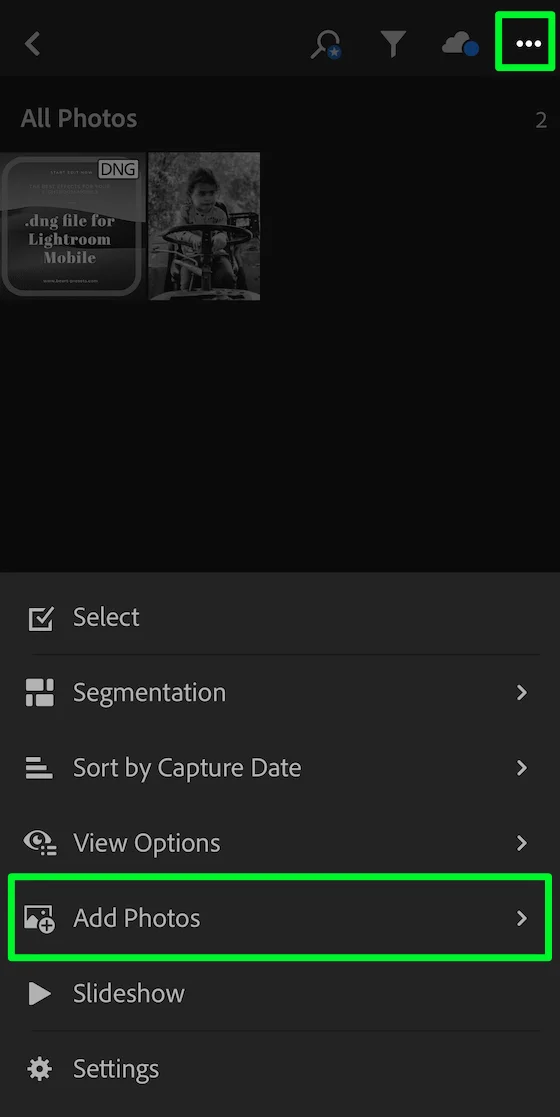
3. Click on the (...) Settings Button and choose Add Photos option
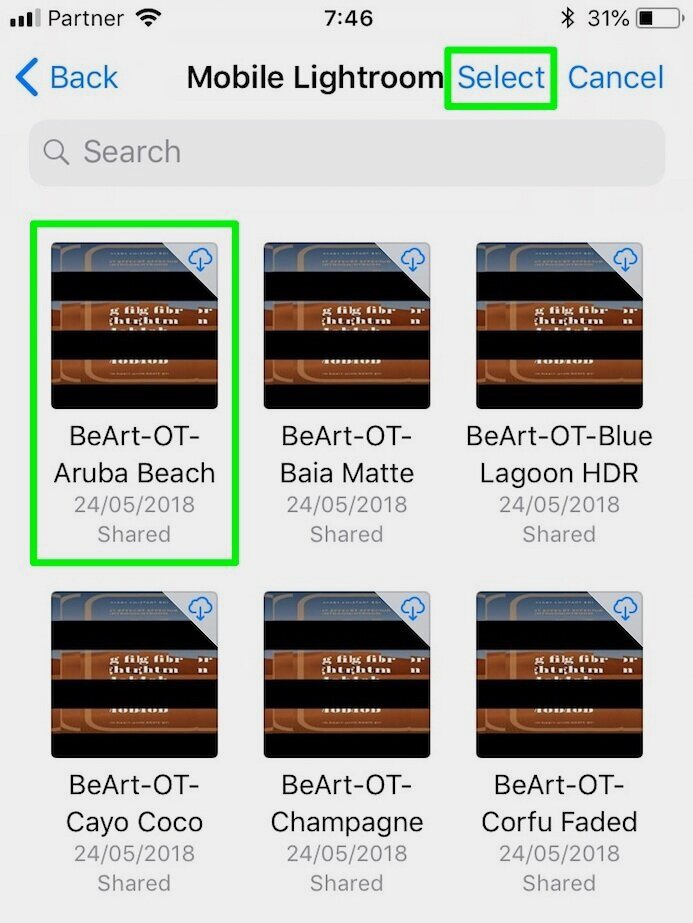
4. Choose the location on your phone (for example Dropbox) where you downloaded and unzipped .dng files

5. Double click on .dng file you would like to work with…
6. .dng file will be installed in Lightroom Mobile

7. Choose .dng file you have installed before, then click on the (...) Settings Button and click on the Copy Settings

8. Click on Select All, then unselect Crop setting and click on OK button

9. Choose a picture you would like to edit in Mobile Lightroom

10. Click on the (...) Settings Button and then click on the Past Settings


BEFORE

AFTER
VIDEO TUTORIAL
METHOD 2
Note: For using this method, you must have a paid Creative Cloud membership!
Did you know that you can now sync your Lightroom CC Lightroom Presets with your Lightroom Mobile? It's easy, and you can do it using the Lightroom CC desktop app. But does that mean for you, exactly? It means you can use the same presets from the desktop app in your mobile app.
If you aren't already taking advantage of this nifty opportunity, here's how in four easy steps:
1. Open Lightroom CC Desktop App:

Launch the Lightroom CC app so that it can automatically sync your Lightroom Presets and Profiles from Lightroom Classic.
Make certain that your Lightroom Mobile app is synced to your Creative Cloud account. You will then be able to see your Lightroom Classic Lightroom Presets in the app.
If it doesn't sync, or you want to add new presets, follow these next steps.
2. Import Profiles and Presets:

Click: File > Import Profiles and Presets
You will need to click on File > Import Profiles and Presets to open your folders to search for the Settings folder.
MAC users will need to use the shortcut Command + Shift + G to open the ‘Go to folder dialog, then paste this string in to get to the Settings folder: ~/Library/Application Support/Adobe/CameraRaw/Settings
Windows users can paste the following string to get there: C:\Users\user name\AppData\Roaming\Adobe\CameraRaw\Settings
3. Open Lightroom Mobile App:
At this point, some users might find difficulty with the sync. Make certain that you are logged into your Creative Cloud account. If you have multiple accounts, make certain you are logged into the same CC account as your Lightroom Classic and Lightroom CC desktop apps.
Once signed in, you navigate to an image. Then click the ‘Presets’ icon to find your synced presets. Your presets will appear below the section that features Curves, Grain, Sharpening, and Vignetting.
4. Managing Mobile Presets:

Up to this point, steps 1 to 3 were all you needed to be able to use your mobile Lightroom Presets. You can also import preset files directly into the Lightroom CC desktop app and sync them to Lightroom Mobile without ever using Lightroom Classic. But, you'd still need the Creative Cloud and the Lightroom CC desktop/mobile apps.
To keep items organized, you'll need to manage your presets by clicking the three dots icon and clicking: Manage Presets.
Next, you’ll see blue checkboxes next to all preset folders allowing you to turn off and hide any folders. If you'd like to delete a folder, right-click on it, and it will be deleted from both the Lightroom CC desktop and Lightroom mobile apps.
Congratulations! Now you know how to sync Lightroom Presets from Lightroom CC desktop to Lightroom Mobile and can start using them!
Please contact us if you have any questions or need support ~ we're always happy to assist!