
How Lightroom presets improve wedding photo editing workflow
Lightroom presets cut wedding photo editing from days to hours by automating consistency across hundreds of images. Here's how to build a preset-based workflow that scales.
May 26, 2026 · 9 min read
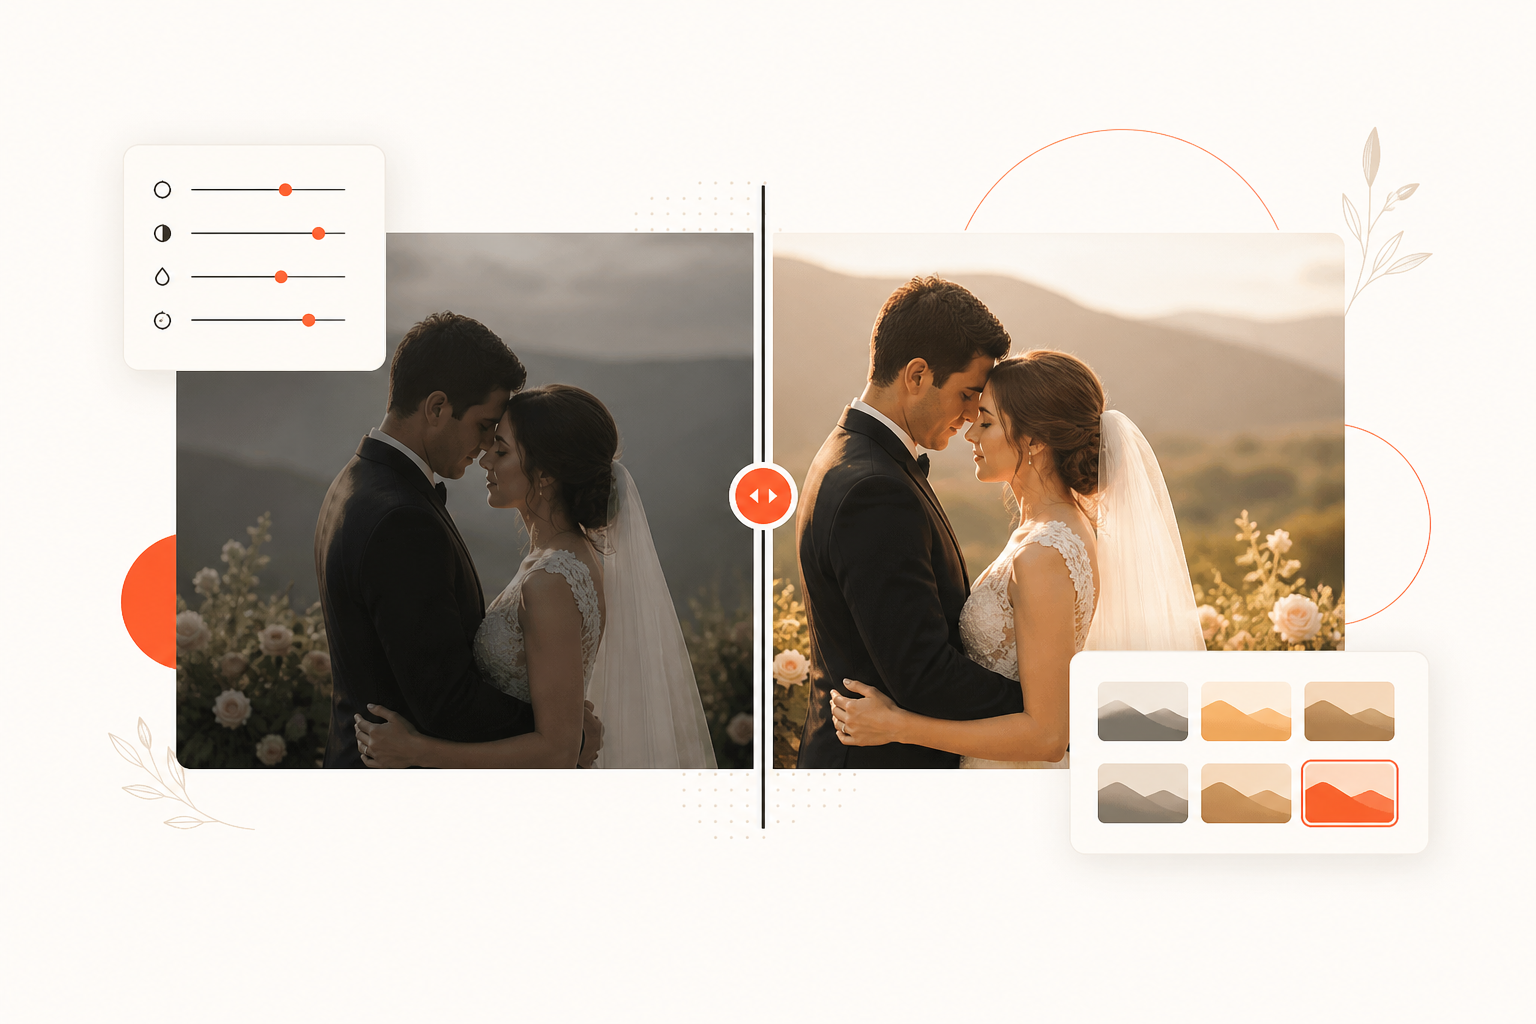
A typical wedding produces somewhere between 400 and 800 deliverable images. The ceremony alone can run to 200 shots. Then cocktail hour, portraits, reception, dancing. Every image needs consistent color, consistent exposure, consistent feel - because a gallery that looks different scene to scene reads as amateur work regardless of how good the individual shots are.
That's the editing problem. And it's the problem Lightroom presets were built to solve.
This post covers how presets actually fit into a professional wedding editing workflow: what they do, how to structure your editing sessions around them, where photographers run into trouble, and how to build a consistent look that scales across an entire wedding season.
Why wedding photography puts editing under pressure
Most photography genres give you time. Product photographers shoot tethered and preview as they go. Portrait sessions are short with tight culls. Street photography gets processed in batches with no delivery deadline.
Wedding photography does none of that. You're shooting 8-12 hours, often in changing light, across a dozen different locations and lighting situations - church interior, outdoor ceremony, golden-hour portraits, dark reception hall. The client expects a polished gallery of 500+ images in three to four weeks, and every image needs to look like it belongs to the same set.
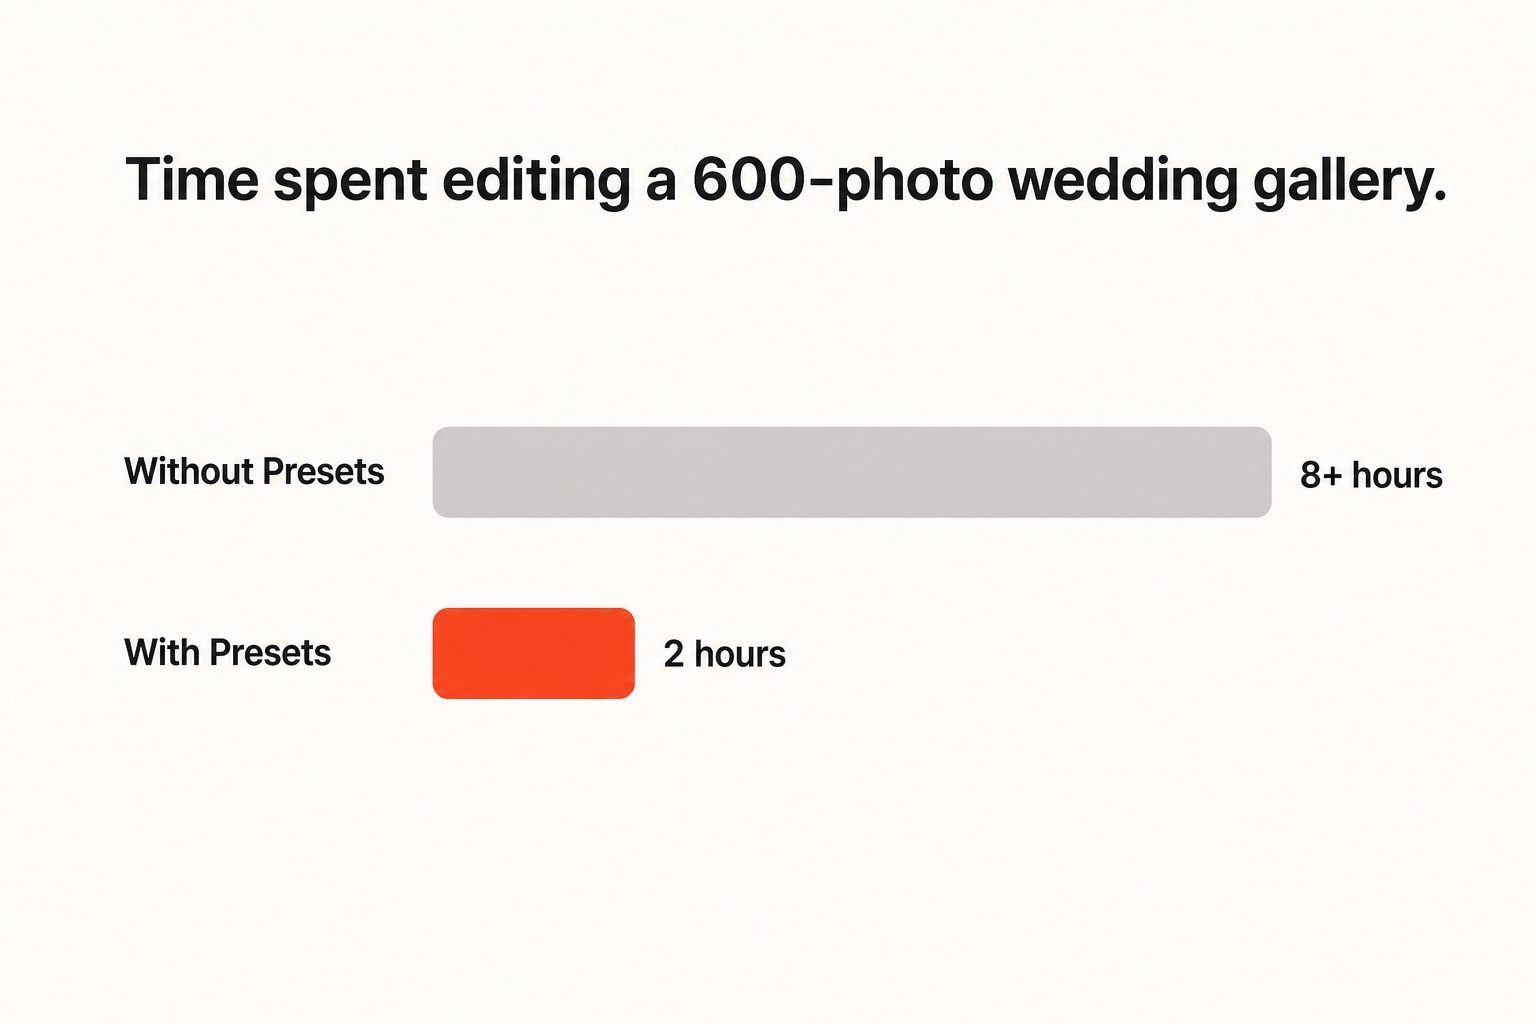
Without a system, you're manually adjusting every frame. One hour of ceremony footage alone might be 300 shots. Edit each image by hand at even two minutes per photo and you've spent 10 hours on one segment of one wedding. That's before you've touched portraits or reception.
Presets change the math.
What a Lightroom preset actually does
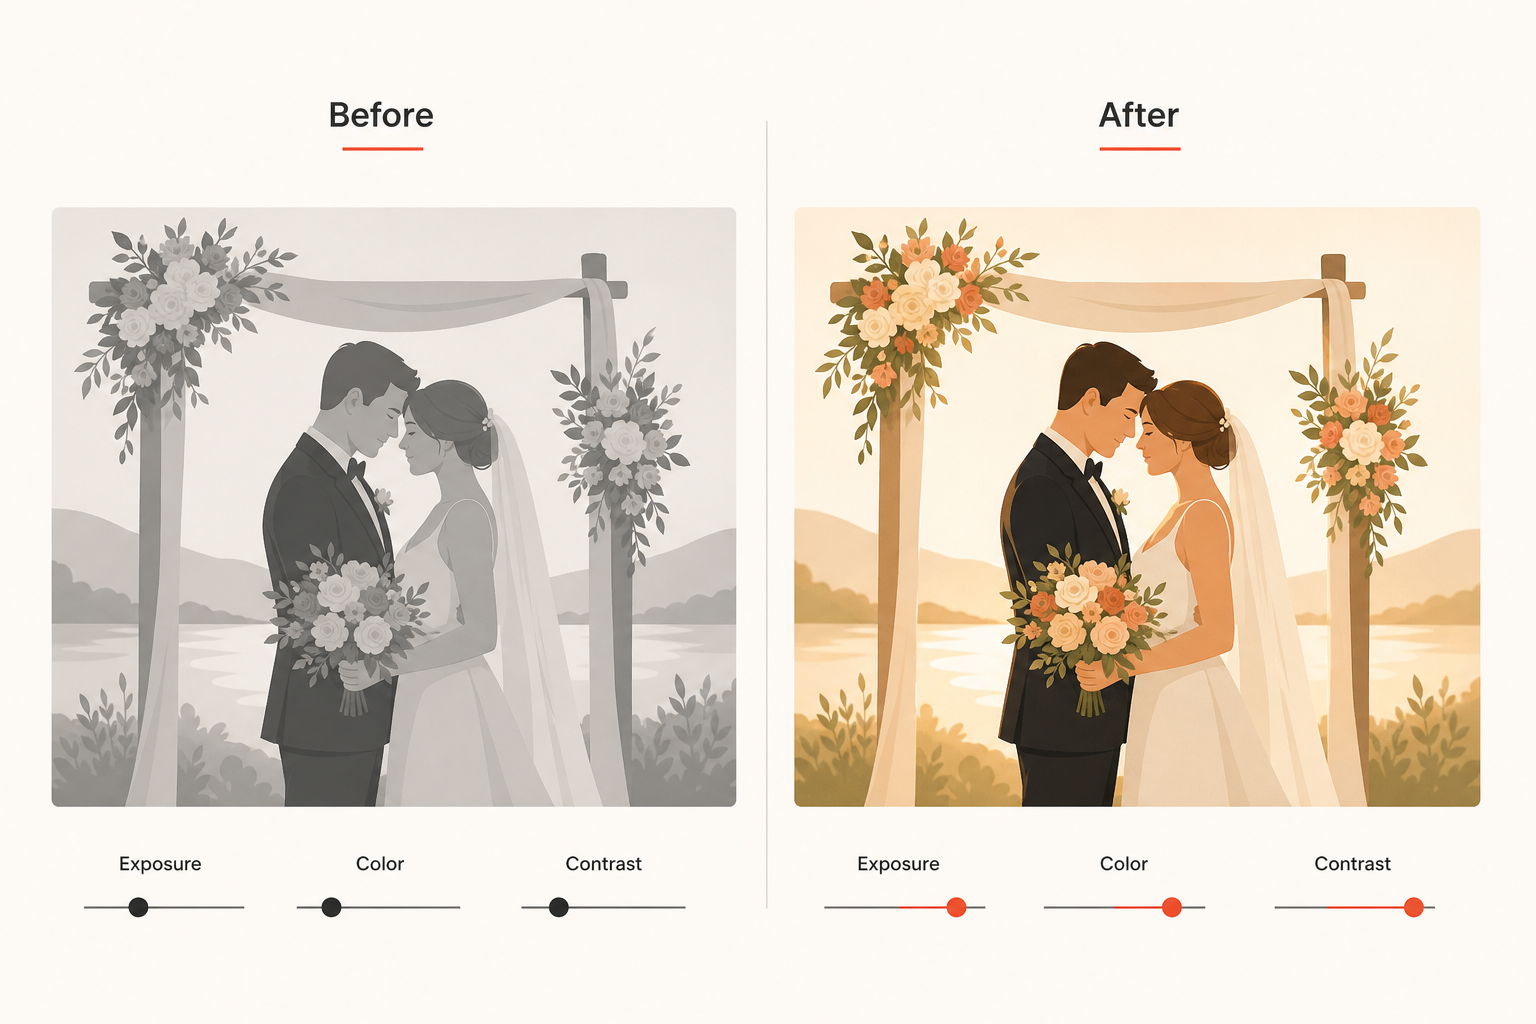
A Lightroom preset is a saved collection of adjustments stored as a single file. When you apply one, Lightroom writes those adjustments to your image all at once: exposure, whites, blacks, shadows, highlights, color grading, tone curve, sharpness, noise reduction, hue and saturation shifts. Every adjustment you'd normally dial in one slider at a time, applied in a single click.
The adjustment is non-destructive. Your original RAW file stays untouched. You can remove the preset at any time, or stack it with other adjustments, or override individual settings afterward. The preset is a starting point, not a final state.
Professional wedding preset collections divide their presets into two functional categories:
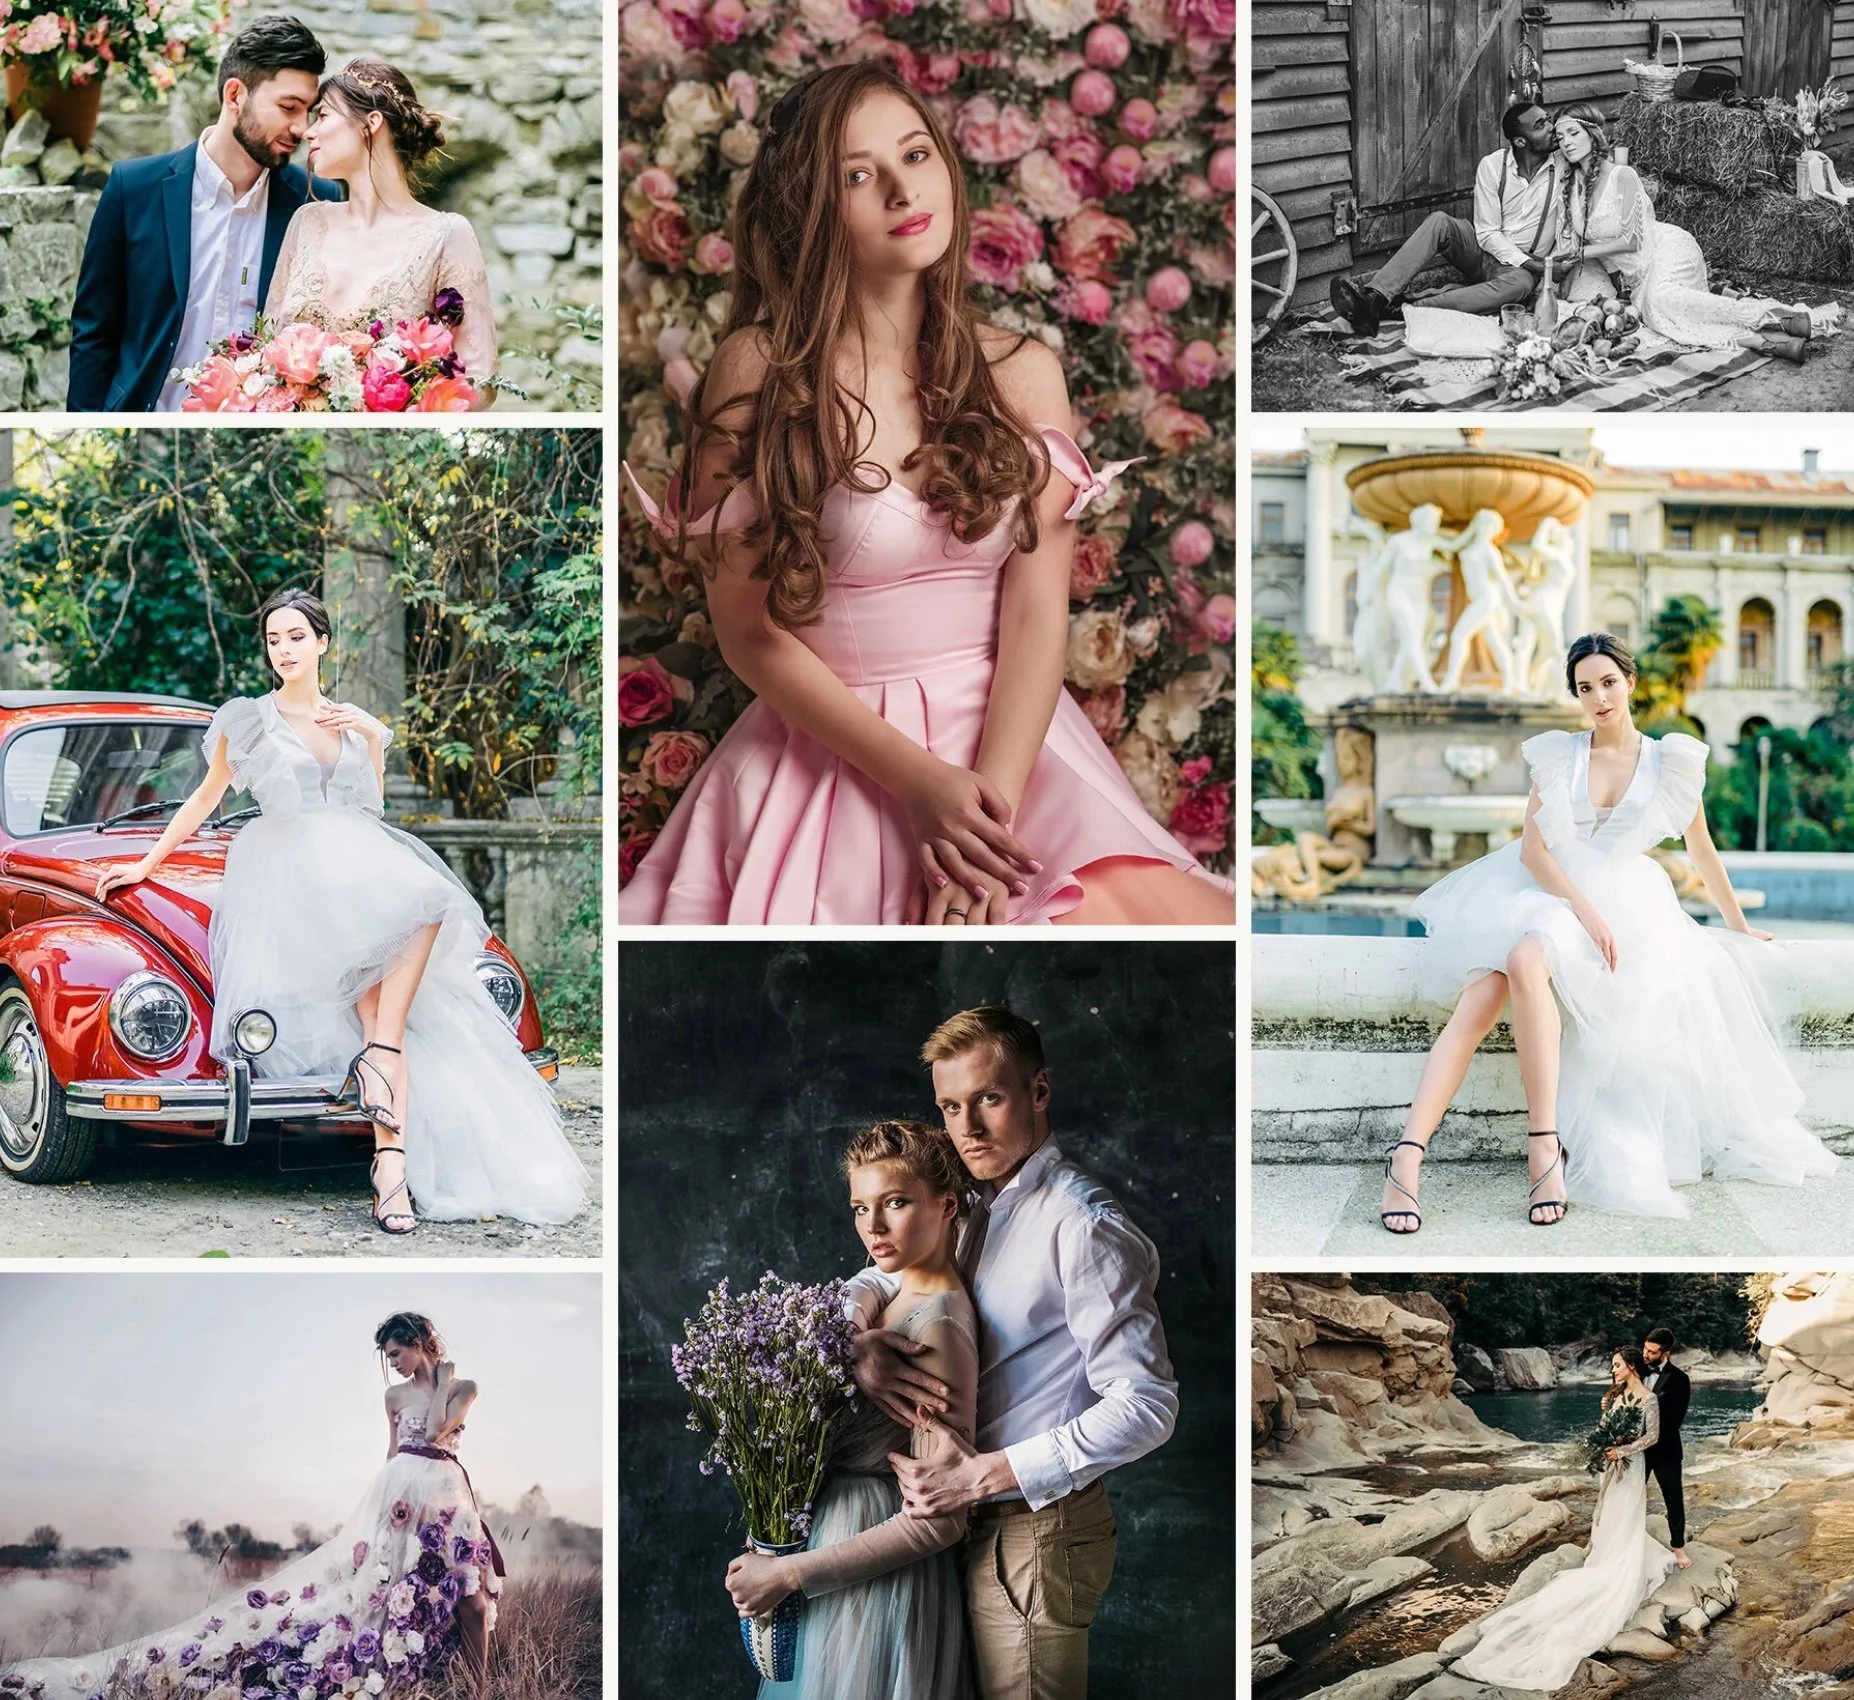
Effects presets handle creative style - the warm golden look, the moody desaturated tones, the bright airy feel. These are the presets you use to establish a mood that fits both the wedding's atmosphere and your own style.
Perfections presets handle technical corrections - reducing noise in high-ISO reception shots, recovering shadow detail in backlit outdoor portraits, correcting color casts from mixed lighting, sharpening. These don't impose a look; they fix a problem.
Using both in combination means you're not making the same technical decisions on every image. You handle the style question once with an Effects preset, then use Perfections presets as modifiers when individual shots need it.
The wedding editing workflow, step by step
Here's the workflow pattern that wedding photographers on r/WeddingPhotography describe most consistently:
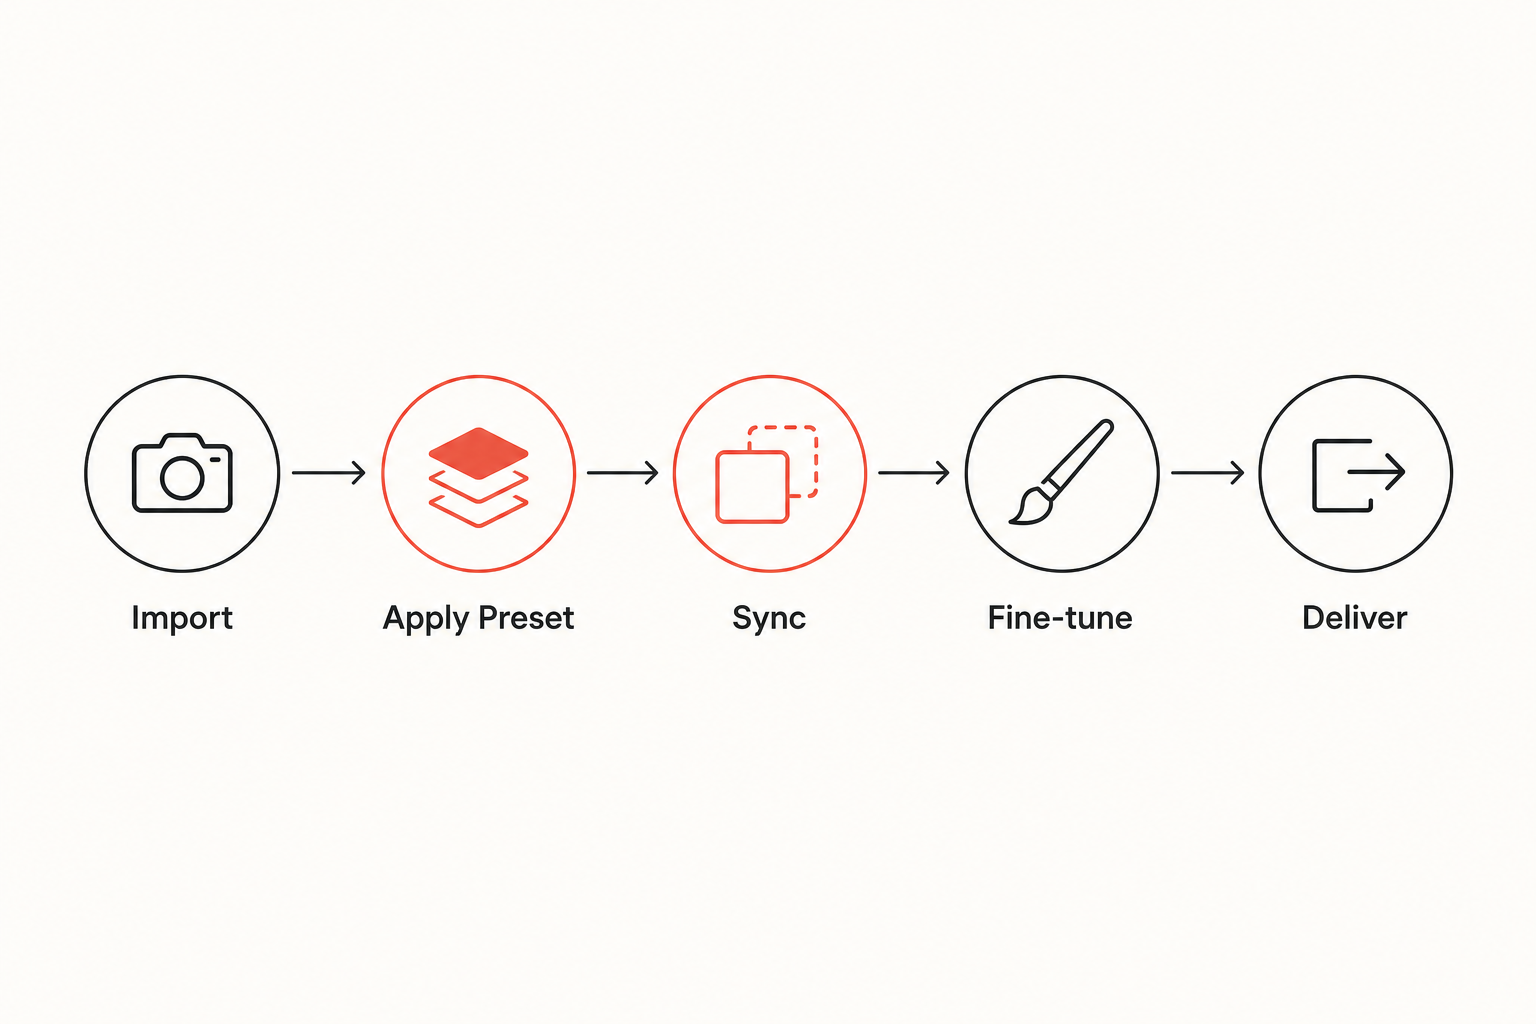
1. Import with a base preset
Set up an import preset that handles the technical baseline every image needs: sharpening, noise reduction, lens corrections, and a basic exposure normalization. This doesn't add style - it just ensures every image starts from the same corrected state rather than a raw uncorrected negative.
"Develop a process. Follow that process on EVERY photo. Trust it. My import preset applies sharpening and denoising and really basic tone curve..."
2. Cull first, then edit
Don't apply any creative preset until you've finished culling. Editing images you're going to reject wastes time. Use your cull phase (star ratings, flags, rejections) to get down to your delivery count before any editing happens.
3. Break the gallery into scenes
A wedding isn't one lighting situation - it's a dozen. Getting-ready, church ceremony, outdoor portraits, reception. Group your culled images by scene before you start applying creative presets, because the same preset will often need different intensity or different base settings depending on the light.
4. Apply a preset to the best image in each scene
Pick the technically strongest image from each scene and apply your chosen Effects preset to it. Dial in the base settings until it looks right for that scene's light. This is your reference edit.
5. Sync across the scene
Lightroom's sync function copies your reference edit to every other image in that scene. Select all, click sync, check which settings to copy. For a scene of 80 similar-light images, your editing just went from 80 edits to one.
"Break the day into same-scene chunks. Edit one photo from each scene to your liking. Sync that edit to the remaining photos in that scene."
6. Fine-tune outliers
After syncing, scroll through and fix the images that still need attention - a backlit shot that went too dark, a flash image that's over-exposed against the preset's exposure shift. These individual adjustments take seconds each when your base is already right.
7. Export and deliver
Build smart previews before exporting. Lightroom renders faster when smart previews are present, which matters at scale.
"Big previews helps a lot in the overall speed of Lightroom. Build the previews after applying your base presets. Because adjustments are rendered..."
Consistency is the actual deliverable
Wedding photography clients don't know what exposure compensation is. They can't articulate why a gallery feels cohesive or fragmented - they just feel it. What they're responding to is consistency: images that look like they belong together across 12 hours of a shooting day.
Presets enforce consistency because the same base settings are applied across every image in a scene. When you sync correctly, the ceremony images all share the same color temperature, the same shadow depth, the same highlight character. The portfolio looks intentional rather than assembled.
"free presets are ok to learn, but once you shoot a lot, solid packs are worth it just for consistency + speed. also helps if you stick to 1-2..."
This is the practical argument for investing in a well-made preset collection rather than relying on free downloads: free presets vary in quality and internal logic, which means your reference edits are less reliable and your fine-tuning takes longer.
Mobile editing with presets
Lightroom Mobile supports presets natively. The same preset files you use on desktop sync automatically to the mobile app via Adobe Creative Cloud. This matters for wedding photographers who want to do a quick review edit from their phone the evening after a wedding, or who process a batch of images on a tablet during travel.
Quality preset collections include dedicated mobile versions sized for Lightroom Mobile's processing limits - usually a subset of the desktop presets optimized for mobile rendering. The editing behavior is identical to desktop: apply, sync, fine-tune.
What to look for in a wedding preset collection
Not all preset packs are built for wedding photography specifically. Here's what separates a good wedding preset collection from a generic one:
Skin tone handling. Wedding photos are dense with skin - hands, faces, arms, everyone close together. Presets that shift color temperature aggressively tend to make skin tones look unnatural. Good wedding presets build skin preservation into their base adjustments.
Indoor/outdoor versatility. Weddings move between lighting environments that a single preset setting can't cover. Look for collections that either offer lighting-condition variants of their presets or include Perfections presets that compensate for different color temperatures.
Brushes for local corrections. Ceremony photos often have one subject properly lit and another slightly off. Adjustment brushes let you fix a face, a shadow, or a highlight without affecting the whole image. A collection that includes a dedicated brush set alongside the presets handles these situations far more efficiently than sliders alone.
Mobile versions included. If you ever edit on Lightroom Mobile, mobile-compatible versions of the same preset need to be part of the package - not a separate purchase.
RAW and JPEG compatibility. Wedding photographers shoot RAW as standard, but it's worth confirming a collection works properly with both formats.
Lightroom brushes in the wedding workflow
Presets handle the global edit. Brushes handle the local one. A Lightroom brush adjustment lets you paint a correction onto one specific area of an image without affecting anything else.
In wedding photography, brushes most commonly come into play for:
- Skin smoothing on close-up portrait and first-look shots
- Eye enhancement in ceremony and portrait work
- Shadow recovery on faces lit by a single candle or window
- Highlight recovery on white dresses in bright outdoor settings
A good wedding preset collection bundles retouching brushes alongside the presets themselves. Adjustment brushes in Lightroom work with the Adjustment Brush tool, Radial Filter, and Graduated Filter - all standard Lightroom tools that interact cleanly with brush presets from any collection.
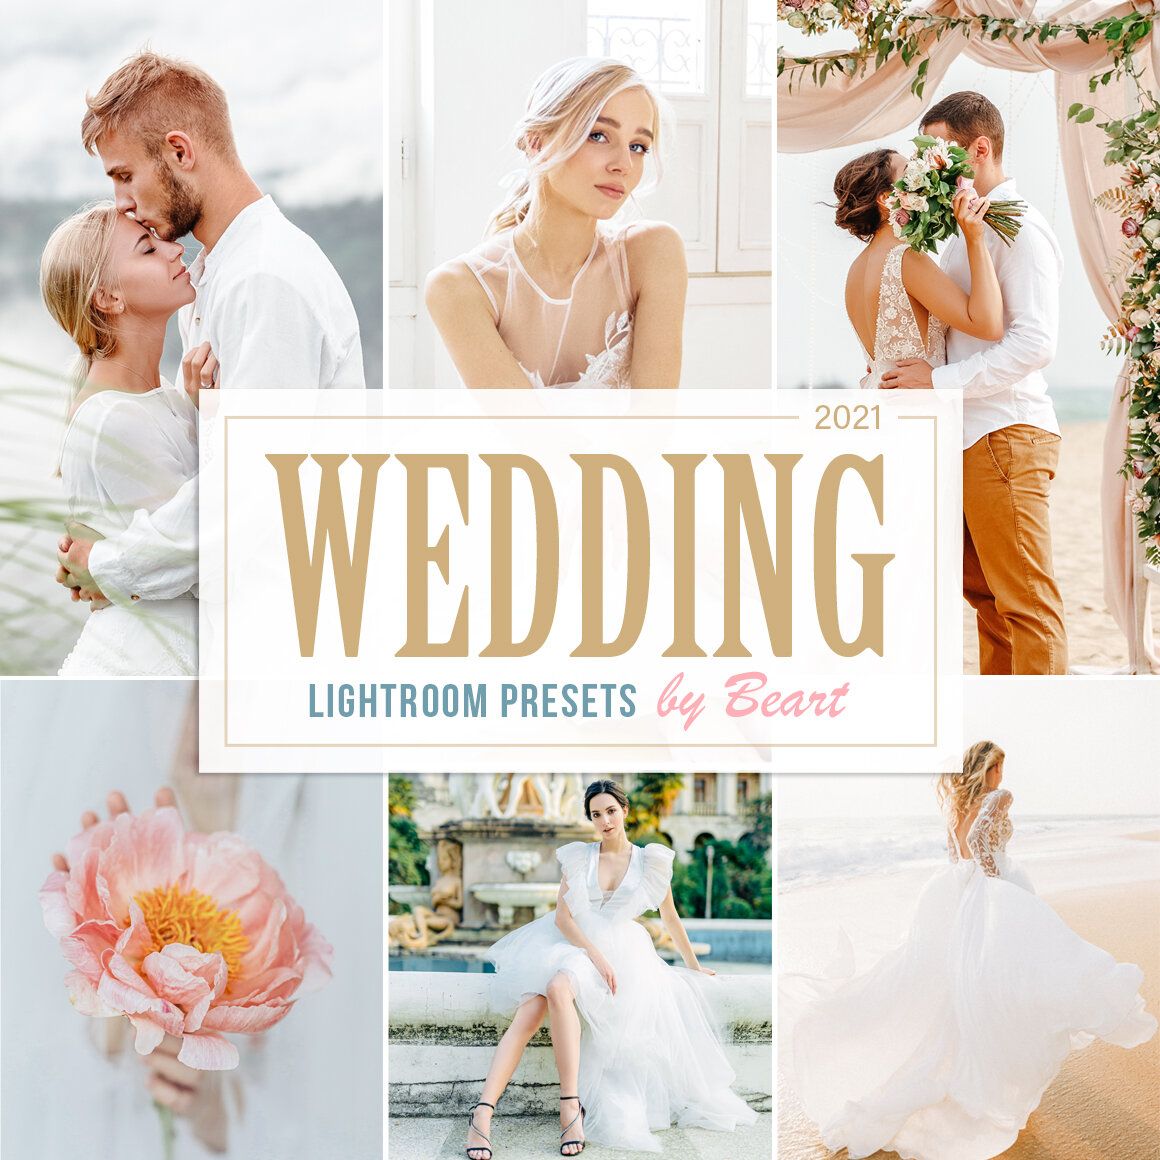
BeArt-Presets for wedding photographers
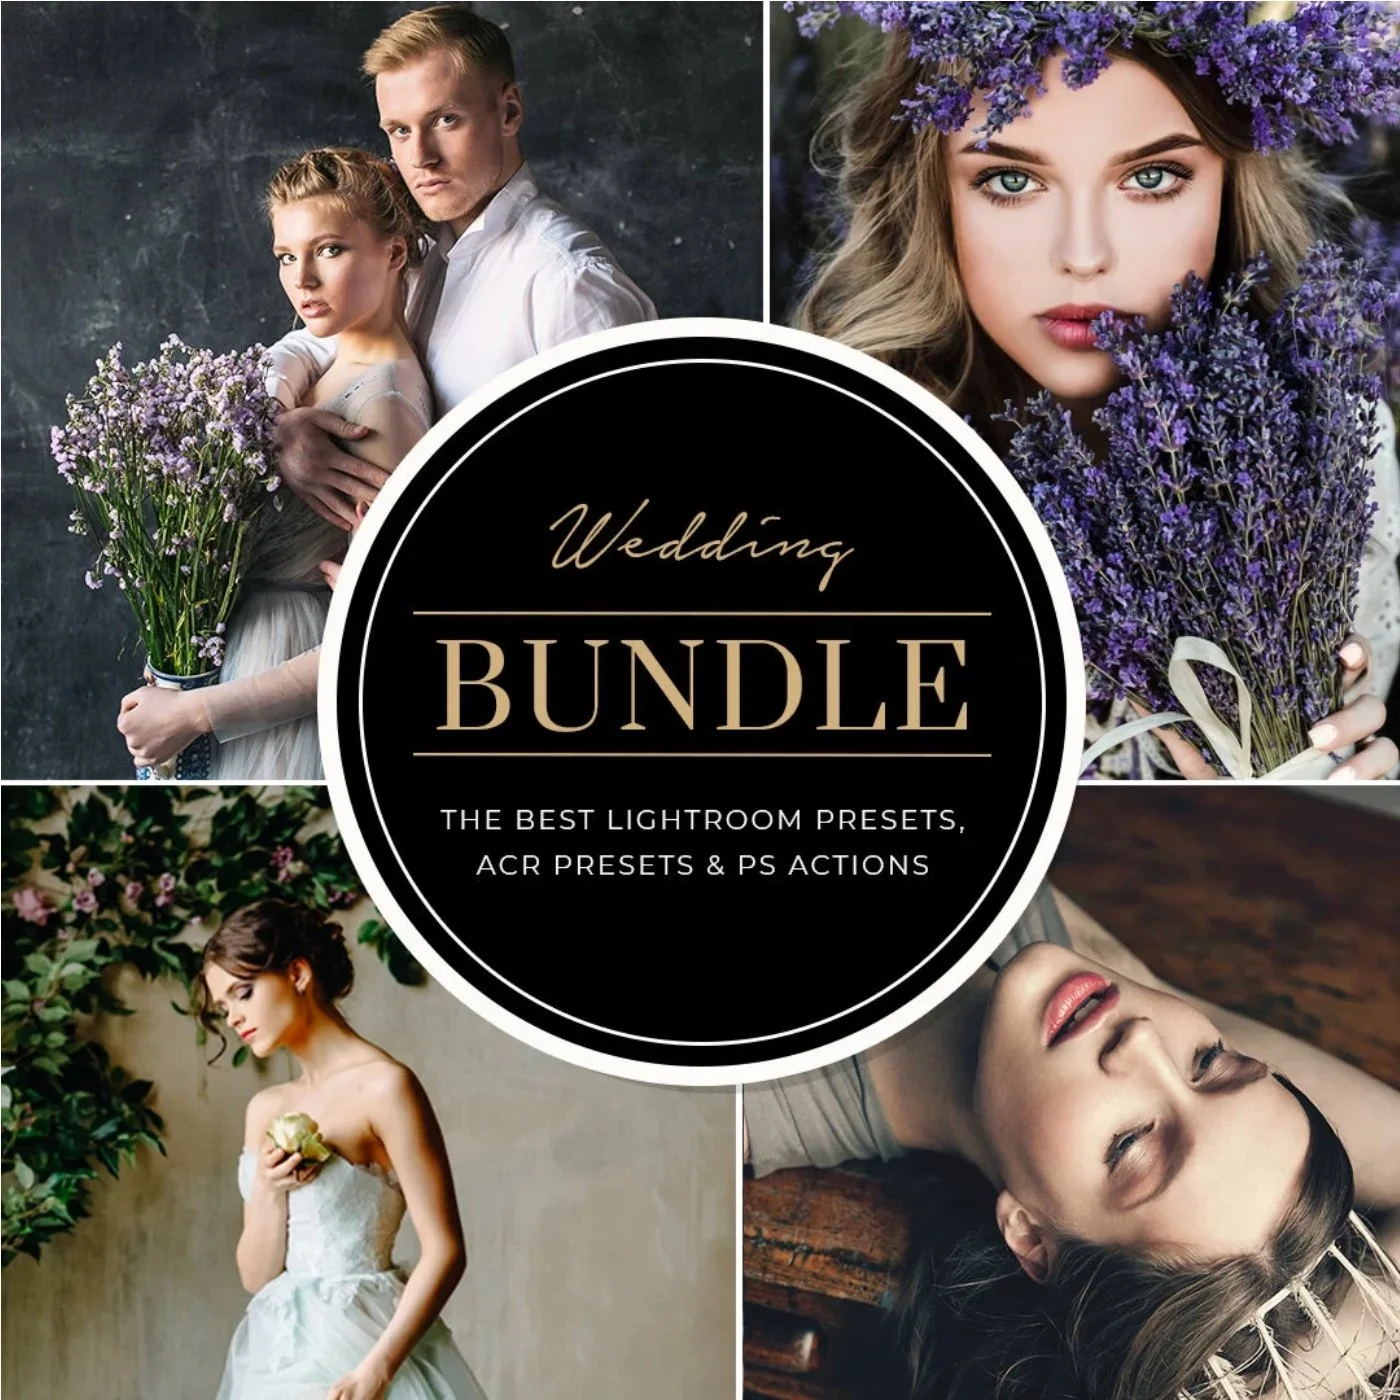
BeArt-Presets is a preset marketplace trusted by 920,000+ creators worldwide, with collections built specifically for professional wedding and portrait photography. Their Wedding Bundle brings together six premium collections - Wedding, Coffee & Chocolate, Wedding & Romance, Love Story, Portrait, and Bright & Airy - into one package at $49 (70% off the $174 list price).
Every preset works with Lightroom 4-7, Lightroom CC Classic, Lightroom CC, Lightroom Mobile, Photoshop CS6 and CC, and Adobe Camera RAW - on both Mac and PC. The package includes detailed installation guides for all components and lifetime free updates.
The individual Wedding Lightroom Presets collection is also available at $19, with 50 Lightroom presets, 50 mobile presets, 23 brushes, 60 toolkit presets, and 50 Camera RAW presets.
Frequently Asked Questions
What are Lightroom presets and how do they work for wedding photography?
Lightroom presets are saved groups of editing settings - exposure, color, contrast, tone curves, and more - that you can apply to a photo in one click. For wedding photographers, they work as a starting point: you apply a preset to one image, then sync those settings across an entire scene or the whole gallery, saving hours of manual adjustments.
How much time can presets realistically save when editing a wedding gallery?
A typical wedding produces 400-800 deliverable images. Without presets, editing each photo individually takes most photographers 6-10 hours. With a solid preset system and the sync method, photographers routinely cut that to 2-3 hours, with the rest of the time spent on fine-tuning rather than building looks from scratch.
Can I use Lightroom presets on RAW files, or only JPEGs?
Both. Quality preset collections are designed to work with RAW and JPEG files. RAW files respond better because they carry more tonal information for the preset to work with, but presets still apply correctly to JPEGs. Check that your preset pack explicitly supports both - beArt Presets collections are compatible with both formats across Lightroom Classic, CC, and Lightroom Mobile.
What's the difference between Effects presets and Perfections presets?
Effects presets apply a full creative look in one click - a specific mood, color grade, or style. Perfections presets are corrective: they fix technical issues like noise, sharpness, shadow recovery, and skin tone without imposing a creative style. Professional preset packs like beArt's include both types so you can handle style and corrections separately.
Should I buy a wedding preset bundle or spend time building my own presets?
Both approaches work, but buying a professional bundle gets you shooting fast and learning what makes a great preset at the same time. Many experienced photographers start with a purchased bundle, then customize over time until their personal style diverges enough to warrant fully custom presets. A bundle is a far faster starting point than building from scratch.



Get Free Presets for Lightroom created by top photographers to update your presets collection, save down on editing time, and open up new artistic horizons.

Introducing the Idyllic Santorini Lightroom Presets Collection, created for both mobile and desktop versions of Lightroom. Inspired by the timeless beauty of Santorini, this collection captures the feeling of returning home from an unforgettable journey with a camera full of memories. Whitewashed villages glowing in the afternoon sun, charming streets adorned with bougainvillea, leisurely breakfasts overlooking the sea, and soft pink sunsets melting into the horizon.
BUY NOW