Improve Your Flat Lay Food Photography with our Five Tips
Browse Instagram or other social media platforms; you will see countless flat lay food photos. (A "flat lay" refers to carefully arranged items in a photo shot from above.)
They're ubiquitous because people love them. After all, who doesn't like looking at food? You can improve your flat lay food photography to create professional-looking imagery using our five tips listed below. First, however, let's take a closer look at what constitutes flat lay food photography.
What is a Flat Lay?
Flat lay food photography is photography where the food is displayed on a flat surface with the camera positioned directly above it. Once the product of ad agencies, it's increasingly seen on social media and other platforms with the rising popularity of smartphones and their improving technology. While flat lay photography can produce exquisite images worthy of being called art, it can also produce uninteresting, one-dimensional photos if the photographer isn't careful. Read on for our tips to avoid falling into that trap.

1. Positioning the Camera
For the most professional-looking flat lay food images, the flat lay surface needs to be perfectly parallel to the food or object placed on it. This gives you a better plane of visual focus, keeping everything sharp. This can take some trial and error to get just right, so don't give up too quickly.
Tip #1: We suggest using a double bubble level. These very inexpensive tools mount on the standard hot-shoe of any camera to check the level on two planes. This ensures that your camera is perfectly positioned to the surface.
Tip #2: A tripod will be extremely useful when working with flat lays. A 90-degree arm lets you position the camera out and over the flat lay. Also handy is that you can tether the tripod directly to your computer and editing software so you can check the images as you shoot them.

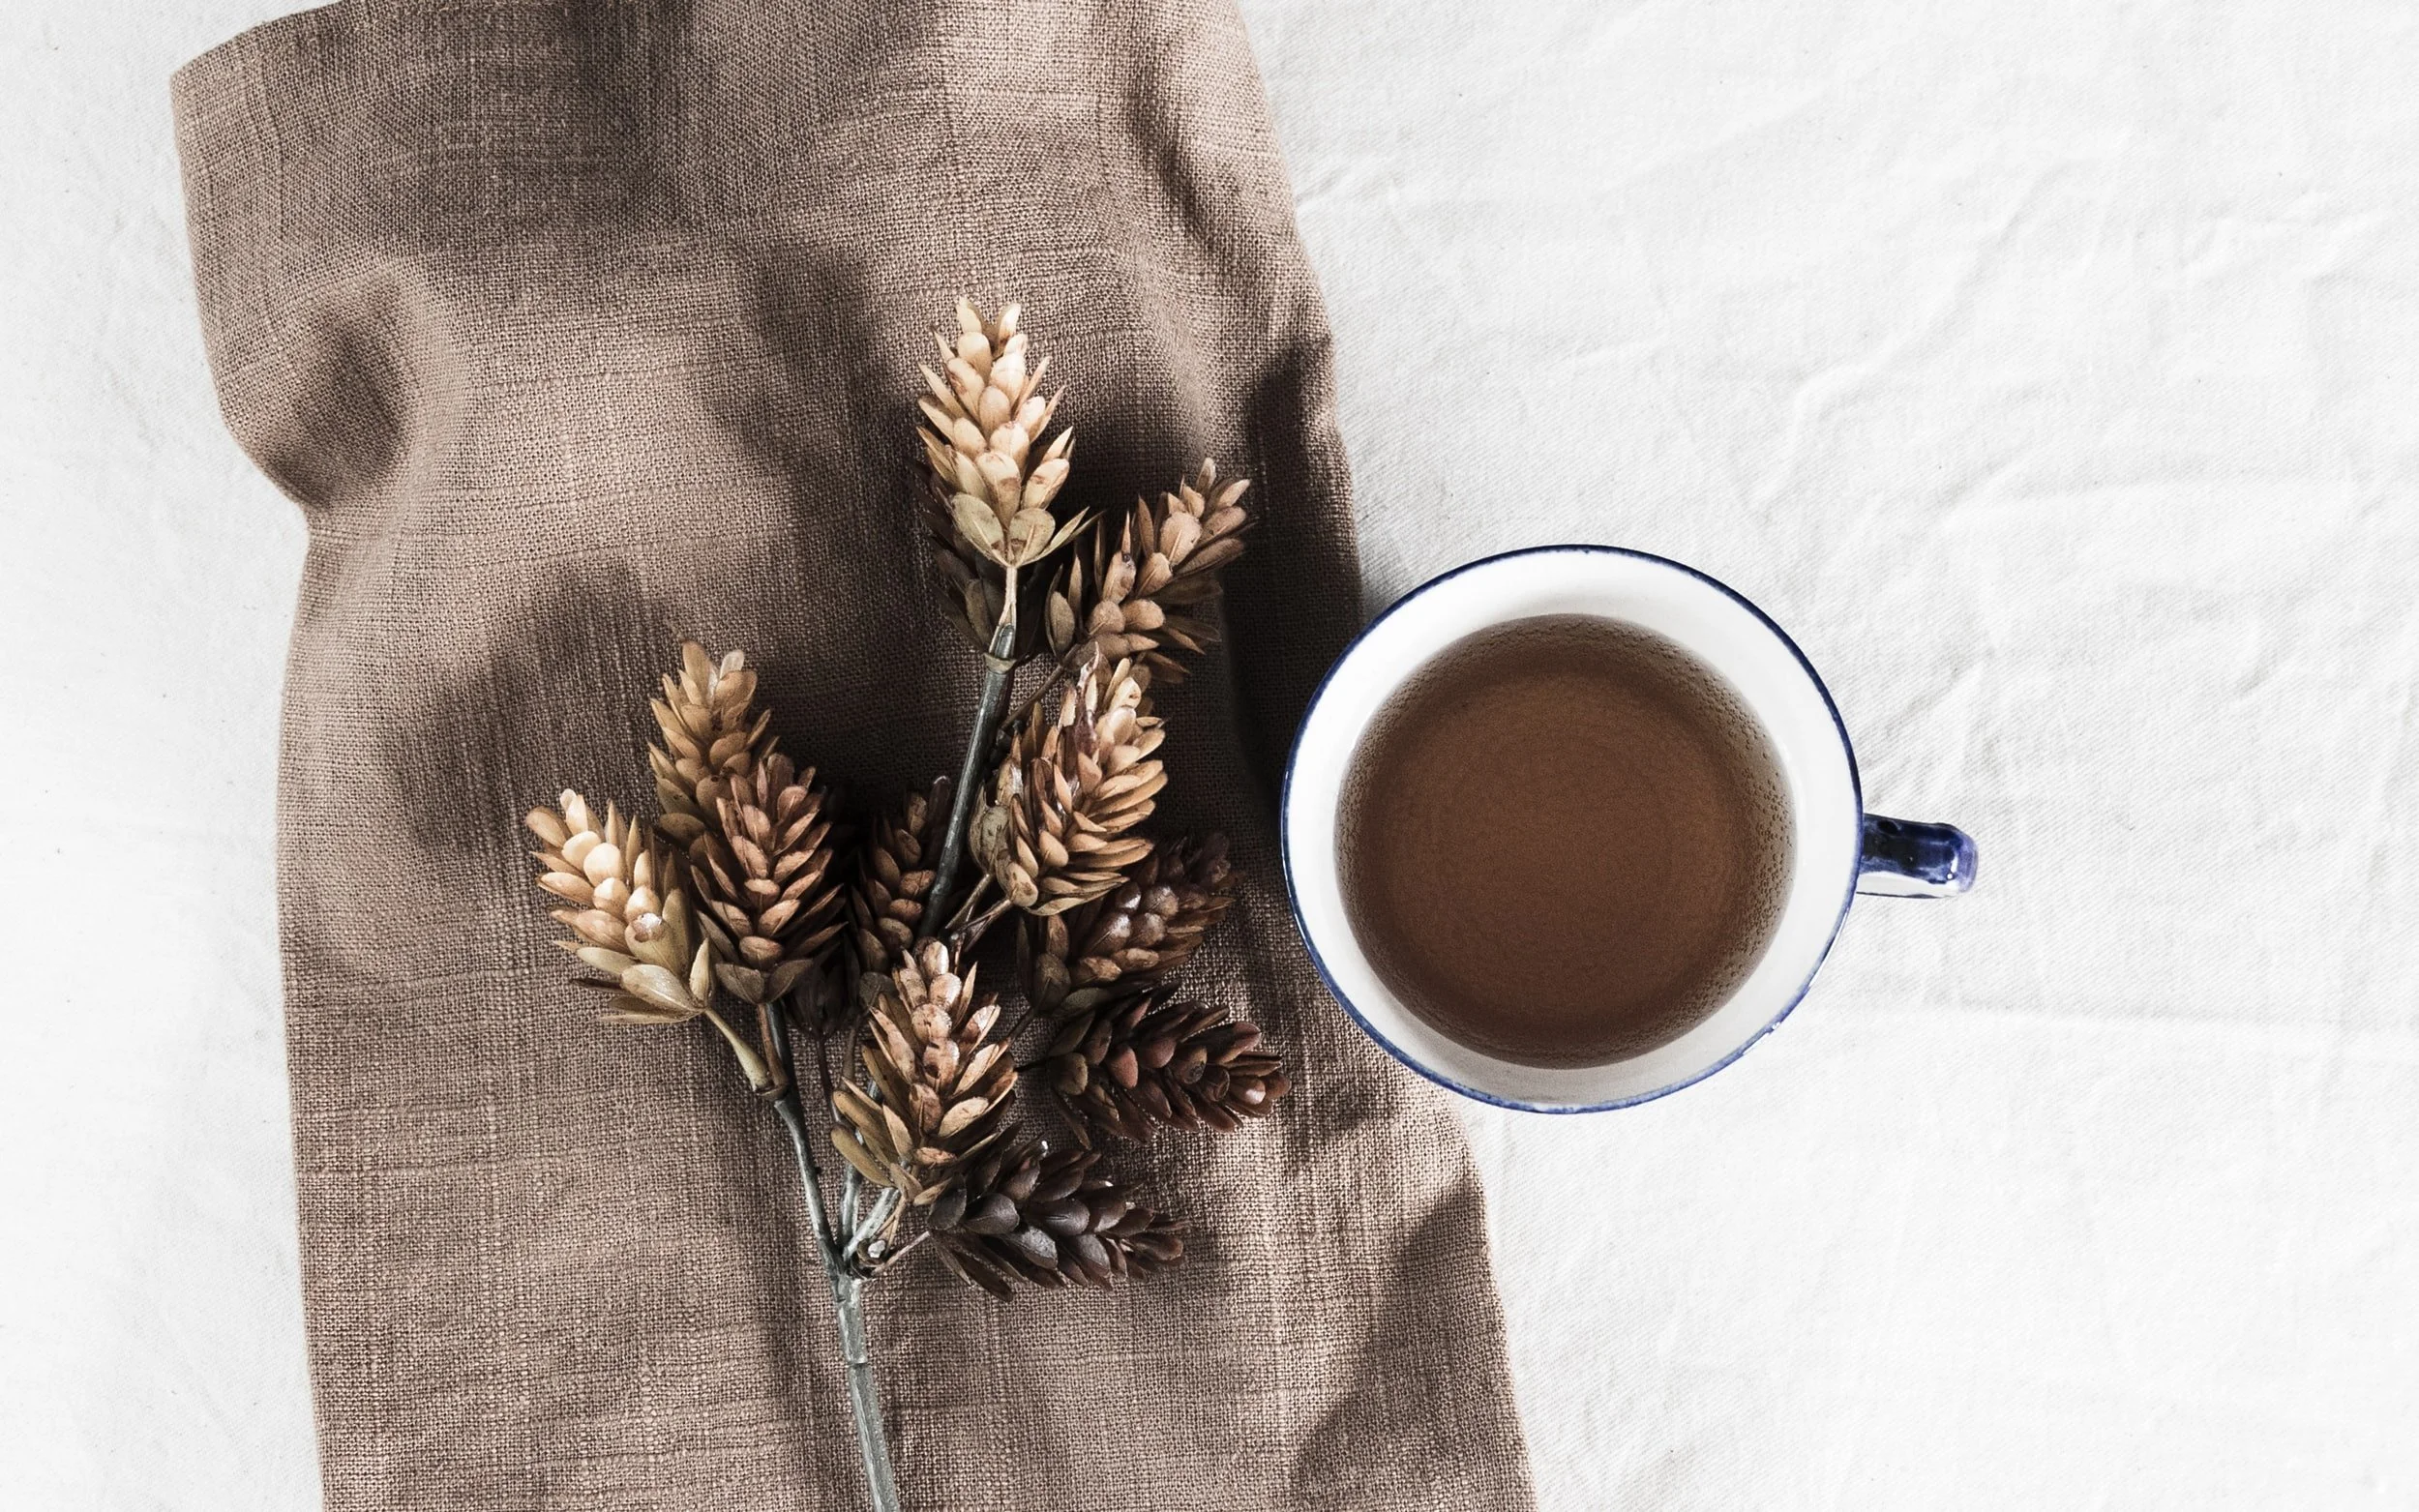
2. Adding depth & interest
You can shoot food on a flat surface while introducing depth and interest to create beautiful imagery. You can layer food and use lighting to your advantage. For example, placing one orange on a flat surface is one thing. But adding another object, whether it's food or something else, adds some dimension. Then, if you use light to add a bit of shadow, you go a step further and add some depth.
Tip: We suggest playing around with natural or artificial light in various positions or angles and shooting a few test pictures. The standard light for flat lay is soft natural light at a 45-degree angle to create a bit of shadow. The light done well can bring out the natural texture of the food while adding some interest and depth.

3. Shoot in Manual
Sorry to tell you this if you're a fan of shooting with Auto-mode, but shooting on Manual is the best way to go with flat lay photography. It gives you much better control over the depth of field and allows you to get sharper images. If you're shooting a flat lay where you need to control the shutter speed, Manual is it. It's also how to best work with lighting to compensate as needed. If you're new to Manual mode, you have the option of starting slowly by using semi-automatic mode on your camera. (Some cameras call it Aperture Priority.)
Tip: Shoot in RAW. It is so much better than JPEG for post-processing edits. It might mean a little extra time during the edits, but the results are well worth the effort. We suggest adjusting elements like exposure, white balance, and contrast. Then move on to other adjustments. If you do shoot in JPEG, you're limiting how much editing you can do without losing overall quality.
4. Mind the Background
Choose the background carefully when working with flat lay food photography. While you want the food to be the star of the photo, the background can greatly influence the image. Ideally, you should use a neutral-colored background if you want it to recede and not be as visually impactful.
Tip: If you want to make the background a bigger part of the overall image, try a contrasting or complementary color that flatters the food and brings the background forward a bit. For example, if you're shooting a picture of an orange, try laying it on or next to a gold-colored (complementary) or black (contrast) tray or dish. You'll notice an instant difference in the image.

5. Composition
Composition in photography refers to the way elements appear inside the frame in relation to the edge of the frame, to each other when there's more than one element or subject, and to empty or negative space. Sometimes the simplest composition is the best. This means laying objects symmetrically in the frame. However, sometimes the rule of thirds produces a better look.
Tip #1: It's important to learn the various compositional guidelines to improve your composition layouts. And don't forget that in some cases, you might be able to adjust the composition in post-processing by using your crop tool. However, don't rely on that, as it might not always be the best option.
Tip #2: Practice, practice, practice your composition! Play around with different layouts of the food and composition and test the look.
Conclusion
With these five tips, you should see an improvement in your flat lay food photography work. The best work in this genre is a blend of creativity, composition, and technical skills (shoot on manual and ensure the camera is perfectly set up).
Don't just put some food down and start shooting. As we've explained, it's critical to carefully plan and choreograph things before you start shooting. It's how you will elevate the quality of your flat lay images. Once you do start, don't be afraid to get creative and, try new angles layouts and introduce some color or contrast. It can take some practice, but you will get there.
Some of these tips are a little trickier to perfect than the others, but overall, you should find them relatively easy with some practice.