Your Guide to Winter Photography
Lace-up, your winter boots, grab a coat and head outside. Winter landscapes are not to be missed.

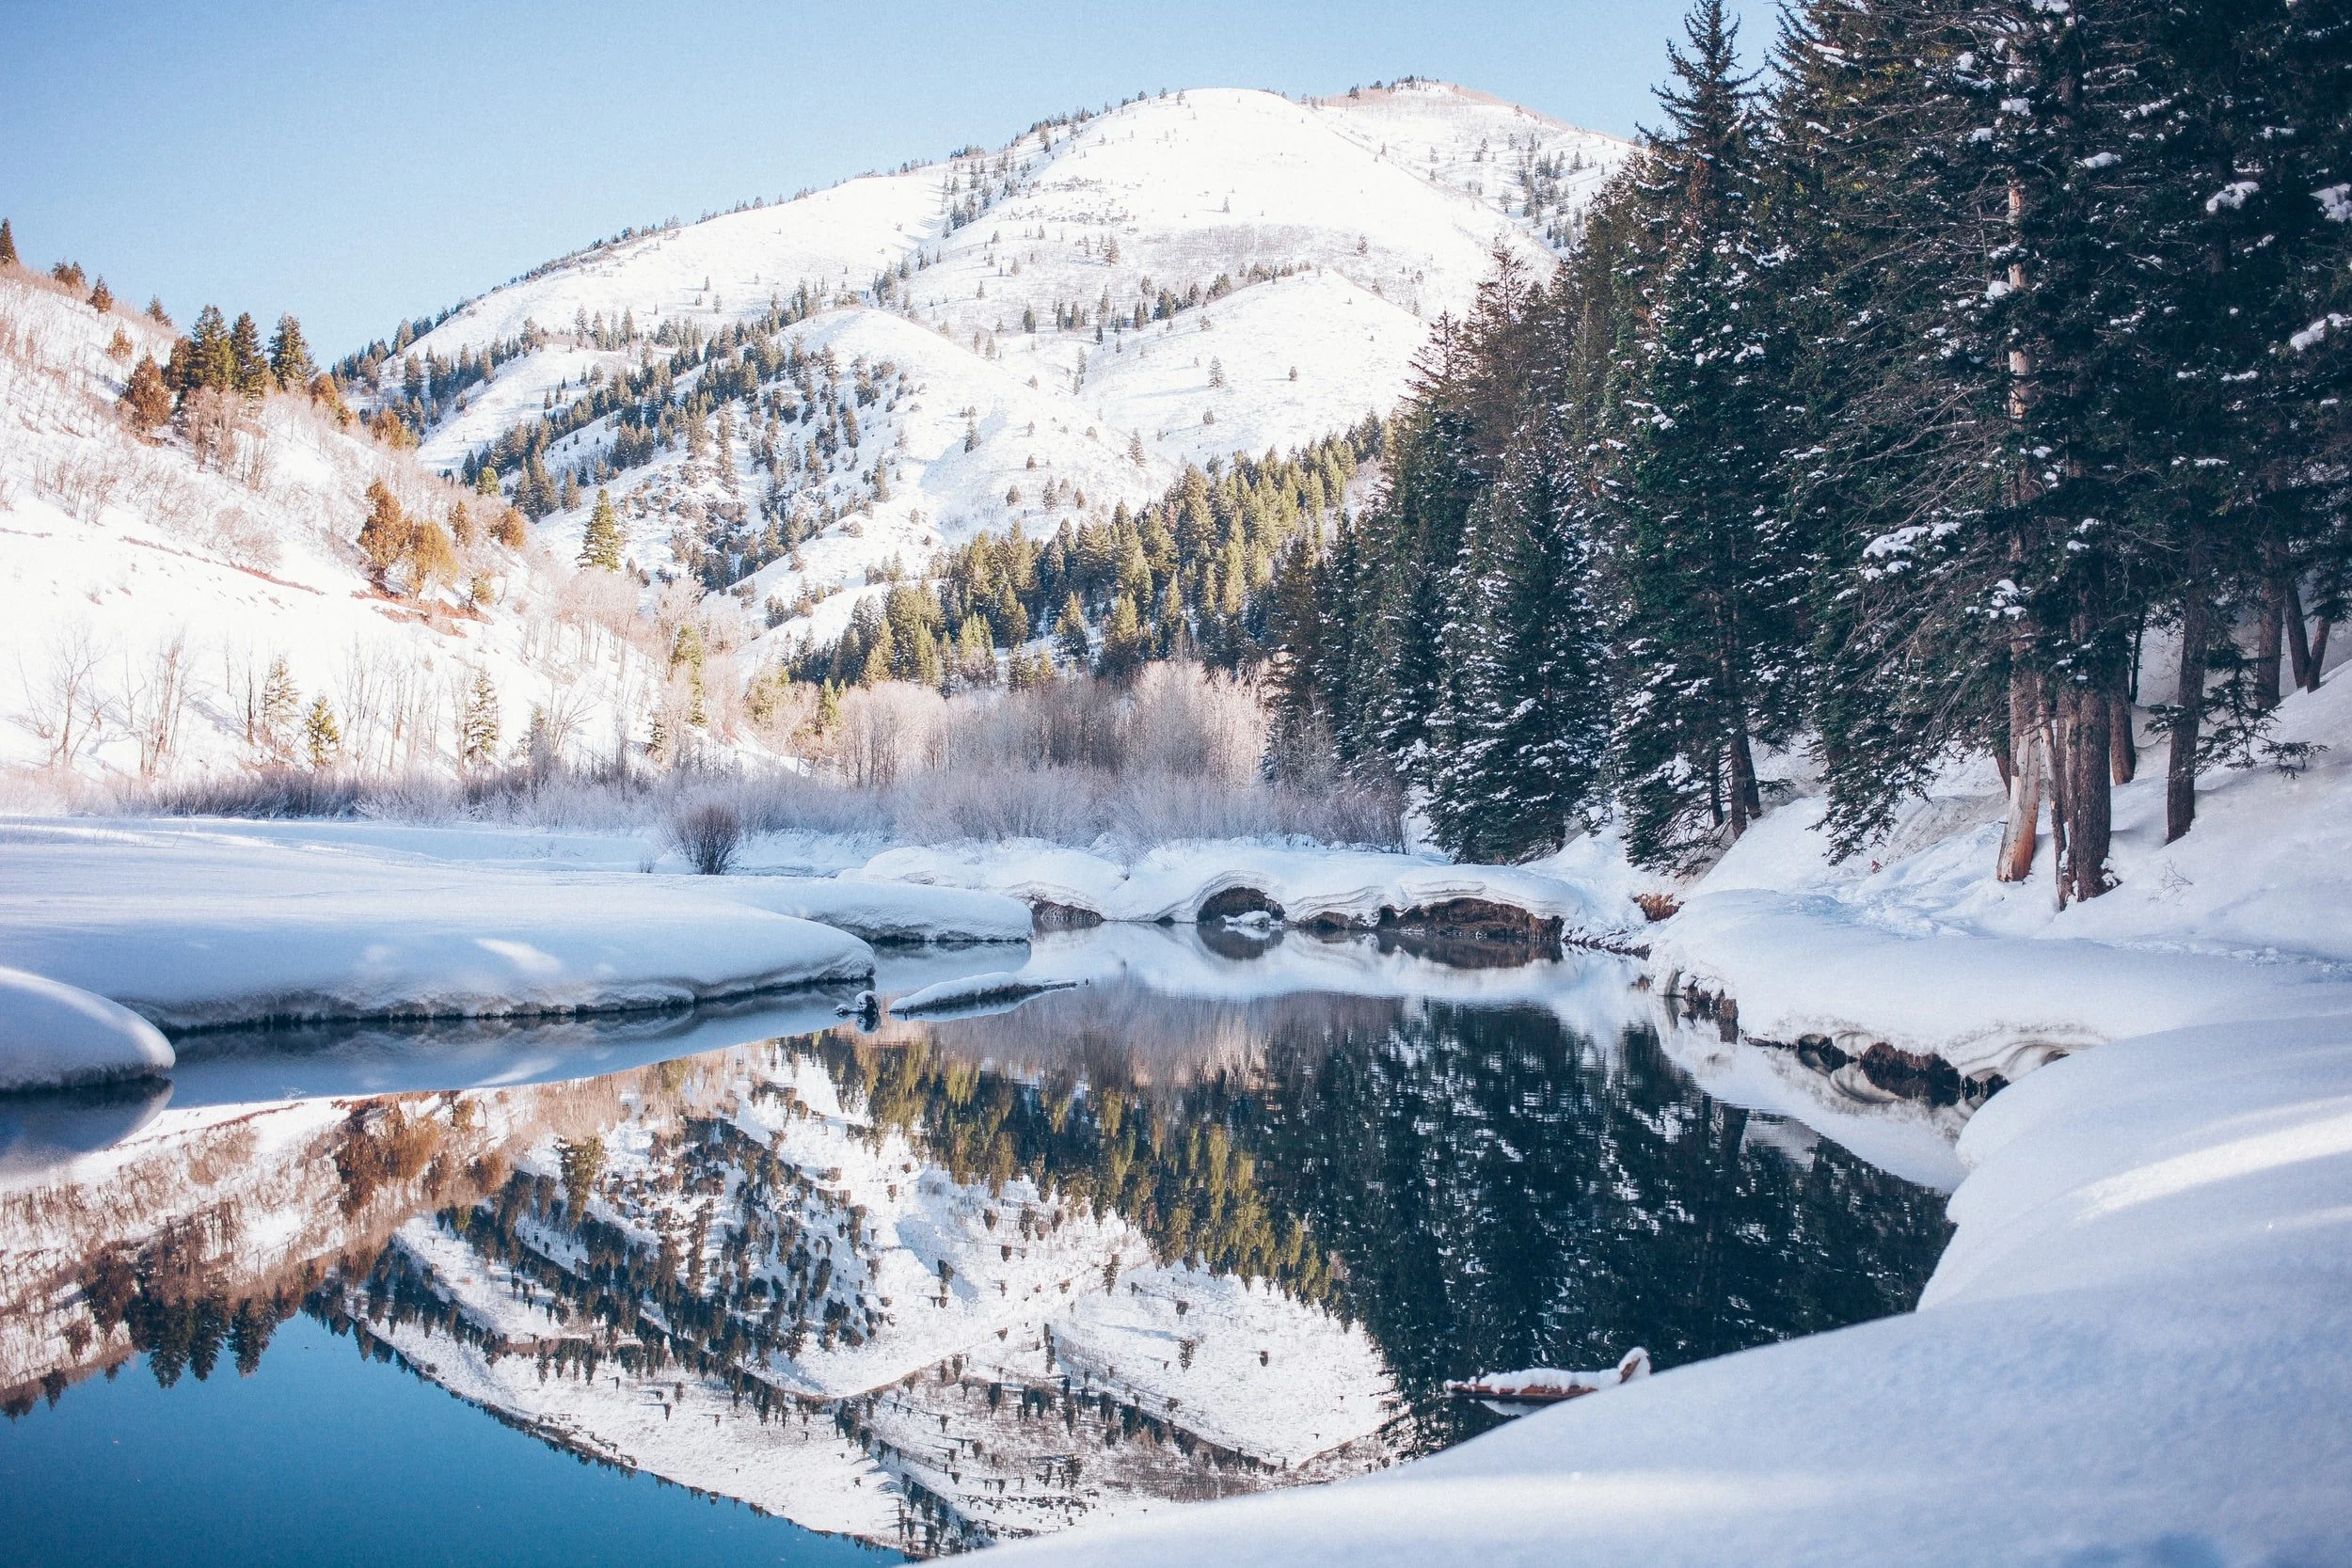
The season offers photographers a stunning canvas - an opportunity to capture nature's magnificent landscapes. You might need to bundle up, but it's worth it for the scenery and ambiance waiting to be captured.
First, though, there are some things you should know, which is why we've crafted a helpful winter photography guide.
13 Tips for Winter Photography
1. Weather
Check the weather before you leave your home! You want to be well prepared for the conditions. For one thing, you want to dress appropriately. You'll also want to know the weather conditions so that you can pack the correct gear. Remember that photographing snow can be tricky, so you'll want to have the right equipment.

2. Be Prepared
Depending on where you live, winter weather can be fussy and change suddenly. Be prepared by carrying an emergency kit, bringing extra clothes, and even snacks in case you get stuck. Being prepared is staying safe!
3. Monochromatic
The monochromatic winter landscapes can be extraordinary and offer unique conditions. This also means it provides unique opportunities. Take advantage of the colorless landscape to play around with mood and ambiance. You can shoot a colorless scene, which can be dramatic and stunning. A leafless tree on a barren or snow-covered winter landscape can be haunting.

4. Negative Space
Sometimes less is more. Negative space - empty space - can create powerful imagery. Use negative/empty space in your images as an enhancement, something to draw the eye in and leave people wanting to study the photograph.
5. Add Interest
A monochromatic landscape also offers the opportunity to introduce interest and depth with some color! Any spot of color in an otherwise colorless scene will draw the viewer's eye. Include an element of color in the scene to add visual interest and depth.

6. People
Sometimes the way to add interest to a winter scene is to include people. Think of the striking juxtaposition between dormant, static nature and a human being. A person can add scale and interest to the composition. You'll have to decide if adding someone changes the image into more of a portrait with a winter background or adds good context to the scene without becoming the main subject.
7. Use the Blue Hour
Typically, photographers aim to shoot during the golden hour. In winter, it's known as the blue hour: same time, different colors. Seconds before the sun rises or, sets; there will be a soft, blue light. It's winter's very own "golden hour," and it transforms winter landscapes into something enchanting. Note that the blue hour is a brief window of opportunity, so be sure to check the weather and times for sunrise and sunset. If your images are coming out too blue, play around with the white balance to compensate.

8. Using Light Meters
Working with your camera's meter can be tricky in the winter, especially if there's a lot of snow. Snow will trick your camera into thinking it's brighter than it might actually be, causing images to be underexposed. It can take some practice and extra shots to correct winter exposure. If you're a more advanced photographer, pull out the hand meter and have a go. If you're a fledgling photographer, we suggest trying to work with the camera's meter. Again, it might take some practice to get the proper exposure.
9. Shooting Action Shots
Just because it's winter doesn't mean there are no action shots to be had! Whether it's skiing, snowshoeing, or skating, there are plenty of winter sports - and they can be great opportunities for a photographer. Try shooting on burst mode or shoot just as you would any movement. If there's snow, remember to compensate for the light of the snow.

10. Perspective Matters
As with most photography, perspective matters. Play around with the perspective you're shooting from by trying different shooting angles. Move around and use your photographer's eagle eye to capture interesting perspectives.
11. Be Opportunistic
When you have fresh snow, be opportunistic. Don't wait because ground snow that's several days old won't look the same. You also want to capture the snow while you still have it - before it melts and disappears. So, if there's a fresh snowfall, grab your camera and go. As we said earlier, try to shoot during the blue hour, keeping an eye out for correct exposure.
12. Transitioning
We recommend carefully transitioning your camera from inside to outside to avoid condensation inside the camera body, lens, or filter. (It's also possible that too much moisture can affect the LCD.) There are various ways to transition. You can first move the camera to a camera bag outdoors, where it can begin to adapt to cooler outdoor temperatures. Then put the camera inside close to your body inside your coat as you step outside. You should employ a similar process once you're headed back indoors. Lastly, keep the camera as warm as possible while you're outdoors!

13. Equipment & Gear
Emergency Kit: Winter travel poses different safety concerns than shooting in other seasons. We suggest packing an emergency kit—more on this below.
Camera bag or camera backpack: Keeping your gear dry, clean, and protected from the elements is crucial. It can be helpful to carry your gear in a backpack or travel camera bag when shooting outdoors.
Staying Dry: Be sure to dress for variable winter weather conditions and pack extra clothes as part of your emergency kit. In winter, you'll need waterproof clothes and shoes as well as warm layers.
Batteries: An savvy photographer carries extra batteries and storage cards. Keep in mind that extreme temperatures can affect lithium-ion batteries, draining them faster.
Camera & lens: Whatever camera and lens you decide to use, be sure they can handle the weather conditions. We also suggest a backup camera and lenses, just in case.
Tripod: A tripod can come in very handy when shooting in winter. It's worth investing in a quality stable tripod that is easy to travel with.
Lens hood: We suggest using a lens hood. Snow can reflect light straight into your camera, creating unwanted flare. A lens hood will protect the lens.
Fingerless gloves: These types of gloves can be advantageous because they give you good dexterity when you need it most.
Drybox or plastic bag: It's essential to keep the camera dry when there's moisture outdoors. You can store it in a dry box or plastic bag as long as you keep the camera warm.
UV Filter: A UV filter can be convenient on a bright winter day. It also protects your front lens element from snow or other weather elements.
We hope you found our tips useful for your next winter photography outing! Remember that our presets can be helpful once you're back home and beginning your post-processing. Presets can be very useful whether images need some white balance correction or you'd like to apply specific enhancements across a batch of photos.