
How to Create Dramatic Portraits with Creative Lighting Techniques
The right lighting is essential to creating dramatic portrait photographs. But light can be a tricky tool to work with, so you’ll need to get creative in order to produce the effect you want.

In portrait photography, your chosen light source and the techniques you use to manipulate it have a profound impact on the atmosphere surrounding your subject. By highlighting or obscuring imperfections, creating a particular mood, or drawing attention to minute details, it can convey the spirit of your subject in a way that feels almost magical.
Before we dive into the techniques you can use to create dramatic lighting for your portraits, let’s explore the elements of dramatic lighting.
What Creates Dramatic Lighting?
The art of dramatic lighting in photography dates all the way back to the Renaissance. The Italians referred to it as chiaroscuro, literally meaning “light-dark.”
Because of its powerful effect, dramatic lighting is very popular among famous portrait photographers like Annie Leibovitz, Yousuf Karsh, and Steve McCurry. Consider this famous portrait of an Afghan girl captured by McCurry for National Geographic in 1985.
These artists use photographic lighting to dramatic effect by artfully playing with highlights and shadows, using two all-important and overlapping elements of lighting: brightness and contrast.
Techniques To Create Dramatic Lighting For Portraits
Once you thoroughly understand the interplay between brightness and contrast in photography, you can begin to use this to light your portrait photographs in unique and dramatic ways.
Here are some techniques for creating dramatic lighting, whether you’re using a natural or an artificial source of light:
Rembrandt Lighting
Rembrandt lighting is a classic lighting technique named after the famous Dutch painter Rembrandt Harmenszoon van Rijn.
To create masterful portrait photography with Rembrandt lighting, you will need a single light source, such as a strobe or a Speedlight. Position the light source at a 45-degree angle to the subject, slightly above eye level, so as to create a triangle of light on the cheek opposite the light source. The triangle should be no wider than the eye and no longer than the nose.
Split Lighting
Split lighting is a technique that involves dividing the face into two equal halves, with one half in shadow and the other half in light. Using split lighting, you can add drama and intrigue to your portrait.
For this technique, you will need a single light source positioned at a 90-degree angle to the subject, either to the left or right of the subject. The light should be angled so that it illuminates only one-half of the face, leaving the other half in shadow.
Butterfly Lighting
The butterfly lighting technique places the light source directly above the subject, creating a butterfly-shaped shadow under the nose. Use butterfly lighting to create striking glamor headshots.
Position a single light source directly above and slightly in front of the subject to achieve this effect. The light should be positioned so that it creates a butterfly-shaped shadow under the nose.
Rim Lighting
To achieve rim lighting (also known as backlighting), position a single light source behind the subject, slightly to the side. Thus positioned, the light will show up around the subject, creating the impression that he/she is glowing.
Low-Key Lighting
Low-key lighting entails using a minimal amount of light to create a dark and moody portrait. For portrait photographers building their portfolios, this is a popular technique as it’s dramatic and eye-catching.
For low-key lighting, use a single light source and position it at a 45-degree angle to the subject, slightly above eye level. In this way, the light will illuminate only a small portion of the subject's face, leaving the rest of the face in shadow.
Broad Lighting
For broad lighting, the primary light source is placed at a 90-degree angle to the subject, casting shadows across the unlit side of the face. Broad lighting produces a flattering effect, accentuating features like the eyes and collarbone. For a more intense effect, add fill lights or backlights to enhance contrast and depth.
Loop Lighting
This highly versatile technique combines elements from both Rembrandt and broad lighting. It involves positioning the main light source at a 45-degree angle to the subject, but higher than for Rembrandt lighting. The result is a loop-like shape beneath the eye closest to the light source. This technique offers flexibility in achieving various levels of emotion while maintaining balance.

Hair Lighting
Hair lighting can have an effect that is both subtle and profound. By highlighting hair strands, the lighting gives them volume and texture.
To create this effect, place the light source behind the subject, angled towards the head, ensuring that the light does not spill onto the face. This creates a dynamic, halo-like effect that does not overpower the overall composition of the shot.
Silhouette Lighting
Silhouette lighting is a method for creating a bold and striking portrait. It’s often combined with other techniques or effects and emphasizes the outline of the subject against a bright background. Achieving silhouettes requires careful consideration of exposure settings and placement of the subject relative to the light source. Experiment with varying distances between the subject and the light source to produce diverse results.
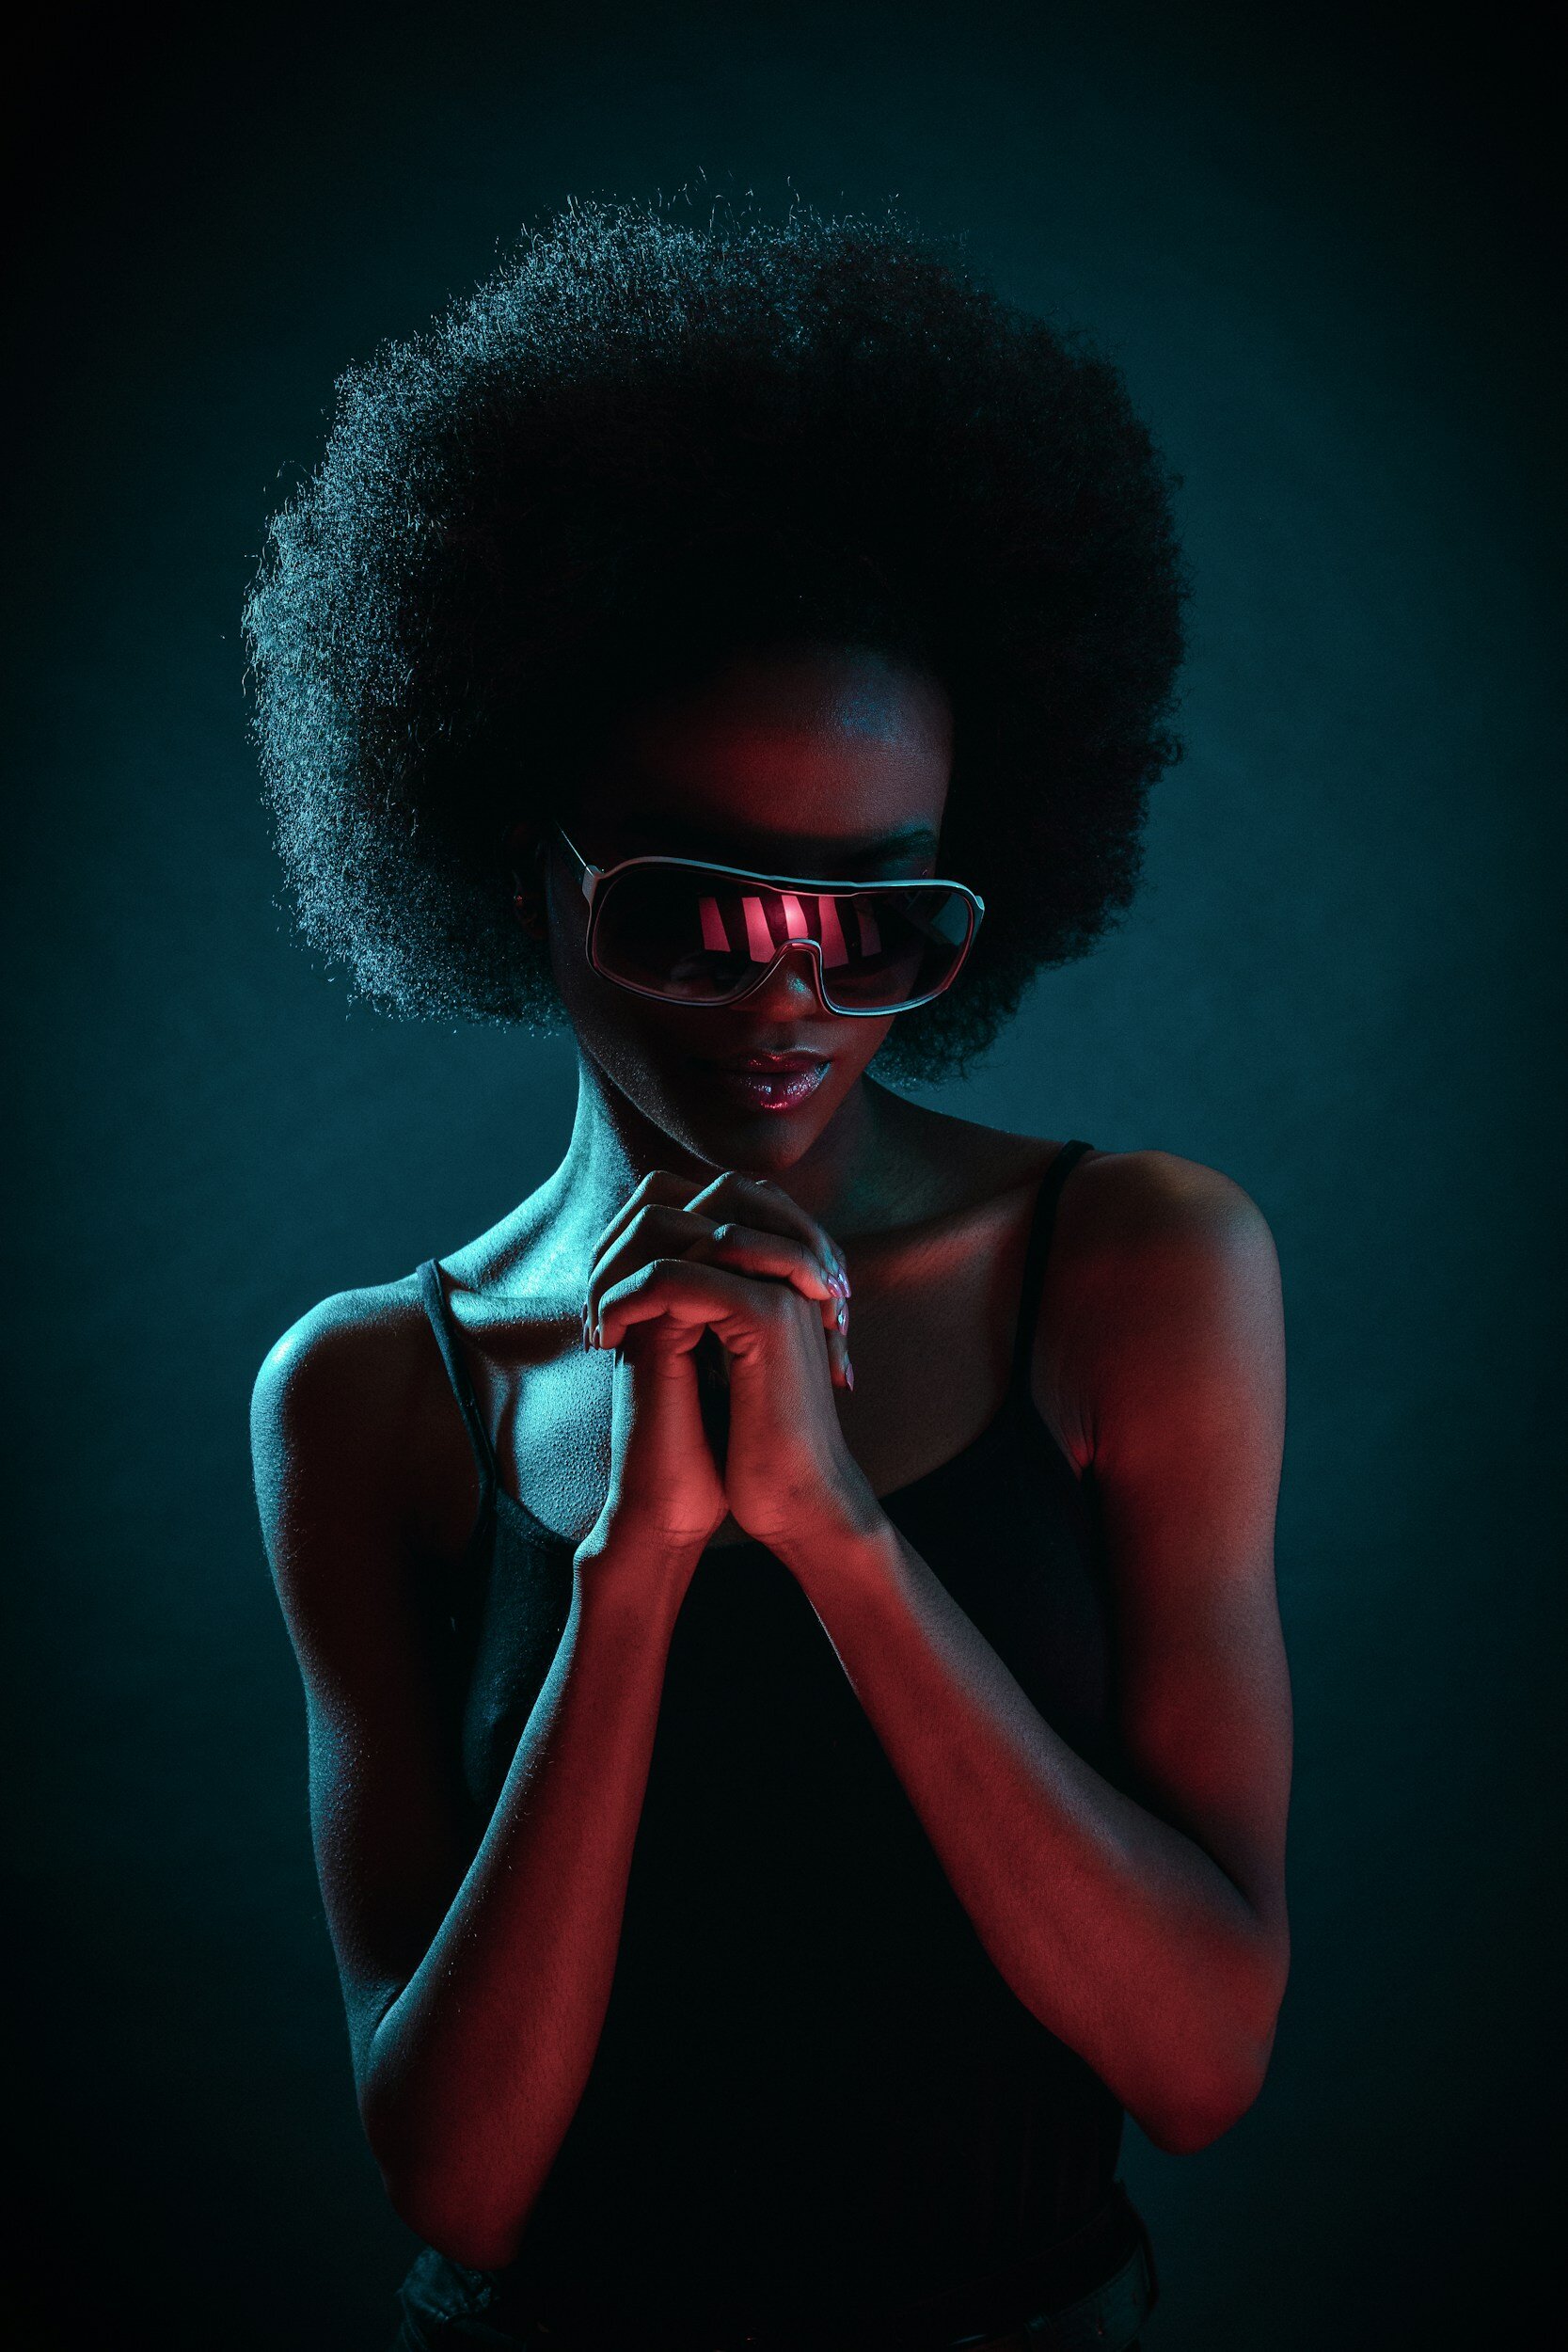
Gelled Lighting
Gelling refers to applying colored filters (gels) to light sources to alter their color temperature and hue. Using gelled lighting allows photographers to manipulate the atmosphere and emotion within their images. For instance, blue gels evoke feelings of calmness and serenity, whereas red gels convey warmth and passion.

Conclusion: For Drama, You Need Emotion
Each of the lighting techniques we’ve discussed has an effect that goes beyond mere technical elements like brightness and contrast. They convey meaning and emotion that are the source of evocative and dramatic portrait photographs.
So, never forget that your portrait should do more than capture the image of your subject; it should tell their story. Always consider the story you want to tell and the emotions you want to inspire before you settle for a lighting technique.
Also, remember that lighting techniques extend beyond the photo shoot. Use portrait presets to create dramatic lighting effects in the editing phase to get the result you and your subject desire.


Get Free Presets for Lightroom created by top photographers to update your presets collection, save down on editing time, and open up new artistic horizons.