
Complete Guide to Mastering Portrait Photography
Most photographers will shoot portrait photography at some point. When we commit to taking pictures, we commit to offering our clients excellence, but portraits are generally different.

Taking someone's photo means you're doing something that will likely be cherished for generations. These images capture a moment in someone's life - a piece of their history. That is why portrait photography bears a different value or poignancy than most other genres. The burden is on you as the photographer to do your very best. There's little room for error.
Here is a comprehensive guide to getting started in portrait photography. It contains valuable tips for you to advance and sustain your portrait skills. It offers fundamentals such as essential gear and post-processing with Photoshop and Lightroom.

Essential Gear for Portraits
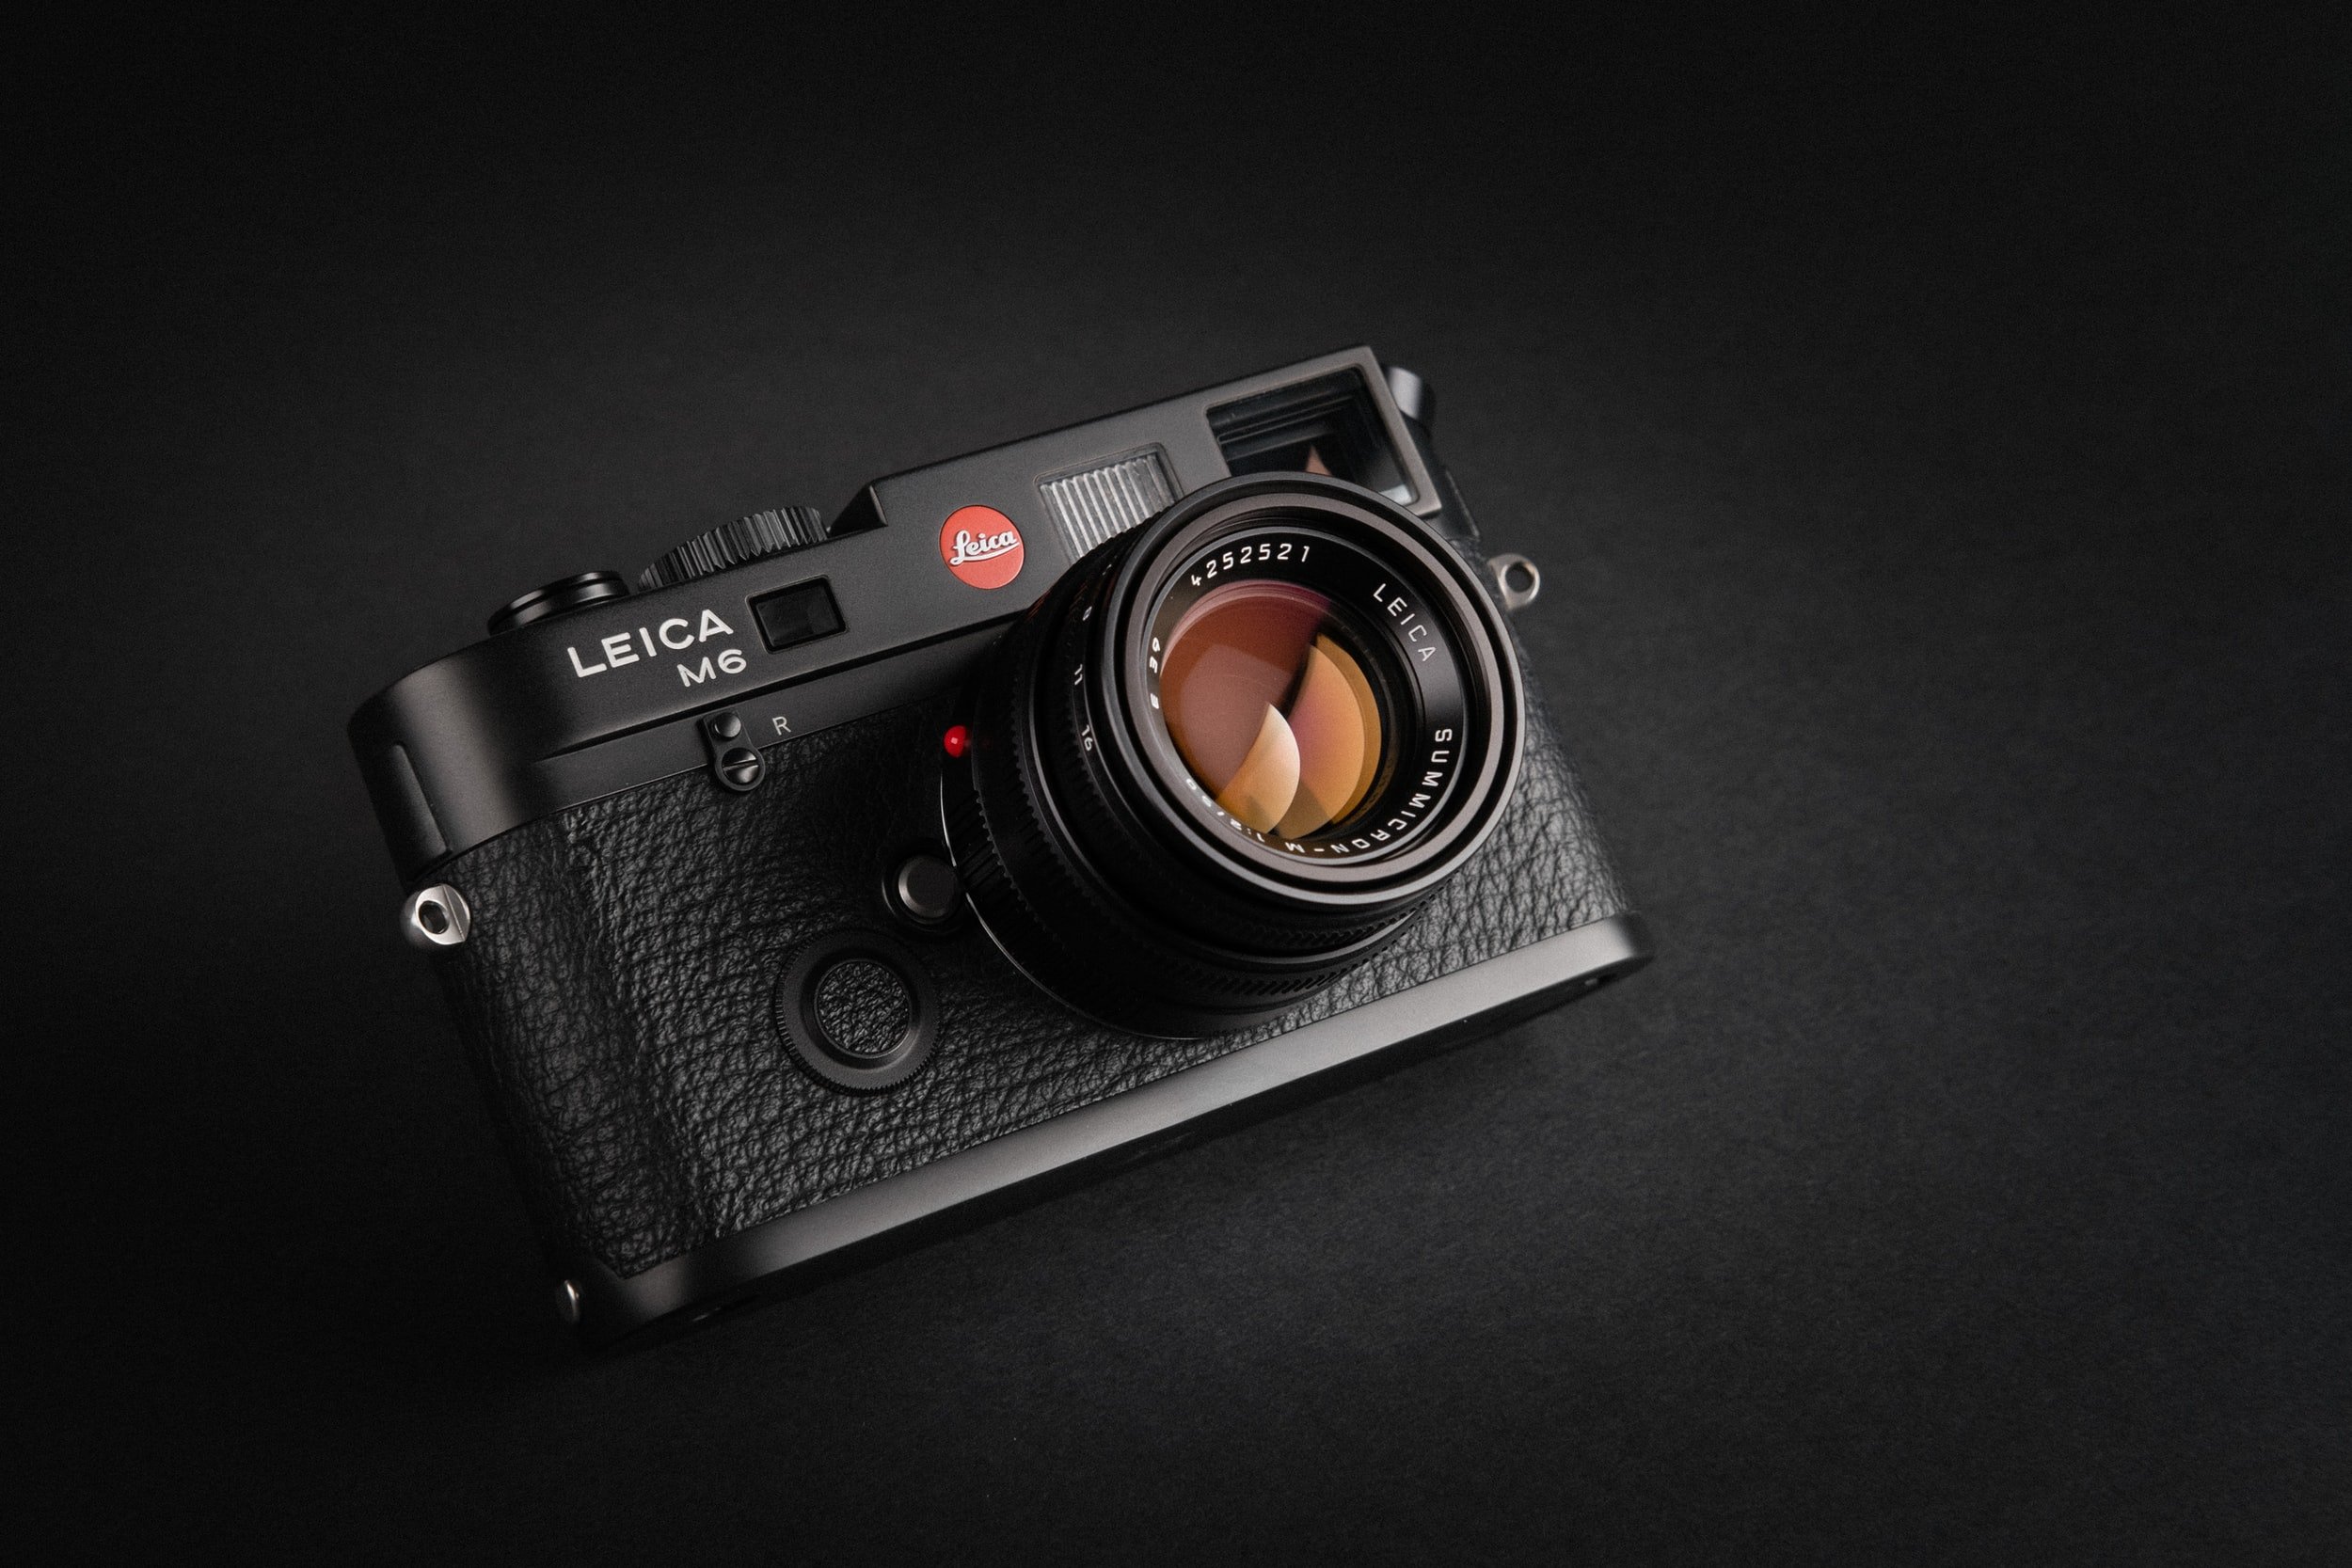
Best Lenses for Portraits
As a portrait photographer, you will need to select your lenses carefully. There's no sense wasting money on lenses that you won't need or use. (This is good advice for pretty much any photographer.) Most portraitists will want short telephoto and normal angle of vision lenses. On a 35mm, the standard focal length for a portrait lens is 85mm, so let's take a closer look.
50mm Lenses:
This is probably the most popular lens for portraitists, and it is worth investing in a good-quality one. The APS-C camera sensor is the most common, so you'll likely be using a 50mm lens with a camera that has that sensor.
It's worth noting that the lens will tighten down because of the camera's crop factor. This means it will transform the lens's angle of view, similar to a telephoto lens, to 75mm and 80mm. These lenses tend to come in fast apertures that span from f/1.8 to even f/0.95.
The more expensive lenses offer higher quality, faster aperture, and more robust components. Professional portrait photographers typically find that the investment is well worth the returns. It's also worth noting that you can use a 50mm on a full-frame camera.
85mm Lenses:
The 50mm lenses will give a bit of distortion. If you want to avoid that on tighter shots, consider using an 85mm lens. (A portrait photographer probably wants to own both, anyway.)
A benefit to using an 85mm is that you'll get a more blur on a shallow depth of field because they are longer lenses, giving you a lovely and class portrait effect.
Other Gear for Portraits
You should include several other pieces in your cadre of gear for portraits. Scrambling for equipment you don't have or don't have handy in the middle of a portrait session isn't ideal and doesn't make you look professional in the eyes of a client. Be sure to invest in and have handy the following pieces:
Tripods that will keep your camera steady and in the same place
Quality, reliable lights (flashes or strobes)
Large softboxes to coordinate with your lights
Best Portrait Photography Camera Settings
All photography comes down to settings, of course. You can only do so much in post-processing to edit or enhance an image. Getting the settings correct when shooting is the best start. The best portrait photographers know how to shoot manually and adjust to various lighting conditions. While planning ahead for a portrait session is always a great idea, you'll still need to make some in-the-moment decisions. However, there are several settings you should know before any portrait session.
Aperture:
Correct aperture is critical when shooting portraits, whether one person or several in the picture. Remember, the wider the aperture, the blurrier the background will be.
For an individual subject, you can use apertures as wide as f1.4. The focal length and distance between you and them can affect the focus of the image, so you will need to set the aperture accordingly. A rule of thumb is to focus on the subject's eyes and make sure they're in focus. If you're shooting from a side angle, the eye closest to the camera should be in focus. You might have to try various apertures, but typically a narrower aperture will put both eyes into focus.
For several subjects, apertures between f/2 and f/4 are usually suitable to ensure two people on the same plane are in focus. If you're shooting a group of subjects, you might have to use narrower apertures of f/5.6 to f/11. Which you use will depend on the group size and how many rows they are in. Narrow apertures help ensure every subject in the frame is in focus.
Shutter Speed:
Shutter speed also affects focus, making it equally important in photography, but certainly, portraits because they draw the viewer's attention to a human subject. A blurry subject, let alone a blurry picture, is never a good thing! So how do you get the shutter speed correct?
Speed: We recommend a speed greater than 1/ twice the lens's focal length, staying greater than 1/250 of a second.
Crop factor: If you're using a crop sensor camera, you must consider the crop factor. For example, if you are shooting with an 85mm lens, it is good to have a shutter speed greater than 1/(2 x 85) = 1/170 of a second for a full-frame camera and 1/(1.5 x 2 x 85) = 1/255 s for a crop sensor.
ISO:
Aside from aperture and shutter speed, there's also the need to get the correct exposure. And you do that with your ISO setting.
Bright conditions: If you're shooting in sunny or bright conditions, very low ISO values between 100 and 400 can yield noise-free images.
Low light: When you're shooting under low light conditions or using a narrow aperture for other reasons, you'll probably need to increase the ISO to 400 to 800 to get proper exposure.

Three Portrait Photography Fundamentals
If you learn the most important fundamental elements of portrait photography, you'll be well on your way to producing good-quality images. These three tips will give you an excellent foundation to advance your skills.
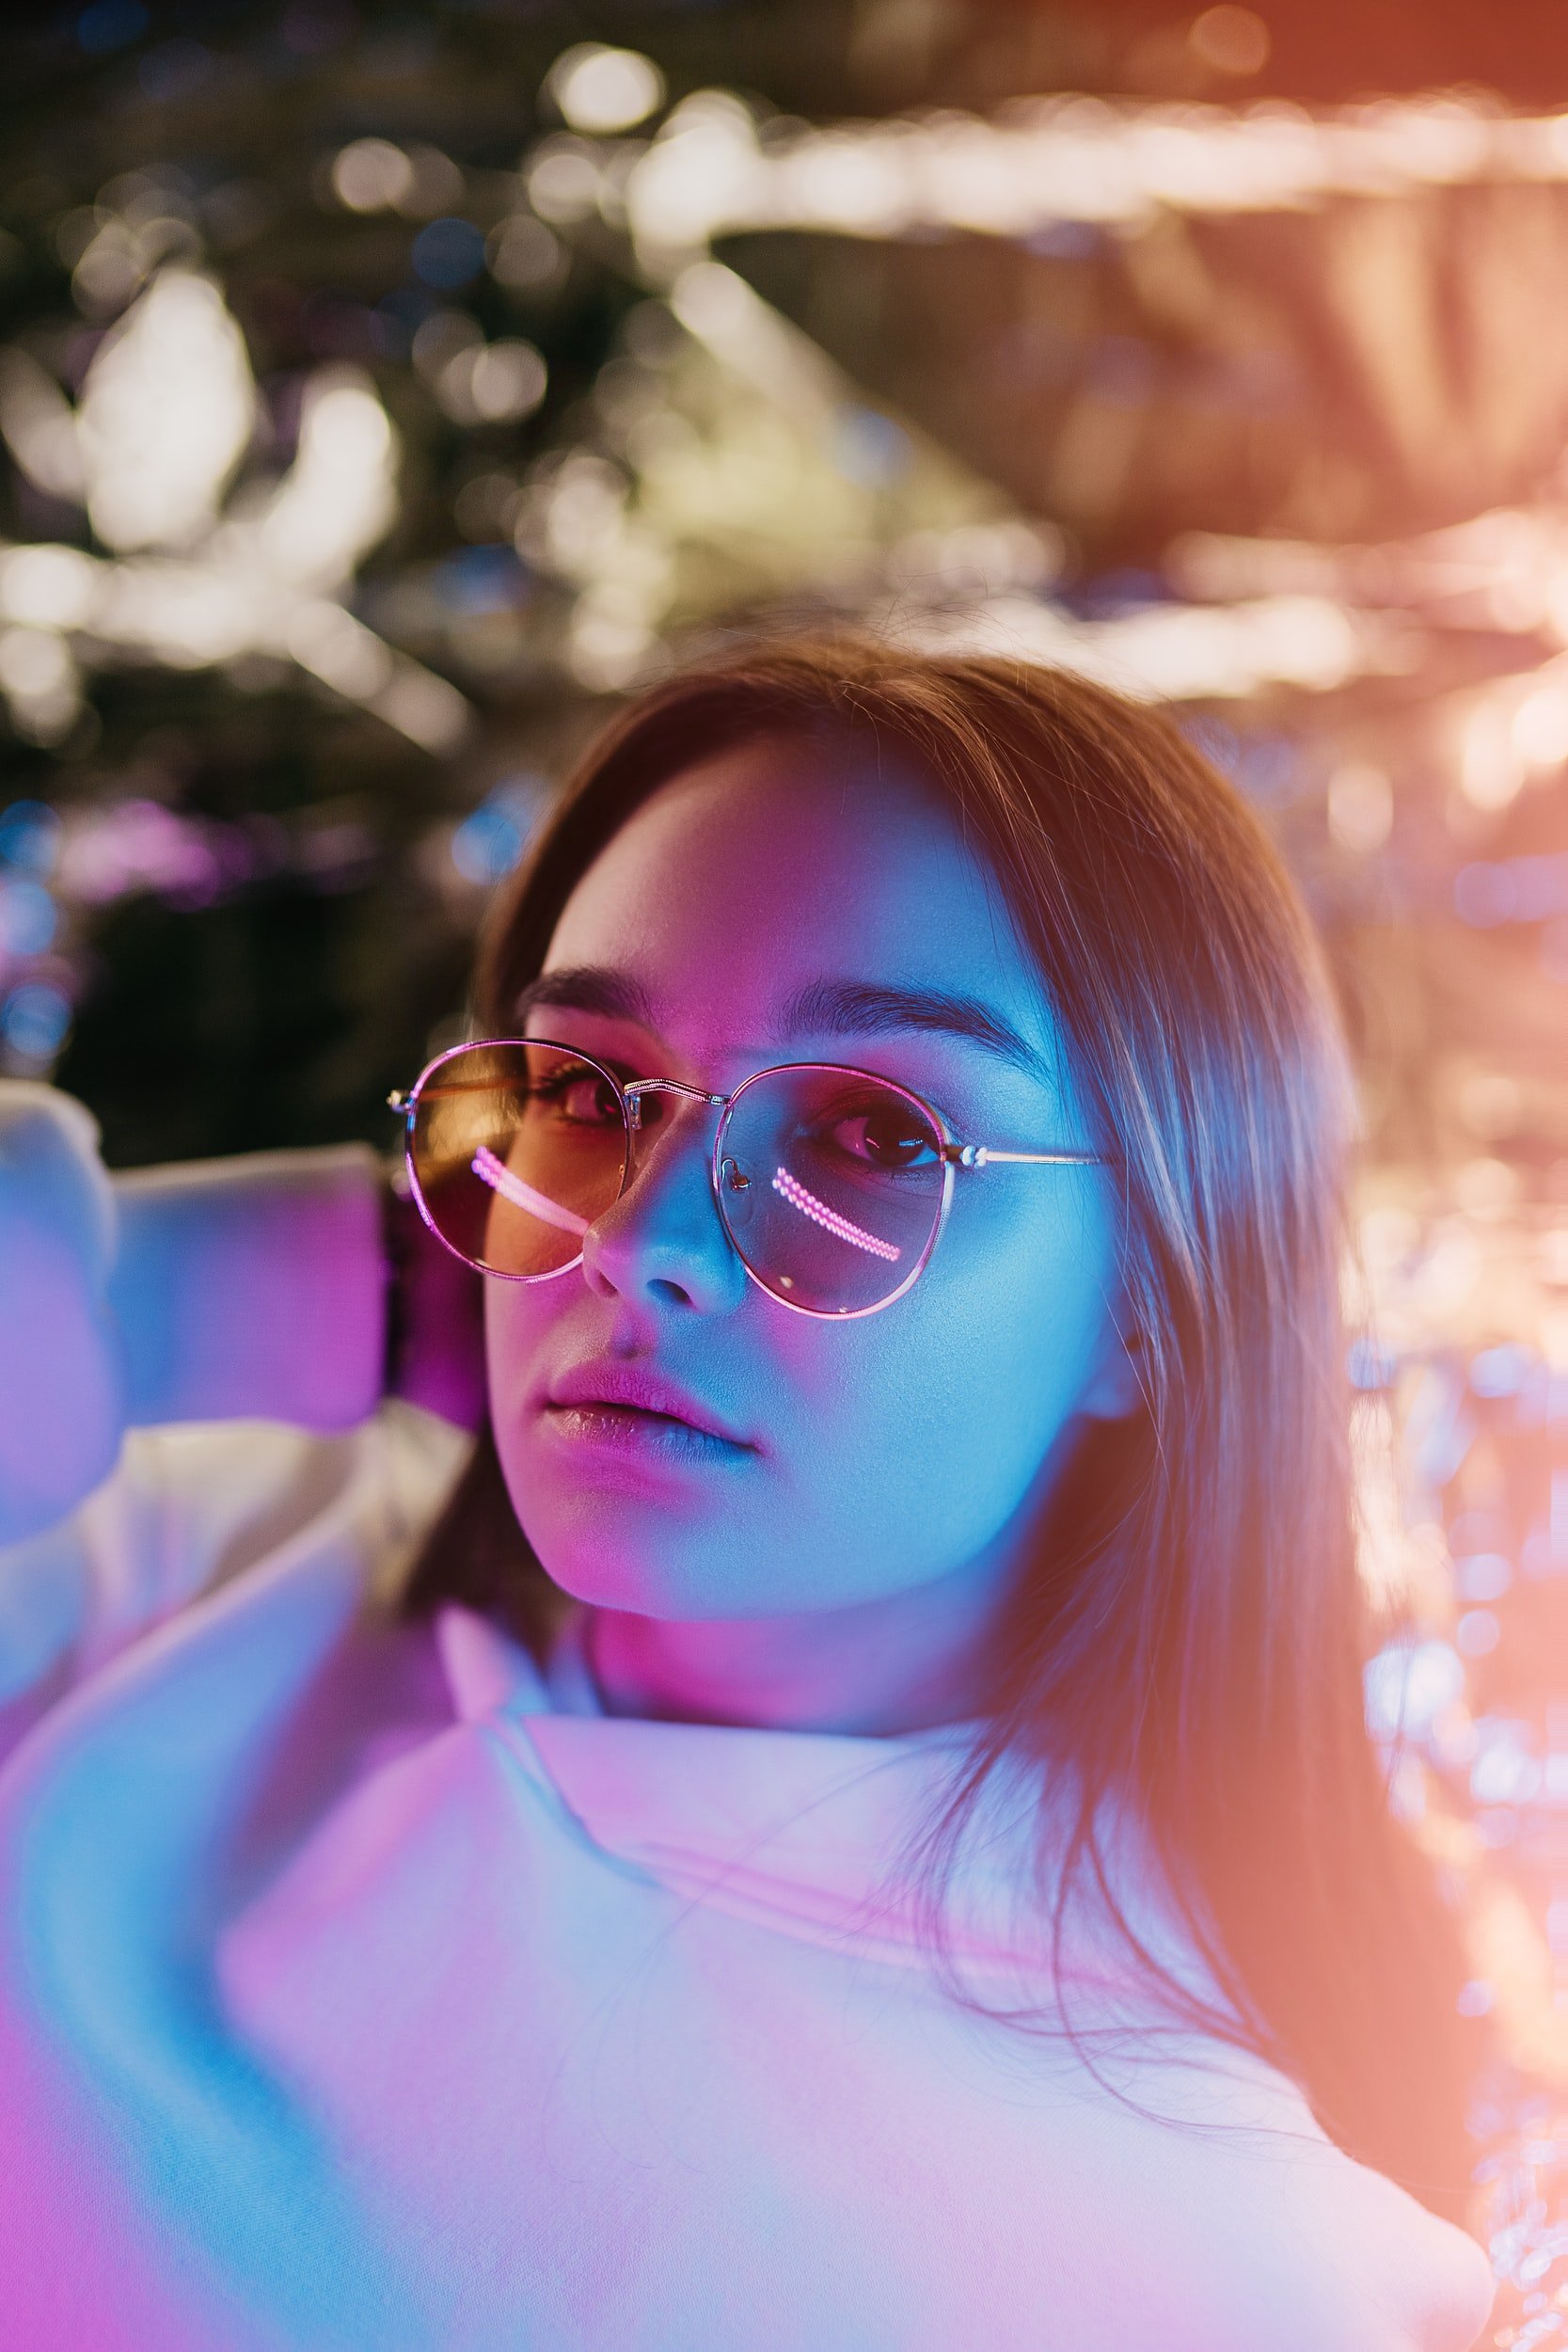
Focus on the Eyes: As we mentioned earlier, a good portrait photographer will always focus on the eyes! And as we said, if you're shooting from a side angle, focus on the eye closest to you. If the eyes aren't focused, neither is the face, and everything else won't matter.
Soft Lighting: Professional photographers will tell you that human subjects always look better in soft light. Consider the lighting in a fine restaurant or a room lit with candles. Everyone looks better! Soft light avoids harsh shadows and contrasts and softens skin textures. It's essential in portrait photography, so you'll want to avoid harsh lighting. Ideally, you should use natural light (like a nearby window or glass door), soft ambient lighting, shooting outdoors on an overcast day, or a light diffuser. There's more on lighting in the next section.
Backgrounds: Plan the portrait background and coordinate it with your subject whenever possible. For example, their clothing shouldn't clash with the environment. Move the subject around (or yourself) to ensure the best background if you're shooting outdoors. While the background is important, it should never be more significant than your subject unless you want it to become the subject!
Portrait Lighting
After camera settings, lighting is another make-or-break element of portrait photography. It's crucial to plan ahead for proper lighting for a portrait session. You'll need to know and understand the basic lighting rules for portrait photography to get it right.
Natural Lighting:
Ask the pros, and most of them would probably say that natural light is the most ideal. (Of course, it also means you can't control the light conditions, so you'll need to be prepared for that possibility as well.)
Natural indoor light can be achieved by shooting near a window or other opening that allows natural light into the room. It's a bit like working with artificial lighting, but you'll have to move the subject into or toward the window. (If there's a sheer curtain or fabric on the window, you'll get a nice diffused light.) This kind of light can create some beautiful effects and drama. Advance planning before the subject arrives is advisable. For example, you might want to schedule the session around the time light shines through the window!
Shooting outdoors is best on an overcast day to avoid harsh light and shadows. Clouds create a natural diffuser that can make ideal lighting conditions. If you have to shoot outdoors and it's sunny, try moving into the shade with the harshest light coming from behind you, not behind the subject. If you want a silhouette effect for the model, turn them, so the sunlight comes from behind them to darken them.
Golden hours can be a truly magical time to shoot an outdoor portrait. The golden hours are just after sunrise and just before sunset. The sun creates a beautiful glow that can create an equally beautiful effect for the subject.
Artificial Lighting:
If you're going to be a portrait photographer, you will have to work with artificial lighting at some point. You might as well get used to the idea and learn the basics for the two types of artificial lighting: continuous and strobe lighting.
Continuous Lighting comes in three kinds: fluorescent, incandescent, and LED lighting.
Fluorescent lights come in a wide variety of colors, including various shades of white. It can be tricky to work with this type of lighting, and we suggest using a grey card - or avoiding it altogether if you're a beginner.
Incandescent lighting also comes in different types, including standard light bulbs and studio lights. Overall, it is a warmer light than fluorescent and natural daylight.
LED studio lights can be tricky because they can range from stable to unstable in color temperature. Their quality can be harsh without much spread. You'd likely have to bounce it and/or diffuse it.
Strobe Lighting offers the flexibility of many kinds of studio strobes and flash lighting. It's one of the most common lights used in photography but not the easiest to manage and typically has to be readjusted throughout a portrait session. (The second pair of hands can be helpful if you're working with certain kinds of strobe lighting.) We could produce an entire book on strobe lighting, given its diversity and accessories.

Using a Flash in Portrait Photography
The often dreaded flash is an essential part of portrait photography. While learning flash photography isn't the easiest thing to do, it can transform the look of your portrait work. It can be a worthy time investment to understand and master flash photography.
A built-in camera flash offers the least flexibility of the three types. It tends to create harsh light and too much contrast for portraiture. The dreaded issue of red eyes is associated with this type of flash.
An external, battery-powered flashgun offers a more controlled light source, making them a bit more desirable than the built-in flash. Their technology has also improved in recent years allowing photographers to do more with them, including wireless syncing.
The big studio mains flashes are helpful for portrait sessions but can be expensive and aren't very portable. Even so, they are popular with portrait photographers. These high-powered lights allow for multiple attachments like softboxes and reflecting umbrellas.
Flash Modes For Portraits
We would be remiss if we didn't discuss flash modes, specifically manual flash mode. There are three main reasons why it's popular and so useful:
It's the best way to balance flash with ambient lighting.
There's no variation of color or exposure.
It gives you precise control of the flash output.
Basic settings for manual flash:
The first setting regulates the power in increments, from full power to 1/64th or 1/128th.
The second setting is lens focal length, allowing you to narrow or widen the angle of the flash output according to the lens used.
The other flash mode is the TTL (Through The Lens) metering. If the camera sensor receives enough light for correct exposure, it will turn off the flash. However, it can cause variations in exposure depending on where the camera's sensor is reading.
Two more things to keep in mind about shooting with flash:
Shutter speed (mostly) has no effect on flash exposure. Regarding the shutter speed, you're limited to the sync speed, which is the maximum shutter speed. That is usually around 1/250th of a second. (Some advanced units can sync at much higher speeds).
The aperture does have an impact on direct flash. It will affect any ambient light on your subject. If you're using the flash on manual, you'll need to balance the output setting with the flash and ambient light.
Shooting Portraits With a Single Flash
Many cameras come with a single hot-shoe-mounted flash. Not to worry because you can still produce some great images. Here are the three ways to use a single flash:
Direct flash: This is the least desirable when shooting portraits because it's very direct and the least flattering. It can produce an unflattering, washed-out appearance. It can also create that dread red-eye look that's so unprofessional.
Bounced flash: This is the best way to produce the soft look often associated with beautiful portrait photography. The bounced flash hits a wall or low ceiling to spread a more diffused, softer light over the subject. Keep in mind that if you bounce the light off of a non-white surface, you can reflect the tone of that color onto the subject.
Fill-in flash: A fill-in flash can supplement ambient lighting or another light, like a background light. It can also fill in light when needed, like when you shoot outdoors with natural light coming only from one direction and you want to supplement light on the other side.
Dual or Multiple Flash
Technology has done a lot for how we can use flashguns, including how we work with dual or multiple flashguns. You can easily trigger two or more flashguns when needed. The creative possibilities, as a result, are endless. You can set up flashguns on either side of a model, one in front and one behind, and so forth.
Light Accessories
It can be fun to buy photography accessories, and we sometimes have to control ourselves a bit! So the fact that there are more flashgun accessories than ever can be good (or bad) news, depending on your budget! And the reason for buying them is a great one! Accessories can significantly improve your images, elevating their quality! (Not that we needed more reasons to buy accessories!)
There's something for everyone and every budget, from inexpensive diffusers to softboxes and snoots! And because technology today is what it is, some accessories and apps can now be controlled from your smartphone.
Environmental Portrait Photography
This might not sound like it goes together, but environmental portrait photography is the concept of shooting portraits in the subject's natural environment. For example, it could mean photographing a park ranger in a national park, a teacher in a classroom, or a famous ballerina on a stage.
This type of portraiture can be poignant because it pulls the viewer right into the world of the subject. It also suggests context to the portrait or subject. The portrait's environment can be so much more relevant and beautiful than a studio backdrop! The general rules for backgrounds and lighting apply to this type of genre. You should also be comfortable working outside your studio and literally in someone else's environment. An important tip is to scout the venue ahead of the portrait session to check the lighting and plan accordingly.
Post-Production for Portraits
Even the pros do it! Post-production (post-processing) is an integral part of quality photography, including portrait photography. While it's crucial to do the best you can when you're shooting, for example, get the camera settings correct, post-production is an essential part of the process.
After a session, you can do some fine-tuning to elevate the image, such as adjusting for blemishes or other small but essential details. Here are some basic edits you might need to make in Photoshop or Lightroom. Hopefully, you've shot in RAW for the most flexibility in post-production editing. Adobe Camera RAW and Lightroom offer similar exposure and color controls.
Exposure: Sometimes, we don't get the exposure just right when shooting. Alas, you can fix that quickly enough in Lightroom! Use the black and white exposure sliders and adjust the highlights and shadows as needed.
White balance: You can also adjust the white balance if you need to correct the skin tones.
Skin Smoothing in Lightroom
Most often, you'll want or need to do some skin smoothing to eliminate minor skin blemishes such as pimples or even wrinkles.
To do this, you should start by zooming in on the blemish.
Use the Spot Removal tool setting to Heal in the Develop module, using the correct brush size.
Then set the feather to 15-20% to smooth the edges of the spot removal.
Next, click on the blemish you want to remove. A second circle will appear. That is the area from which the blemish will be covered.
Move that second circle around to find the best skin color and tone match.
Lastly, click Done.
Skin Smoothing in Photoshop CC
This is similar to Lightroom, but you use the spot healing tool.
Choose the Spot Healing Brush Tool from the toolbox. Make sure that Content-Aware is selected at the top.
Set a brush size appropriate for the blemish you want to remove. Tip: make the brush about 10-20% larger than the actual blemish.
Unlike Lightroom, Spot Healing does not require feathering. The Content-Aware algorithm automatically determines the best match from the surrounding skin to cover the blemish perfectly.
Then, as with Lightroom, use the same click and drag technique with the Spot Healing Brush to cover wrinkles.
Brightening Eyes in Lightroom
You can use this feature to make a subtle enhancement to the eyes by brightening them. The goal is a slight change, not a complete transformation, which would likely change the subject's overall appearance.
To make the change in Lightroom, use the Radial Filter in the Develop Module.
Then draw out a circle over the iris of the eye.
Use the click points to drag the circle into the correct shape and position it to cover the iris completely.
Leave the feathering set to 50, and invert the filter so that you are working only on the eye itself.
To lighten the iris slightly, raise the exposure just a little. (If you want to change the color of the iris, you can do that by using the Color Temperature slider.)
You can add clarity to boost the contrast and detail while increasing saturation. This will make the iris stand out more against the white of the eye.
If you want to whiten the eyes, you can use the Adjustment Brush by selecting a suitable brush size. (Make sure the Auto Mask is checked at the bottom.)
From the bottom left of the main screen, check Show Selected Mask Overlay so that the brushed area turns red.
Brush in the white areas of the eye.
You can also boost the exposure slightly and brighten the eye and reduce color temperature to remove any yellowness from the eye.
Brightening Eyes in Photoshop
It's pretty easy in Photoshop to boost the eyes' brightness:
Zoom in to the eye.
Create a new Levels adjustment layer from the menu: Layer - New Adjustment Layer - Levels.
Then adjust the highlights to adjust the eye whites and iris.
The entire portrait will become lighter. With the adjustment layer selected, go to Image - Adjustments - Invert, and the overall image will return to the default exposure.
Select the Brush Tool and set Opacity and Flow to 100% from the Toolbox.
Select a suitable brush size and set the hardness to 0%.
At the toolbar's bottom, make sure the foreground color is set to white.
Now subtly paint over the whites of the eyes. They will lighten to the levels you set.
To boost or change the color of the iris, you can use a similar technique.
Go to Layer - New Adjustment Layer - Color Balance.
Set tone to Midtones.
Adjust the color sliders until the eye is the color you want.
The entire image will take on the same color. Just go to Image - Adjustments - Invert. Paint out the iris area using the brush tool.
Self-Portrait Photography
This has become a popular type of portrait photography. There is a significant difference between a quick selfie and a self-portrait. The self-portrait is akin to a portrait. A selfie is a quick shot taken, usually to post on social media without regard to photography technicalities or rules. Don't undervalue the importance of using the right equipment to take quality self-portraits. Treat them just like you would any portrait and use the correct equipment.
Here are four essential self-portrait tips:
Composition/Background: Just because it's a picture of you doesn't mean you should forget about elements like composition or background. Keep the general rules of photography in mind when taking your self-portrait.
Tripod: Taking your own picture can be physically awkward. Use a tripod to avoid camera shake and create the correct perspective or angle. This isn't an awkward selfie, after all, from some weird angle.
Tethering: We suggest tethering your camera to a monitor so you can see what your self-portrait looks like. It will save you some time.
Remote: Use a remote shutter release to make your life easier. No need to set a timer and run to strike a pose.

The Most Popular Portrait Styles
Popular portrait photography styles have come and gone through the decades. Let's look at six popular portrait photography styles today. As a photographer, you should keep up with what's in demand or what viewers want to see, particularly if you're going to work professionally as a portrait photographer.
Classic or Traditional: These portraits put the subject front and center in the composition. The face is given priority and typically (but not always) faces the camera. These images can include the head and shoulder, only the head, the upper half of the body, two-thirds, three-fourths, or whole-body shots. The subject can be seated or standing.
Posed: These are precisely what it says: posed pictures, often done in studios. Everything about the image is well-coordinated, from costumes, clothes, and props to poses and lighting. The subject is literally posing for the picture. They often convey a more formal look and are considered the very opposite of candid portraits.
Candids: This type of portrait captures the subject or subjects in spontaneous (candid) moments. Often, the subject isn't even aware that the photographer has snapped the picture. The more candid the image, the more likely to capture a subject's genuine emotions and instants. Candid portraits have become very popular in recent years, even for previously formal events like weddings.
Travel Portraits: Travel portraits aren't holiday snapshots. These are more thought-out and documentary in nature and capture travel elements such as traditions, culture, local people, landscapes, and historical sites. Often travel portraits combine the various categories of portrait photography such as environmental, candid, and posed.
Environmental Portraits: As we mentioned earlier, environmental portrait photography shoots portraits in the subject's environment, such as a park ranger in a national park, a chef in a kitchen, or a famous ballerina on a stage. These portrait photographs capture the relationship between the subject and their environment.
Lifestyle Portraits: Lifestyle portraits show a subject's style of living, but not always in their own environment. They can be a combination of candid and environmental images depicting how someone lives, but that isn't always the same as their environment. For example, a fashion blogger's picture might be taken on a street carrying shopping bags rather than in front of clothes, which would make it a more environmental portrait.

Conclusion
Portrait photography can be a hugely satisfying genre of photography and is ever-evolving with styles and technology. Anyone can start taking portraits as an amateur and work their way up from there as they advance their skills, experience, and equipment. You don't have to run out and purchase a $3,000 camera to start taking portraits as you build your skills. That should come with time and once you're serious enough - and ready - to commit both time and investment to portrait photography. Good luck!


