Tutorial on Using the iPhone's Camera
The iPhone X takes shooting pictures to the next level - as it should, given its price point. With front and back cameras, iPhone photography just got way more interesting with Apple's introduction of the X earlier this year.
Things to know
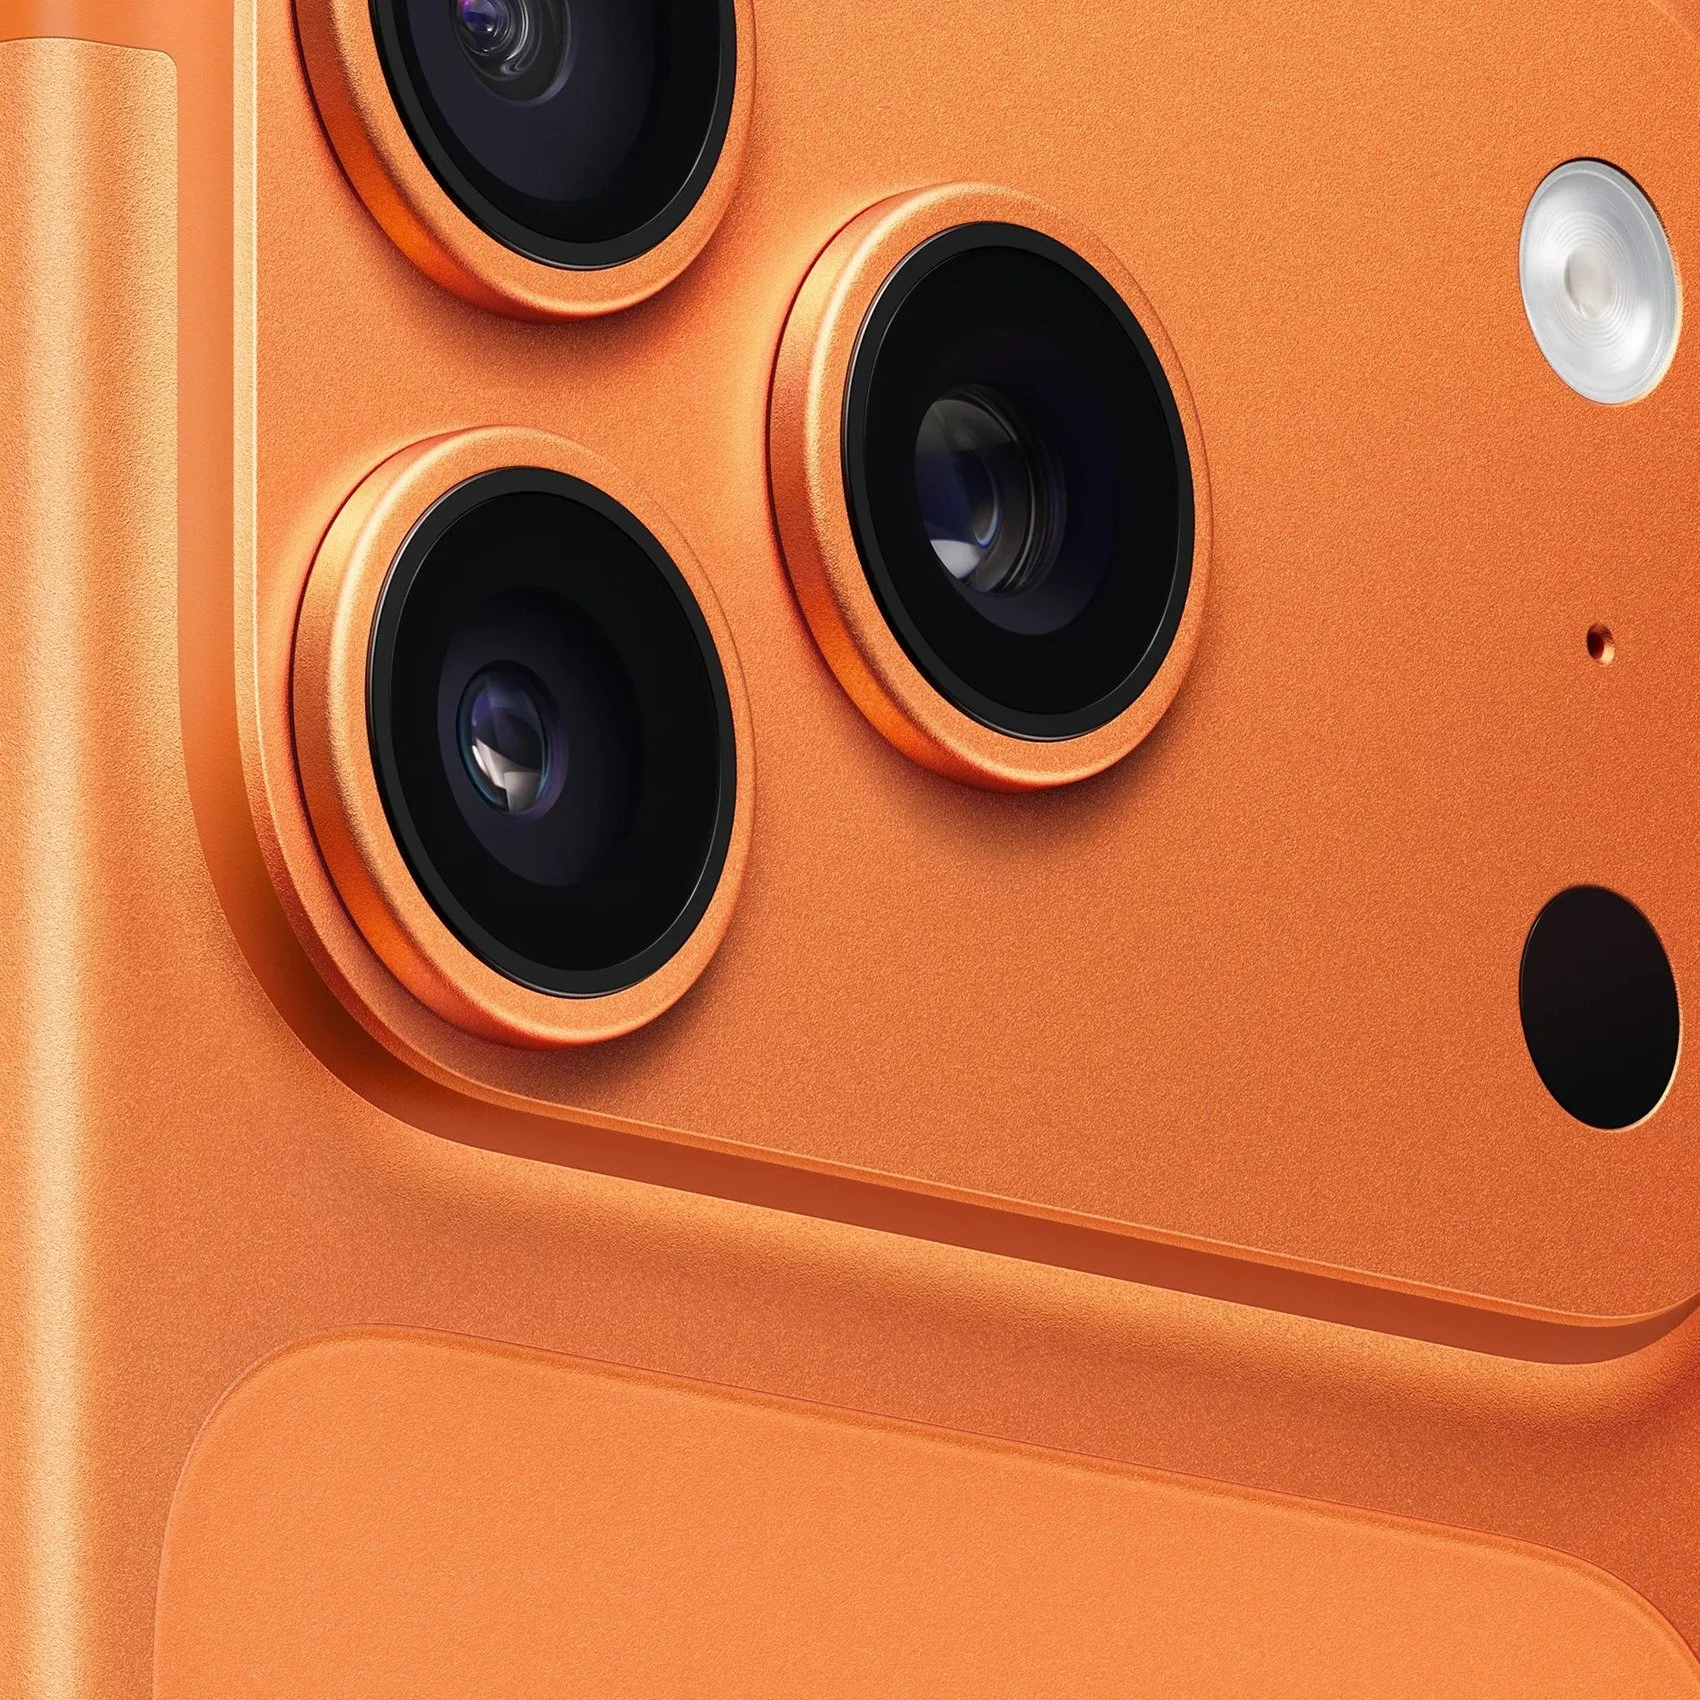
The iPhone X has rear 12-megapixel wide-angle (f/1.8 aperture) and telephoto lenses (f/2.4 aperture) for better low-light pictures. There's also 2x optical zoom and digital zoom up to 10x on the telephoto. The front camera is 7-megapixel and uses f/2.2 aperture and can take pictures using Portrait mode.
Both lenses come with optical image stabilization for handheld video.
Keep in mind that some of the X's features are also available on the iPhone 7 Plus and iPhone 8 Plus. So some of what I cover here applies to all three phones.
1. Update
First, make sure you update your phone to the latest version of iOS. You can do this in Settings > General > Software Update. Your phone will tell you whether your software is up to date or it will download the latest version.
2. Camera App
Open your Camera app. you'll see options for photos and videos: Time-Lapse, Slow-Mo, Photo, Portrait, Square, Pano, and Video.
For a regular snapshot, select Photo, and tap on the Shutter button. Hold the shutter down for burst mode.
To zoom in, tap the 1x button. You can use the digital zoom to zoom in further. Just hold down the 1x or 2x button.
Move your finger along the curved line which appears to select the level of zoom you want.
Another way to zoom in or out is to pinch the screen.
Keep in mind that using digital zoom can reduce the resolution and/or quality of an image.
3. Video Options
In the Time-Lapse and Slo-Mo modes, you can shoot short videos. When viewing the video, the camera will either speed up the action for Time-Lapse) or slow it down for Slow-Mo.
4. Resolution and Frame Rate
You can adjust the resolution and frame rate of a video, by going to the Settings screen > Camera. By tapping on the Record Video setting, you can shoot 720p, 1080p, or 4K video at different frame rates–24, 30, or 60 frames per second. From the Camera Settings screen, you can select the frame rate for slow-mo video, either 120 or 240fps.
You can also lock the camera since it doesn't switch between the wide-angle and telephoto lenses.
5. Square
If you want to change your image into a square, click on Square. You can shoot at 1x, 2x, and up to 10x via the digital zoom.
6. Pano
Just like on other iPhones, Pano lets you create a panoramic image easily at 1x or 2x.
7. Portrait Mode
One of the niftiest of the camera modes is Portrait which is also on the iPhone 7 Plus, the iPhone 8 Plus, and the iPhone X. The phone offers suggestions to help you take a better shot.
The iPhone 8 Plus or iPhone X allows you to choose from different Portrait Lighting effects, including Natural Light, Studio Light, Contour Light, Stage Light, and Stage Light Mono.
8. Front Camera
To use the front camera for selfies, you can do it in Photo, Time-Lapse, Video, and Square modes. If you use the Portrait mode, the camera allows you to try various lighting effects.
9. Portrait Lighting
Also, another nifty feature with the iPhone 8 Plus or iPhone X, is that you can apply any of the light effects AFTER you've taken a portrait photo.
Tap on the thumbnail icon in the lower left of your camera app to go to your library. Select a photo shot in Portrait (the photo displays the word Portrait at the top). Then tap Edit, and the icons appear at the bottom of the photo. Select which one you want and tap done.
10. Filters
For special filter effect, just tap on the Filter icon and swipe through the various color filters to select one.
11. HDR
HDR (High Dynamic Range) is probably one of the best features. It takes three photos in one shot at different exposures to create a single photo by combining the best elements of the three.
The HDR is automatically enabled on the iPhone X and other iPhone models. Note that HDR images take up more space on your phone.
You can turn off Auto HDR by going to Settings > Camera. In the HDR section, simply turn off Auto HDR. If you return to the Camera app, you'll now see an HDR setting which you can set to Auto, turn on, or off.


