
Basic Tips for Shooting Indoors

You don't have to shy away from indoor photography. Yes, it presents a different set of challenges than outdoor photography, but with a few basic tips - and lots of practice - you can make it work. Who knows? You might find that you enjoy it more than shooting outdoors.
CONSIDER THE LIGHT SOURCE

There are typically two sources of lights inside: natural and artificial.
Artificial: Let's start by turning off artificial lighting - especially if there's good natural light you can leverage (more on that next)! Artificial light can throw off the white balance of an image, especially if it's affected by natural lighting. If you turn off the artificial lights when shooting, you will have a lot less work later in post-processing. When there is no natural light, and artificial lighting is your only source, then you'll have to make do with it. If at all possible, we suggest moving the light source and/or your subject to best capture the light and to create a more dramatic effect as desired. Remember, that incandescent light bulbs are far more flattering than fluorescent lights.
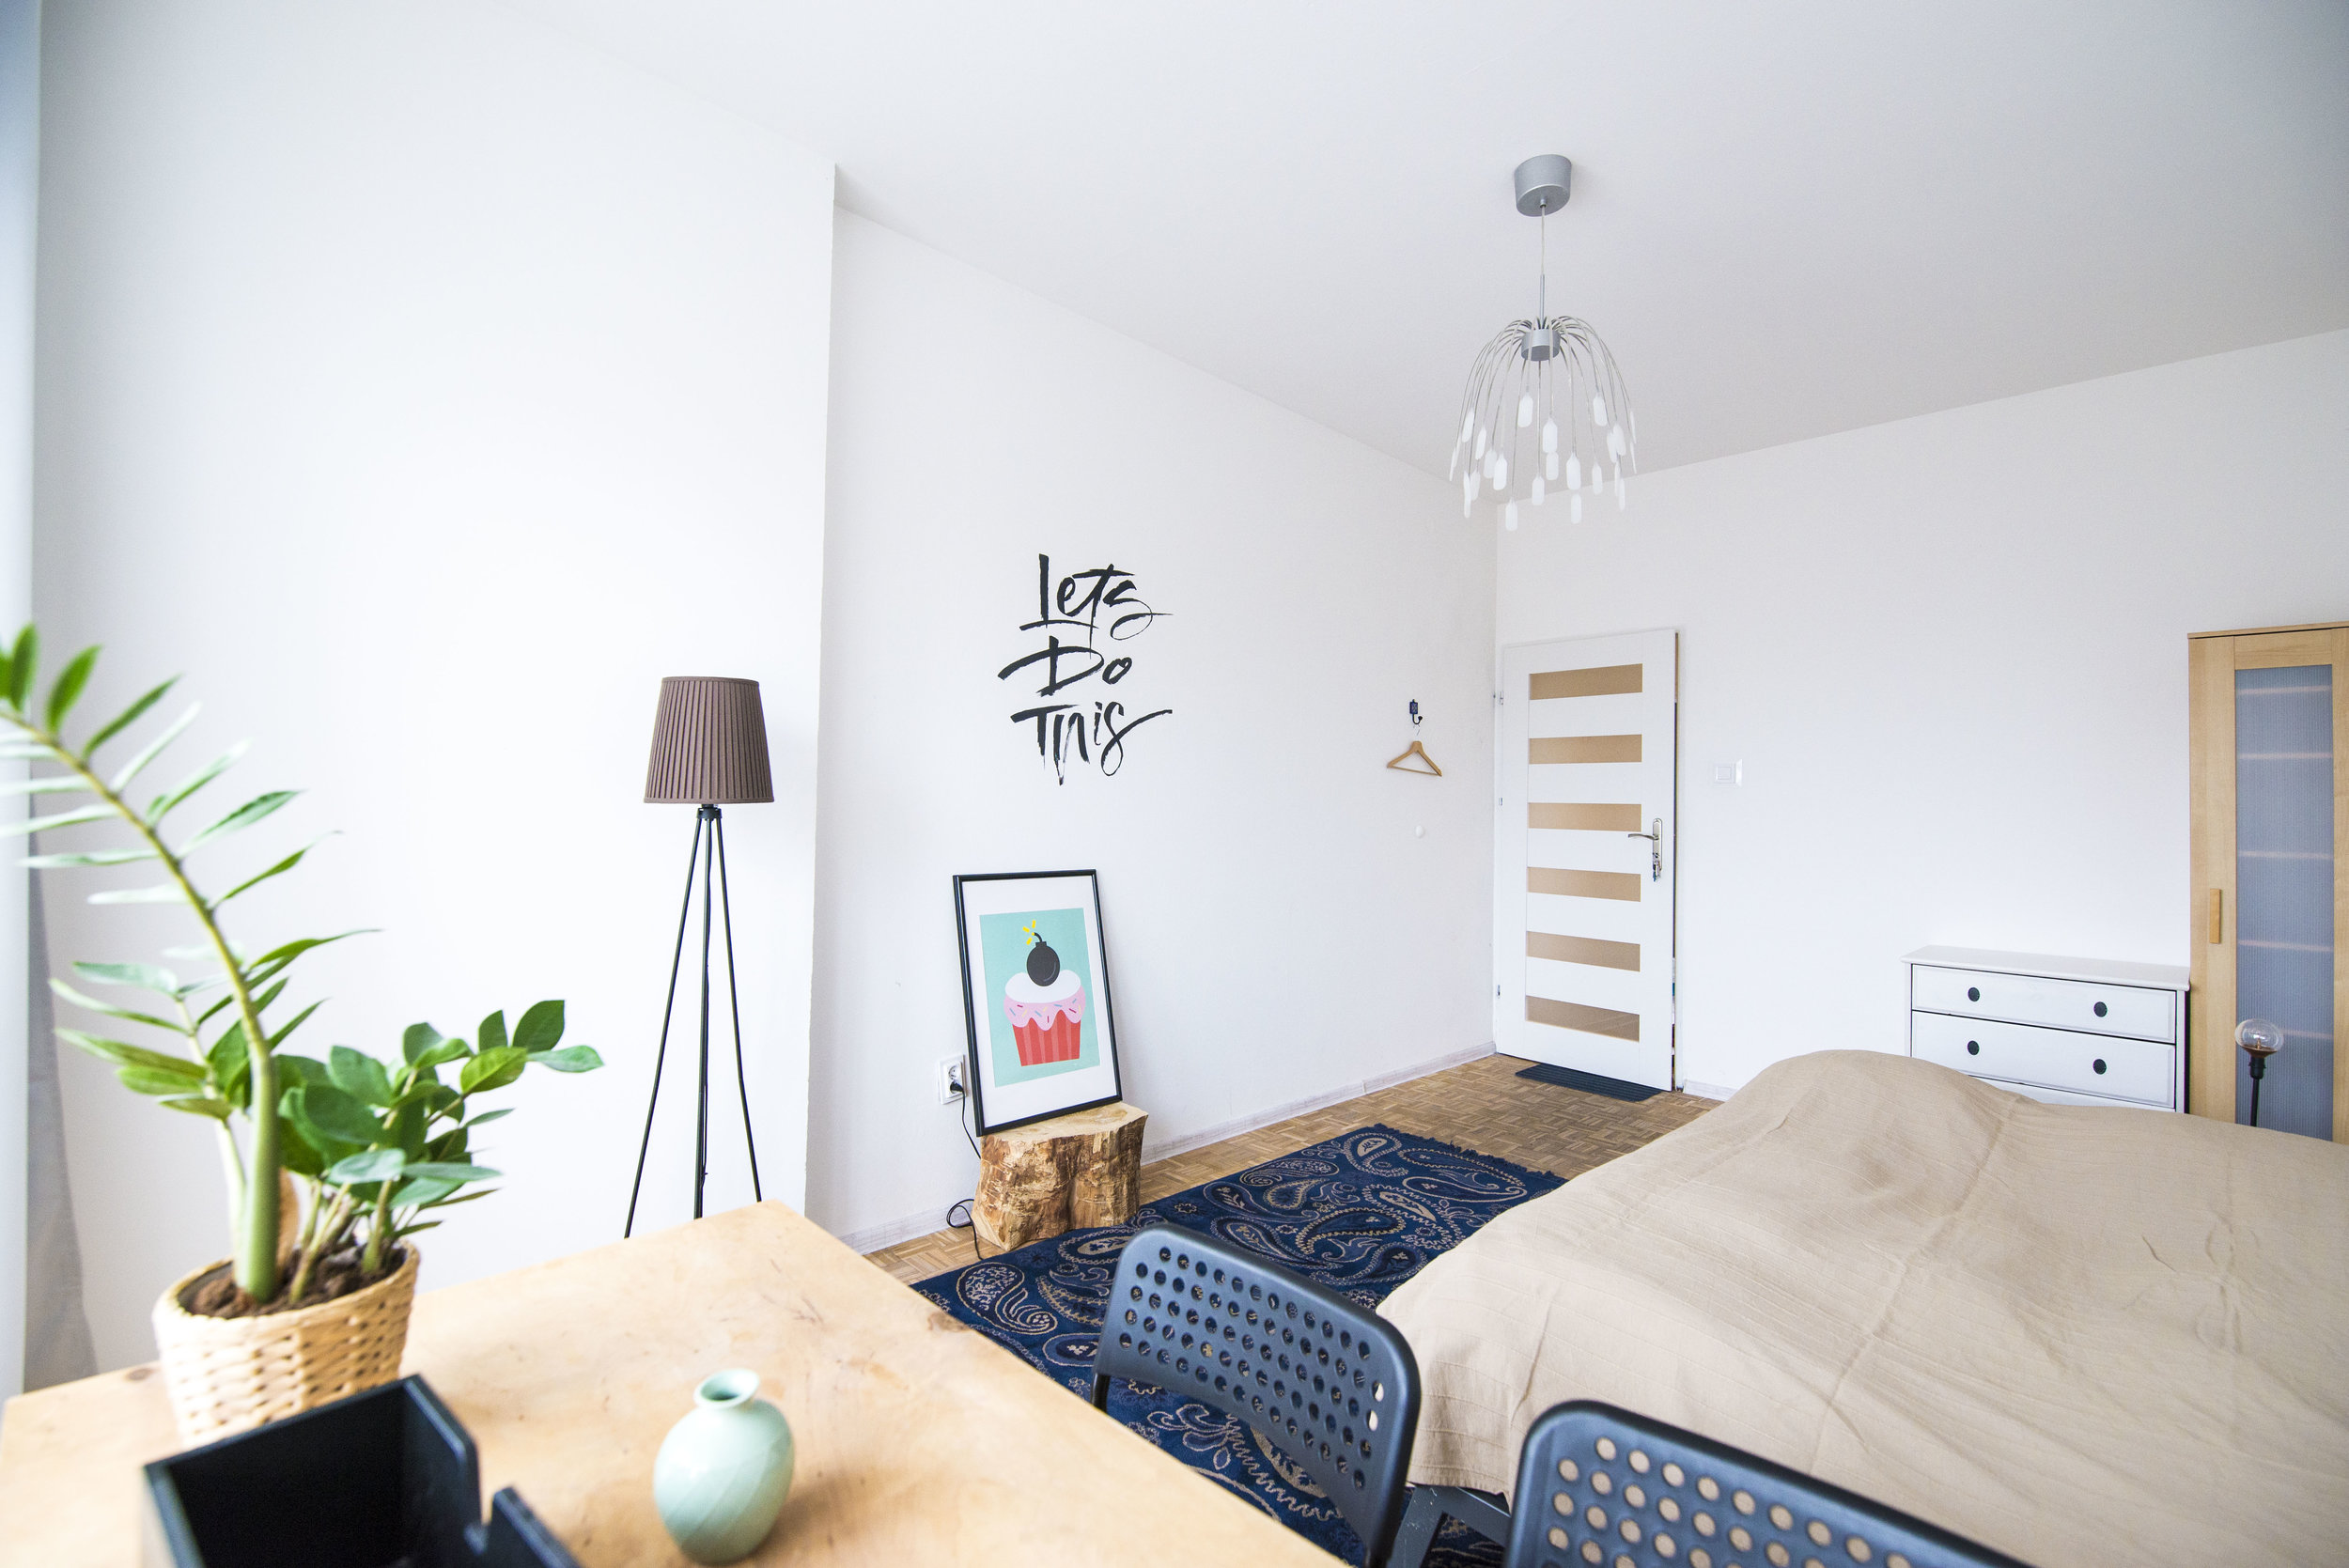
Natural: When shooting indoors, make use of natural light! Take advantage of it whenever possible. If you're lucky and shooting at the right time of day, you might find that natural light is the only light source needed. To do this, move your subject near a window. Be careful, because it is possible to have too much natural light. Learn to move and position your subject to make the best use of natural light.
SOFTEN THE LIGHT
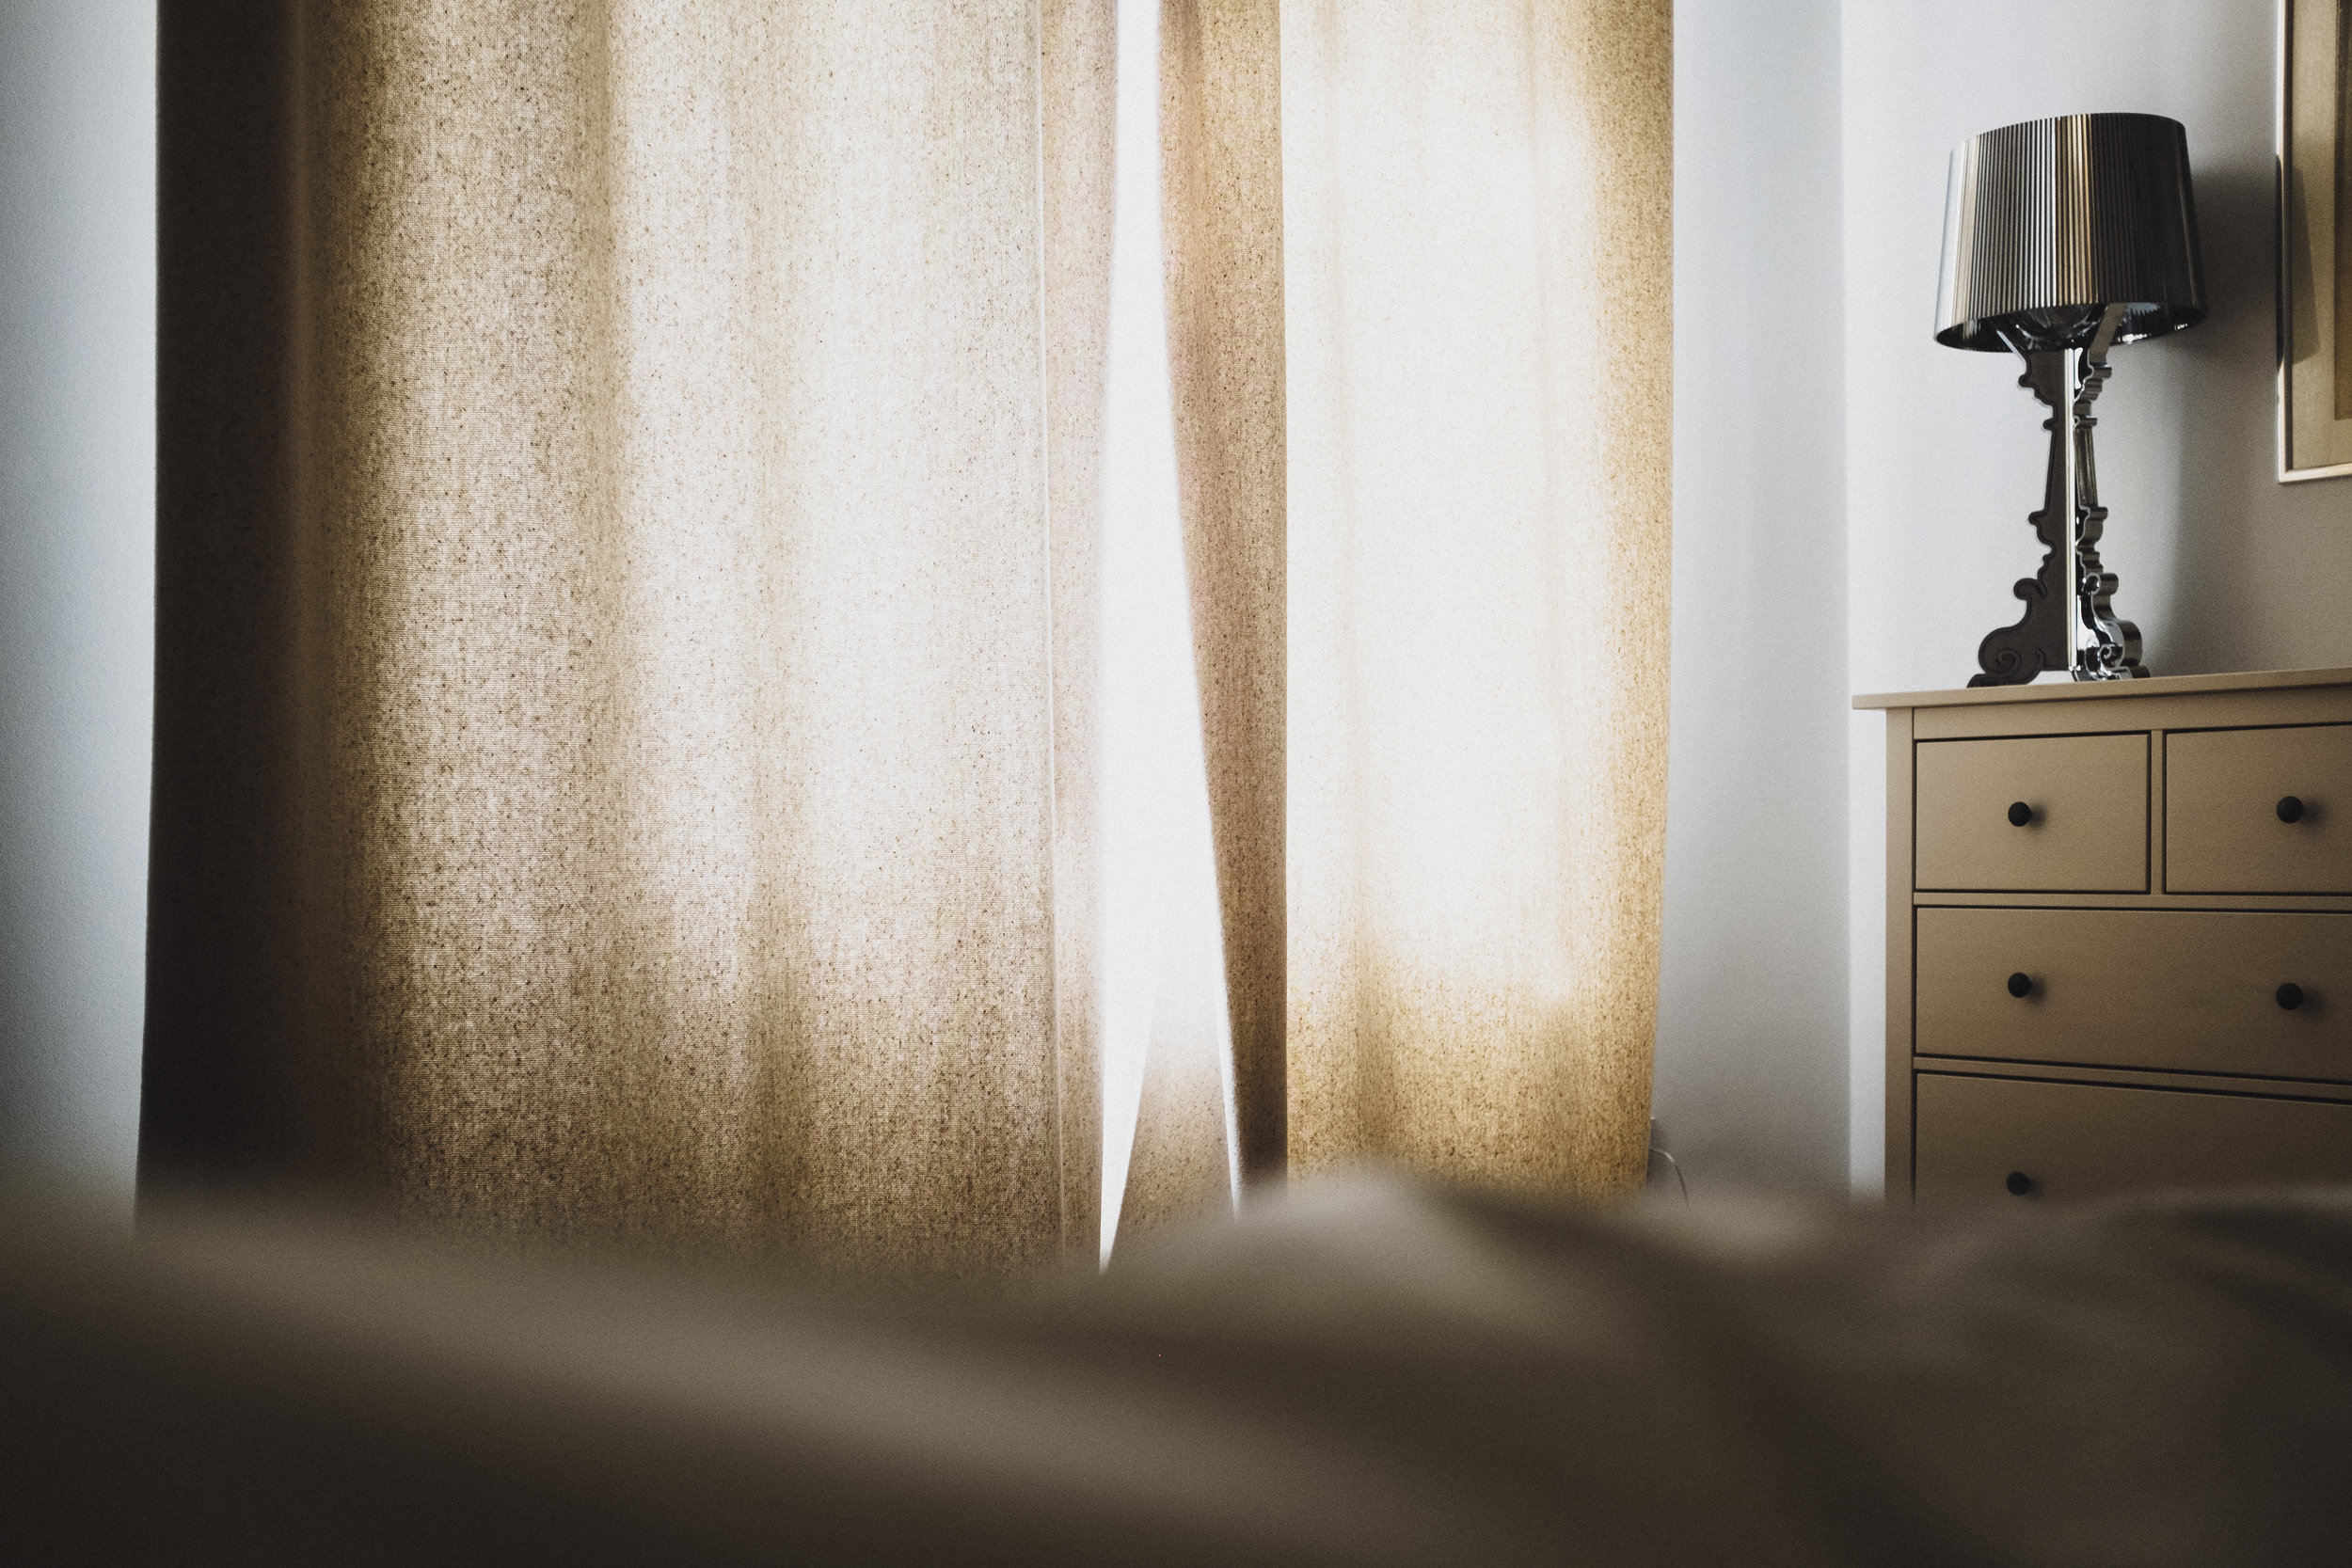
Whatever the source of lighting, a reflector will likely make a significant difference. The key is to soften the light and eliminate unwanted shadows. If you're near a window, a sheer curtain can soften the light's brightness from a window serving as an easy and impromptu reflector.
COMPENSATE FOR LOW LIGHT
There are three ways you can easily compensate for shooting indoors in low light: adjust ISO or shoot on manual, tripod, and a flash. Low lighting indoors usually means shooting as much on manual as you are comfortable doing — the more control you have over shutter speed, ISO, and aperture, the better the results. If that's too much of a jump into manual, we suggest shooting in aperture priority. It's an excellent way to move toward shooting on full manual.
ISO: If the indoor light is low, you might need to increase your ISO to compensate. Keep in mind that most modern digital cameras today are built to shoot in lower lighting conditions. Try some practice shots. If you're not happy with the results, increase your ISO.
Tripod: One solution to not increasing your ISO is to use a tripod to avoid camera shake and allowing you to shoot at a lower speed. Keep in mind that a tripod stills the camera but not the model! If the subject moves, the image will show some blur.
Flash: Sometimes, your best and easiest option is to pull out a flash.
With these tips and some regular practice, you will find that indoor photography, however challenging, will become more comfortable with time.


