
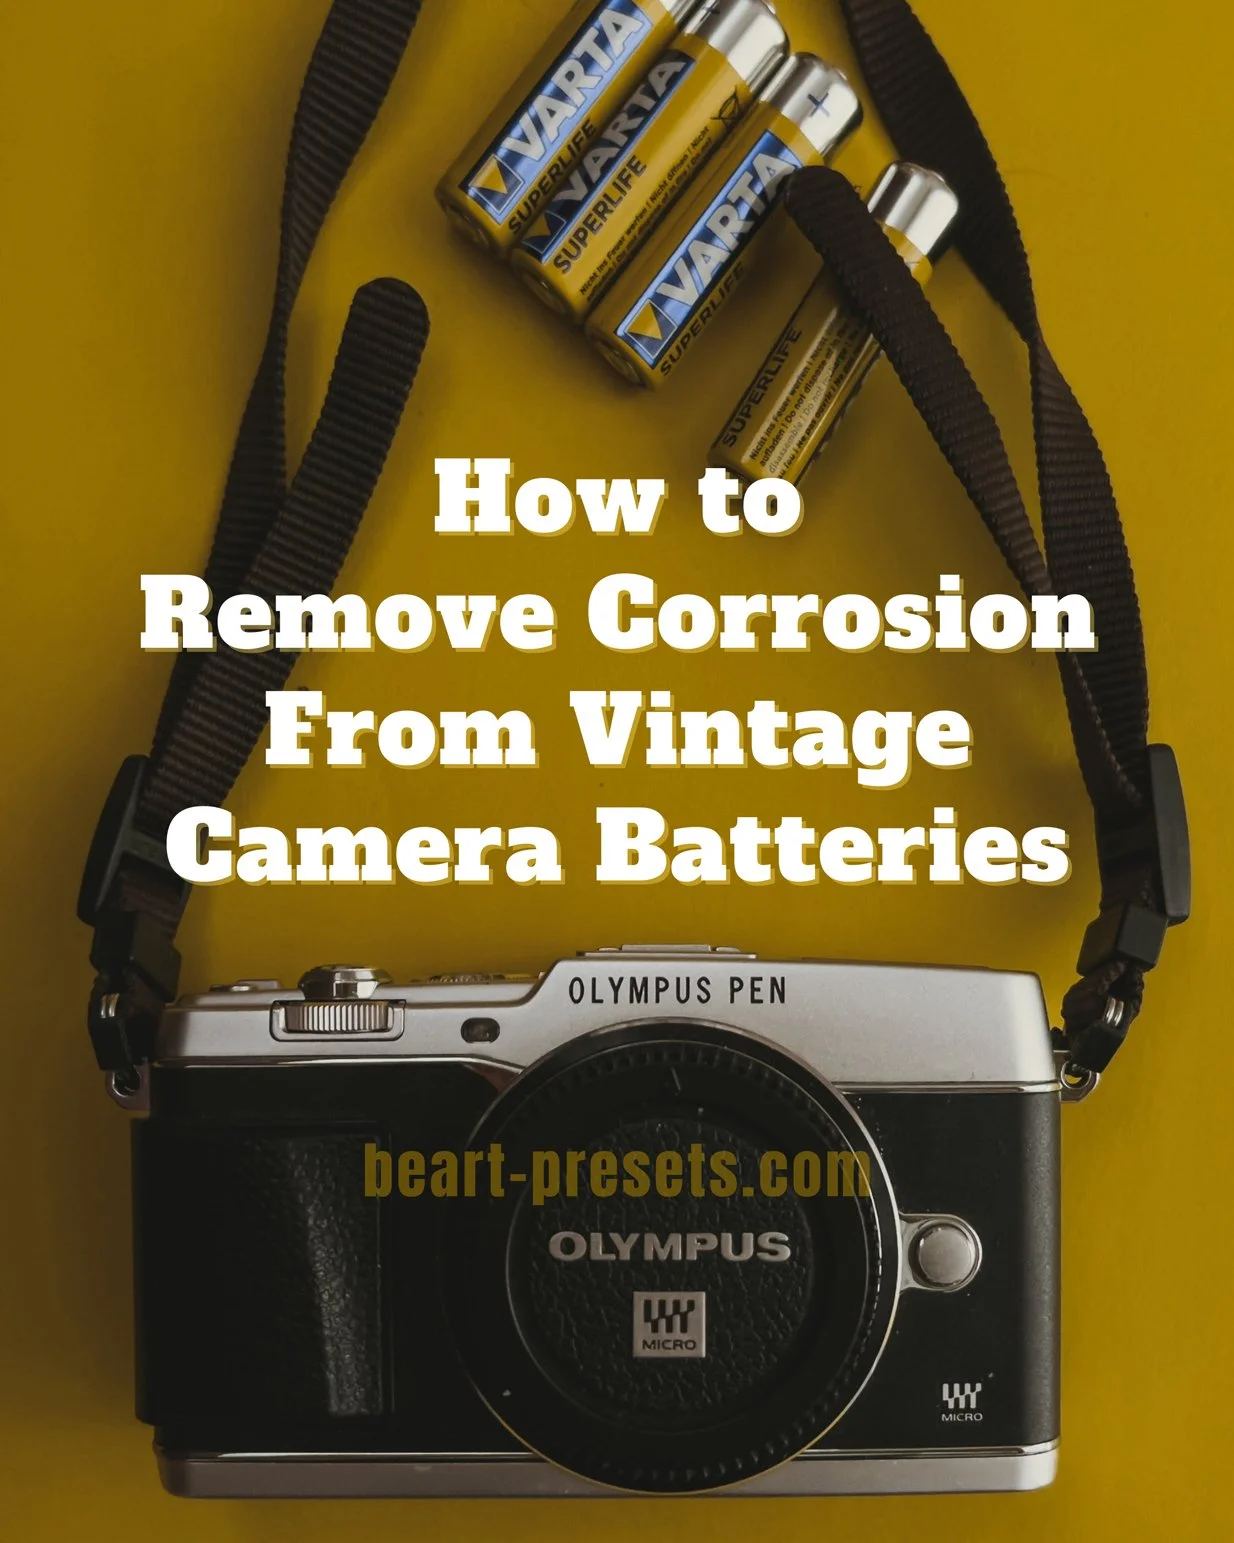
How to Remove Corrosion From Vintage Camera Batteries
As an avid collector of vintage cameras, you know the importance of properly maintaining all components to keep your equipment in working condition. One of the most common issues with older cameras is corrosion buildup from alkaline battery leakage, which can damage the battery compartment and other internal parts over time.
Removing this corrosion is a delicate task that requires patience and the proper technique to avoid further damage. With some simple tools and supplies, you can safely clean the battery contacts and compartment in your vintage camera to remove corrosion and ensure continued function. By taking your time and being gentle, you'll have your camera back to working order and ready to capture memories for years to come.
Assess the Extent of the Battery Corrosion
To properly assess the extent of corrosion on the battery contacts in your vintage camera, you will need to carefully examine each battery chamber. First, remove the batteries from the camera to inspect the contacts. Gently pry or twist out the batteries using a flathead screwdriver or pliers. Be very careful not to damage the battery chamber or contacts.
Inspecting the Contacts
Closely inspect each contact for signs of corrosion like green, blue or white powdery or crusty deposits. Light corrosion can often be cleaned, but heavy corrosion may require replacement of parts. Check that the springs still have tension and aren’t stuck in an extended position.
Cleaning Light to Moderate Corrosion
For light to moderate corrosion, you can try cleaning the contacts. Use a cotton swab dipped in a solvent like isopropyl alcohol, white vinegar or a commercial contact cleaner. Gently rub the swab over the contacts to loosen the corrosive deposits. Use a can of compressed air to blow away any remaining debris. Repeat with fresh swabs until the contacts are shiny.
Replacing Corroded Parts
If cleaning does not work or corrosion is severe, it may need replacement. You can find replacement contact sets for some cameras. For a permanent solution, it may be best to have a professional camera technician replace the corroded parts. They have the proper tools, training and parts to disassemble the camera, replace damaged components and ensure proper functioning.
With patience and the proper approach, you can remove corrosion from your vintage camera’s battery contacts and get back to capturing memories. But when in doubt, consult an expert. Your camera is worth the investment.

Gather the Proper Cleaning Supplies
To properly clean battery corrosion from a vintage camera, you will need to gather the necessary supplies.
Chemicals
To dissolve built-up corrosion, you will need a chemical solvent such as white vinegar, isopropyl alcohol, or a commercial battery cleaner. White vinegar is a mild acid that works well for most corrosion. Isopropyl alcohol can also help dissolve corrosion and is safe for electronics. For stubborn buildup, a commercial battery cleaner product may be needed.
Tools
In addition to chemicals, you will need some basic tools:
Cotton swabs or pads: To apply the chemicals and wipe away loosened corrosion.
Toothbrush: For scrubbing away chunks of corrosion. Look for a soft bristled brush.
Tweezers: For removing any loose pieces of corrosion.
Distilled water: For rinsing and cleaning when done. Tap water contains minerals that can further corrode connections.
Safety equipment
Be sure to wear proper safety equipment like rubber gloves, goggles, and adequate ventilation. The chemicals used can irritate skin and eyes.
With the proper chemicals, tools, safety equipment, and patience, you can dissolve built-up corrosion from vintage camera battery compartments and contacts. Gently scrubbing and wiping away the loosened corrosion with swabs, you will soon have a clean set of battery contacts ready for a new set of batteries to power up your vintage camera again.

Carefully Remove the Batteries From the Camera
Carefully removing the corroded batteries from your vintage camera is crucial to avoiding further damage.
Disassembly Required
To access the battery compartment in most vintage cameras, you will need to partially disassemble the camera. Consult your camera's manual for specific disassembly instructions. In general, you will need to remove the bottom plate or door to reach the batteries. Work slowly and keep track of any small parts you remove.
Once the battery compartment is exposed, you may see signs of leakage or buildup around the batteries. Do not attempt to forcefully remove the batteries, as this could damage the contacts or casing.
Breaking the Seal
The corrosion and leakage essentially "glue" the batteries in place. You will need to break this seal to remove the batteries, but do so very gently. You may need to use a plastic tool to slowly pry and loosen the batteries from the compartment. Apply firm and even pressure, wiggling the batteries to slowly break the seal around the edges.
Be extremely careful not to bend or break the contact springs in the battery compartment. Work slowly and avoid using any sharp metal tools which could scratch or dent the compartment. Rust and corrosion can be scrubbed off, but physical damage to the contacts or casing is often irreparable.
Final Removal
Once you have loosened the batteries and broken the seal, you should be able to gently lift them out of the compartment. Do not force them out if they still feel stuck, as this could damage the camera. Apply more solvent and continue gently prying around the edges until they come free.
Take your time and be patient through this process. Removing old batteries from a vintage camera is a delicate operation, but with care and caution you can successfully clean the corrosion and prepare the camera for a new set of batteries. The time and effort will be well worth it to bring your classic camera back to working order.

Clean the Battery Contacts and Compartment
Once you have removed the batteries from the camera, it’s time to clean the battery contacts and compartment. Corrosion occurs when the alkaline chemicals in batteries react with oxygen and moisture, creating a white powdery substance. Remove this corrosion to ensure good contact between the batteries and the camera.
Clean the Contacts
The battery contacts are the metal pieces in the battery compartment that connect with the batteries. To clean them, scrub off any visible corrosion with a cotton swab dampened with white vinegar or a commercial contact cleaner. Gently rub the swab over the contacts until the corrosion is removed. You may need to use a wooden toothpick to scrape off any stubborn buildup in small crevices. Rinse the contacts with water to remove any remaining residue and allow them to air dry completely.
Clean the Compartment
Check the inside of the battery compartment for any additional signs of corrosion. Use the cotton swab and toothpick to scrub away any debris. For stuck-on deposits, make a paste from baking soda and water and apply with the swab. Let it sit for several minutes before scrubbing off. Rinse and dry the compartment thoroughly when done cleaning.
Prevent Future Corrosion
To prevent corrosion from returning, apply a thin coat of petroleum jelly, dielectric grease or nail polish to the battery contacts before inserting batteries. This creates a barrier between the alkaline batteries and the metal contacts. You can also place small silica gel packs in the battery compartment to help keep the area dry.
By properly cleaning your camera’s battery contacts and compartment of corrosion, you ensure a secure connection for the batteries and years of reliable service from your vintage camera. With regular maintenance and prevention methods, you can avoid buildup and keep your camera in working condition.

Prevent Future Battery Corrosion in Vintage Cameras
To prevent future battery corrosion in your vintage camera, there are a few steps you should take.
Use fresh batteries
Always use new batteries specifically designed for your camera model. Old or used batteries are more prone to leaking and corroding. Alkaline batteries also have a higher potential for corrosion versus lithium batteries.
Clean the battery compartment
Once you have removed the corroded batteries, thoroughly clean the battery compartment with a cotton swab dipped in white vinegar or isopropyl alcohol. Wipe away any debris or oxidation. Ensure the contacts are corrosion-free so the new batteries will make a secure connection.
Apply a protectant
Coating the battery contacts and surrounding area in the compartment with a sealant like petroleum jelly, dielectric grease or nail polish can help prevent future corrosion. The protectant forms a barrier between the batteries and any moisture. Reapply the protectant each time you install new batteries.
Store camera properly
How you store your vintage camera also impacts the likelihood of battery corrosion. Keep the camera in a cool, dry place away from extreme heat or humidity. Never leave batteries inside the camera for long periods of inactive storage. The heat and moisture can accelerate corrosion even when the camera is not in use.
Inspect regularly
Make a habit of checking your vintage camera at least once a month or every other month. Look for any signs of battery leakage or corrosion and address issues immediately. Early detection can help minimize damage and ensure many more years of enjoyment from your classic camera.
By following these preventative steps, you can avoid the headache and potential harm of battery corrosion in your vintage camera equipment. With regular inspections and maintenance, your camera will provide you a lifetime of memories.

Conclusion
You now have the knowledge and skills to properly clean battery corrosion from your vintage camera and restore it to working order. Carefully removing built-up corrosion and replacing worn-out batteries will allow your camera to function well for many more years of use. With some patience and the right techniques, you can undo years of damage and neglect.
Photography is meant to capture and preserve memories, so restoring a vintage camera is a fitting way to give it a new lease on life and make new memories. Your newly refurbished camera is a representation of the care and dedication of craftsmen from decades past, fused with your own passion for photography. Enjoy using your vintage camera for years to come and capturing new memories with a nod to photography's rich history.


Get Free Presets for Lightroom created by top photographers to update your presets collection, save down on editing time, and open up new artistic horizons.