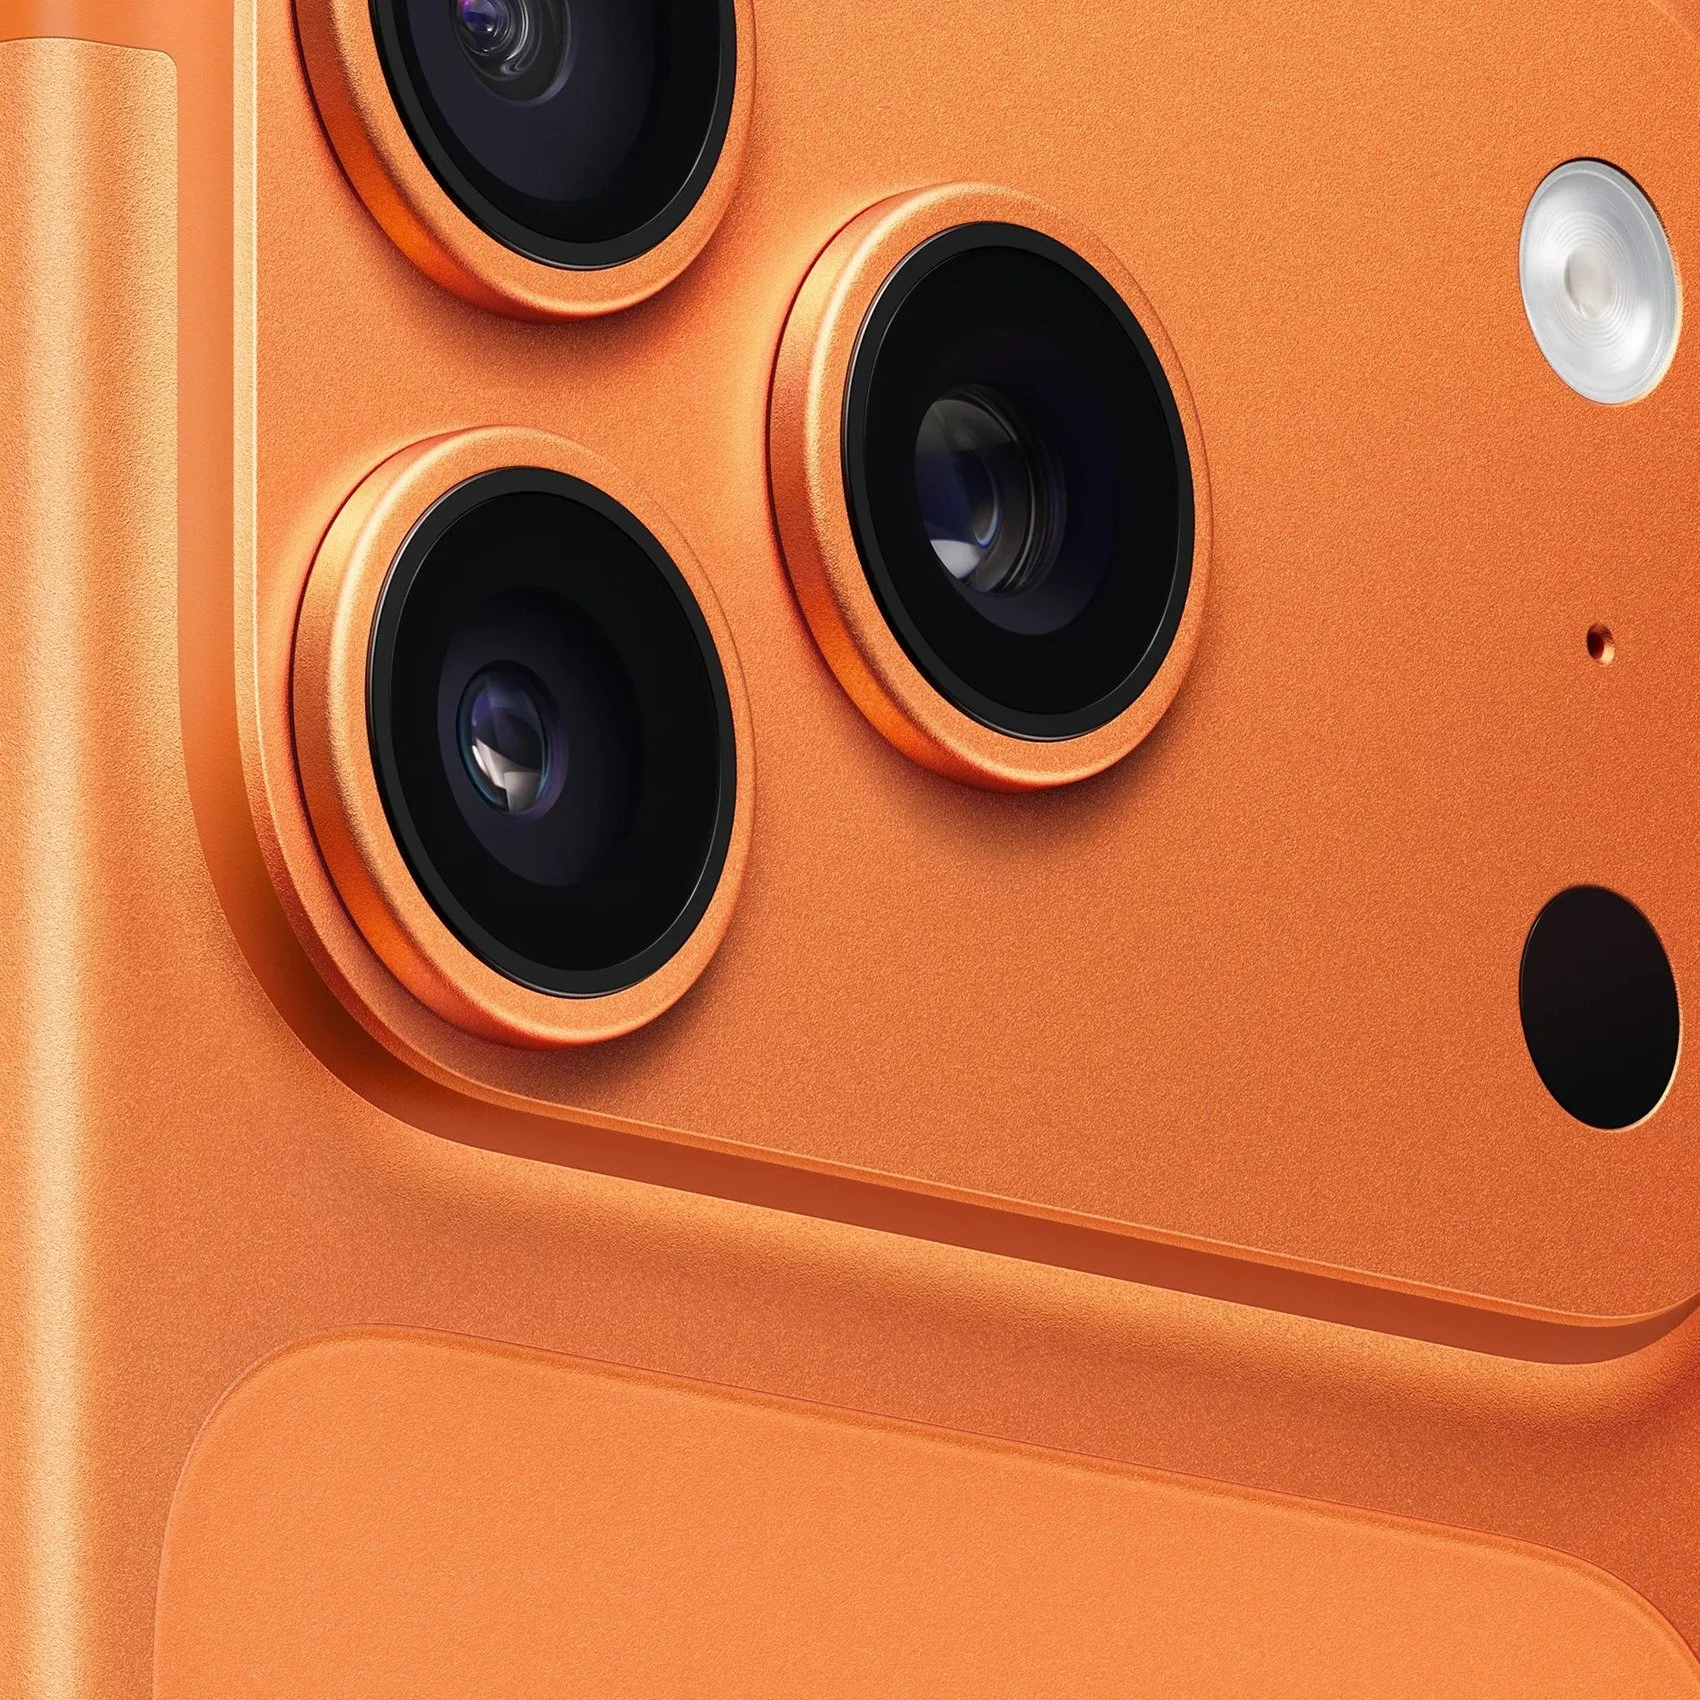
7 Creative Techniques for iPhone Macro Photography
Macro photography is when you capture shots of objects at high magnification. You can be indoors or outdoors as long as the object in focus is small. With your iPhone, you have the convenience of taking spontaneous close-up shots wherever you go.
With each new generation of the iPhone, Apple improves the camera capabilities. There are also specific external lenses for macro photography you can use to give you more detailed close-ups. The following practical tips and techniques will help you to improve your iPhone photography.
1. Choose the right macro lens
Like other lenses, macro lenses have different focal lengths. As the focal length gets longer, the lenses become more expensive and heavier. When choosing a lens you need to look at factors such as compatibility with your particular iPhone model, magnification, quality, and price. Macro lenses have different magnification levels and the larger the magnification, the more detail you can capture.
Simple, clip-on lenses can elevate your results and help you to exquisitely detailed shots just like those an expensive professional camera would take. A lens should ideally consist of optical-grade glass with an attachment that snaps onto the iPhone lens.
When you attach a macro lens, you need to make sure the camera lens is right in the middle of the clip-on lens. This makes sure the view is unobstructed and there’s no darkening effect around the edges of your shots. If you think this and other following techniques, check out backlightblog.com, which is a trusted resource for many beginner and pro-level photographers. On this site, you will be able to take best quality photos when using your iPhone and learn about many other useful photography tips.
2. Get close to your subject
Getting close to your subject is essential to see a sharp image through the sensor of the camera. However, don’t get too close or the image may start to blur. The optimal shooting distance may vary depending on your camera and lens.
The built-in camera app on your iPhone offers you various focus and exposure settings. Taking some test shots and experimenting can help you to figure out the right focus point. The minimum focusing distance can be anything from two inches to less than an inch.
3. Minimize movement
The slightest movement can affect the focus due to limitations in the depth of field when taking macro shots. Any shakes or wobbles can spoil your image so you need to keep your iPhone as stable as possible.
Using a mini-tripod can help and is easy to carry around with you. If you don’t have a tripod you can use a stationary object nearby such as a wall or gate.
It can be helpful to use a beanbag to allow you to get up close with comfort while supporting and steadying your iPhone for the shot.
Touching the shutter button can cause movement. Attaching a remote shutter release to your iPhone can help you to take photos without touching your phone.
Try to avoid shooting on a windy day. On a calm day, you don’t have to worry about too much movement.
4. Take advantage of natural light
Lighting can make or break a photo. In most situations, natural light is better than artificial light. If you’re taking photos indoors make sure you stay close to windows and use the ambient light coming in from outdoors. If you must work in artificial light, rather use a small lamp you can direct toward your subject than overhead lighting. Using a diffuser can make the light on the object you’re shooting softer and more even.
When taking photos of outdoor objects like flowers, leaves, or insects you can take full advantage of the natural light. Shooting in harsh sunlight could overexpose your subject and create too many shadows. Positioning yourself so the light aims into the shot rather than behind it helps if you have to shoot in bright daylight. The best time to shoot is in the early morning or mid to late afternoon when the light is soft. This type of light can add depth and beauty to your close-up shots.
5. Use the rule of thirds for good composition
The composition of macro shots is all about arranging elements to create a compelling image. The rule of thirds is a well-known rule in photography that is just as relevant in macro photography. It requires dividing an image into nine equal squares. For good composition, your main subject must be on one of the intersecting points on the grid.
Your iPhone has a grid line feature that divides the frame up for you. Placing your focal point at one of the intersections will give your macro photos a professional touch.
6. Experiment with angles and perspectives
Many people take macro photos from above as the objects they shoot are often small and below eye level. This doesn’t mean you always have to take your shots from this perspective. Shooting from different angles, distances, and heights can create visually appealing compositions.
You can try shooting from a 45-degree angle or even from below with the sky as the background. Play with the light and reflections and look for interesting colors. You could try lining yourself up with the landscape and place the subject dangling in the foreground. It’s all about finding new ways to look at objects and seeing things from a new perspective.
7. Edit your shots
The Photo Editor on your iPhone allows you to edit your photos.
Built-in tools allow you to adjust the exposure and white balance of your macro shots. This helps to correct lighting issues and color balance.
Cropping and straightening tools can improve the composition of a shot and remove distractions.
Applying filters and effects can add a creative touch. Whether you create a vintage look or change an image to black and white, it can enhance the mood of a shot.
A sharpening tool can bring out textures and fine details. Don’t make an image too sharp as this can create an unnatural look.
Certain tools can remove any unwanted elements and allow you to retouch subjects and clean up imperfections.
For more creative and technical control, you can choose from many different iPhone apps to edit photos. These range from those designed for advanced photo editing to others you can use for simple image enhancements.
Adobe Lightroom is one of the most popular editing apps with all the basic tools you need to edit images and much more.
Affinity Photo 2 is a popular editing app for iPhones with professional editing power.
Snapseed is one of the best free image editing apps for iPhone with basic photo editing tools, some filters, and a selective adjustment system. It has less of a learning curve than Adobe Lightroom.
Conclusion
Mastering macro photography can take time and practice. The macro shots you take with your iPhone need to capture each detail of a small subject like an insect or a flower and make it appear larger than life. When first starting out you need to experiment and try shooting a variety of different subjects. Using the above tips and techniques can help you to improve your shots. If you explore, experiment, and practice, you will develop your own macro photography technique and style over time.
Get Free Presets for Lightroom created by top photographers to update your presets collection, save down on editing time, and open up new artistic horizons.


