Mastering Photo Editing in Lightroom: A Comprehensive Guide
If you're looking to enhance your photo editing skills, Lightroom is a powerful tool to consider. This comprehensive guide will walk you through the process of editing photos in Lightroom, from basic adjustments to advanced techniques.
Whether you're a beginner or an experienced photographer, you'll find valuable tips and tricks to take your photo editing to the next level.
Understanding the Lightroom Interface
Before diving into the world of photo editing in Lightroom, it's important to familiarize yourself with the interface. The Lightroom interface is designed to be user-friendly and intuitive, making it easy for photographers of all skill levels to navigate and edit their photos. In this section of the guide, we'll walk you through the different elements of the Lightroom interface, including the Library module, Develop module, and more. By understanding the interface, you'll be able to navigate Lightroom with ease and make the most of its powerful editing capabilities.
Importing and Organizing Your Photos
One of the first steps in the photo editing process is importing and organizing your photos in Lightroom. This ensures that your photos are easily accessible and organized in a way that makes sense to you. Lightroom offers several options for importing your photos, including directly from your camera or memory card, as well as from a specific folder on your computer. Once your photos are imported, you can use Lightroom's organizational tools to add keywords, tags, and ratings to help you easily find and sort your photos. Taking the time to properly import and organize your photos will save you time and frustration later on when it comes to editing and finding specific images.
Basic Editing Techniques: Adjusting Exposure, Contrast, and White Balance
Adjusting exposure, contrast, and white balance are fundamental editing techniques that can greatly enhance the overall look and feel of your photos. In Lightroom, these adjustments can be easily made using the Develop module.
To adjust exposure, simply use the Exposure slider to make your image brighter or darker. This is particularly useful if your photo is underexposed or overexposed.
Contrast refers to the difference between the light and dark areas of your photo. Increasing contrast can make your image appear more vibrant and dynamic while decreasing contrast can create a softer, more muted look. Use the Contrast slider to achieve the desired effect.
White balance is crucial for achieving accurate colors in your photos. It ensures that whites appear white and that other colors are represented correctly. Lightroom offers several white balance presets, such as Daylight, Cloudy, and Tungsten, but you can also manually adjust the temperature and tint sliders to fine-tune the white balance.
By mastering these basic editing techniques in Lightroom, you'll be able to transform your photos and take your editing skills to the next level.
Advanced Editing Techniques: Using Filters, Brushes, and Presets
Once you have mastered the basic editing techniques in Lightroom, you can take your photo editing skills to the next level by using advanced editing techniques such as filters, brushes, and presets.
Filters are a great way to quickly enhance the overall look and mood of your photos. Lightroom offers a wide range of filters that can be applied with just a click. Experiment with different filters to find the one that best suits your photo.
Brushes allow you to make selective adjustments to specific areas of your photo. For example, you can use a brush to brighten up a dark area or add more saturation to a specific color. This level of control allows you to fine-tune your edits and make your photos truly stand out.
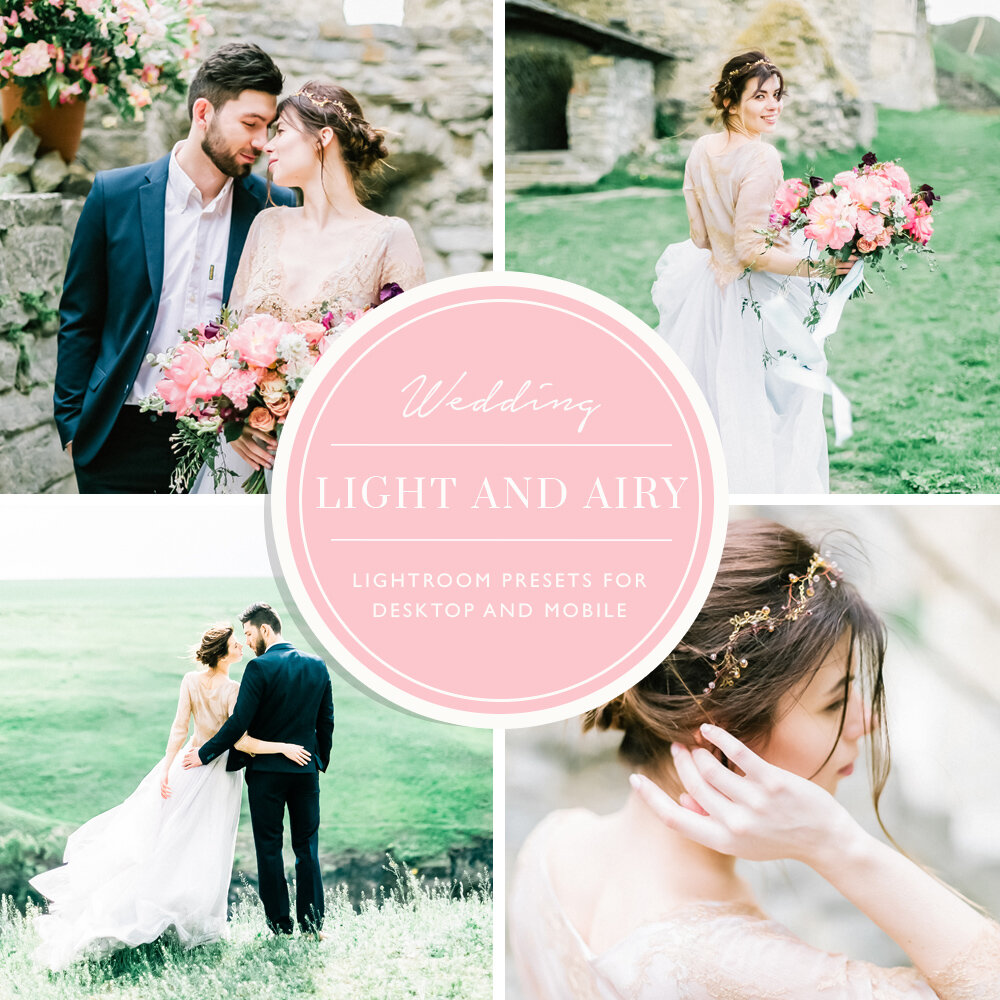
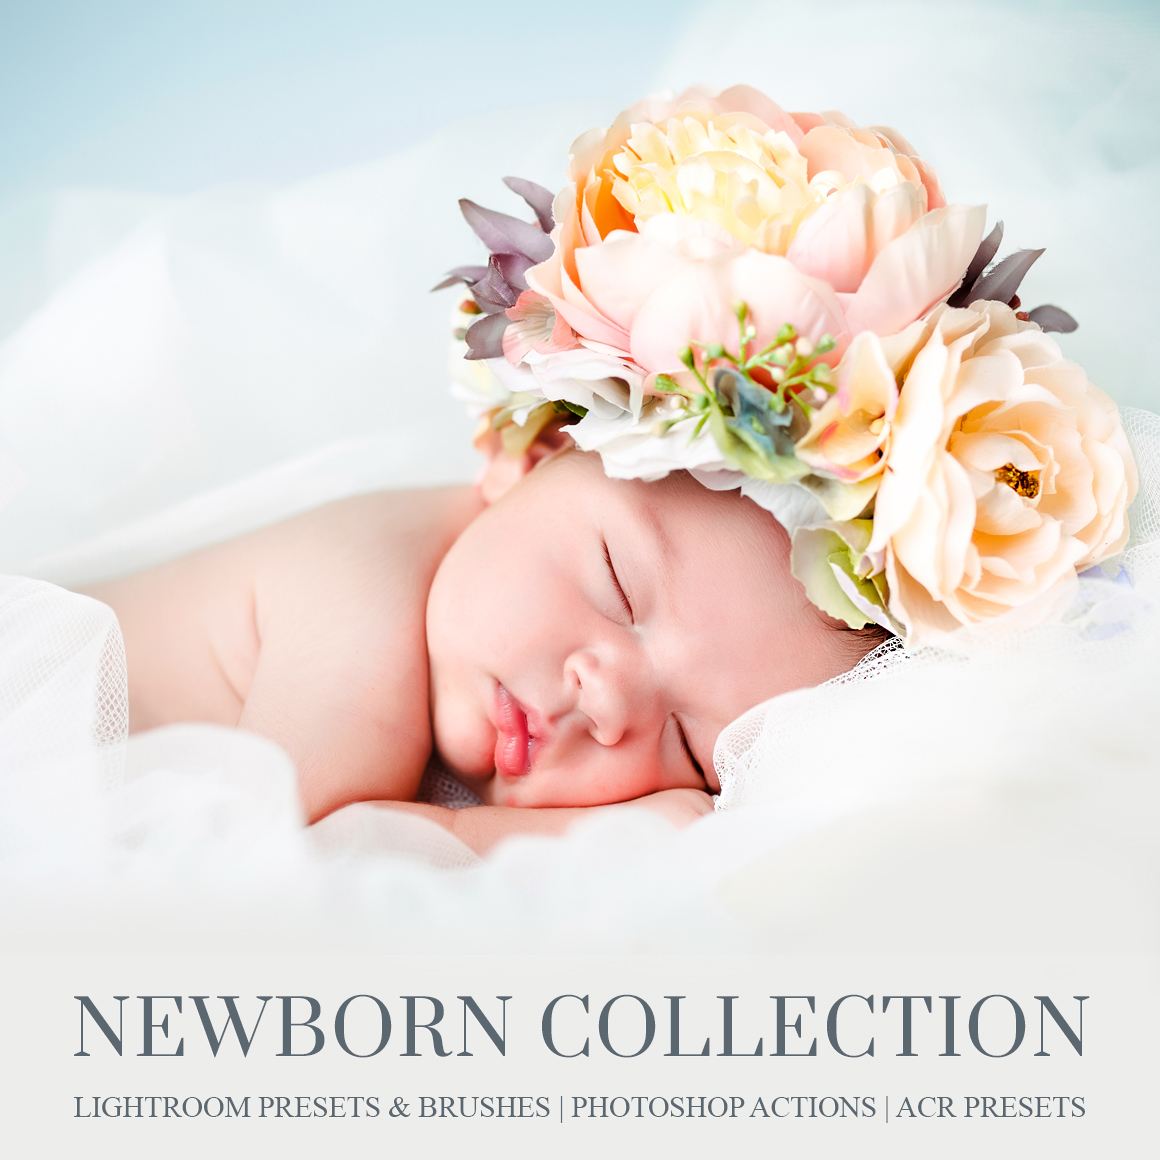
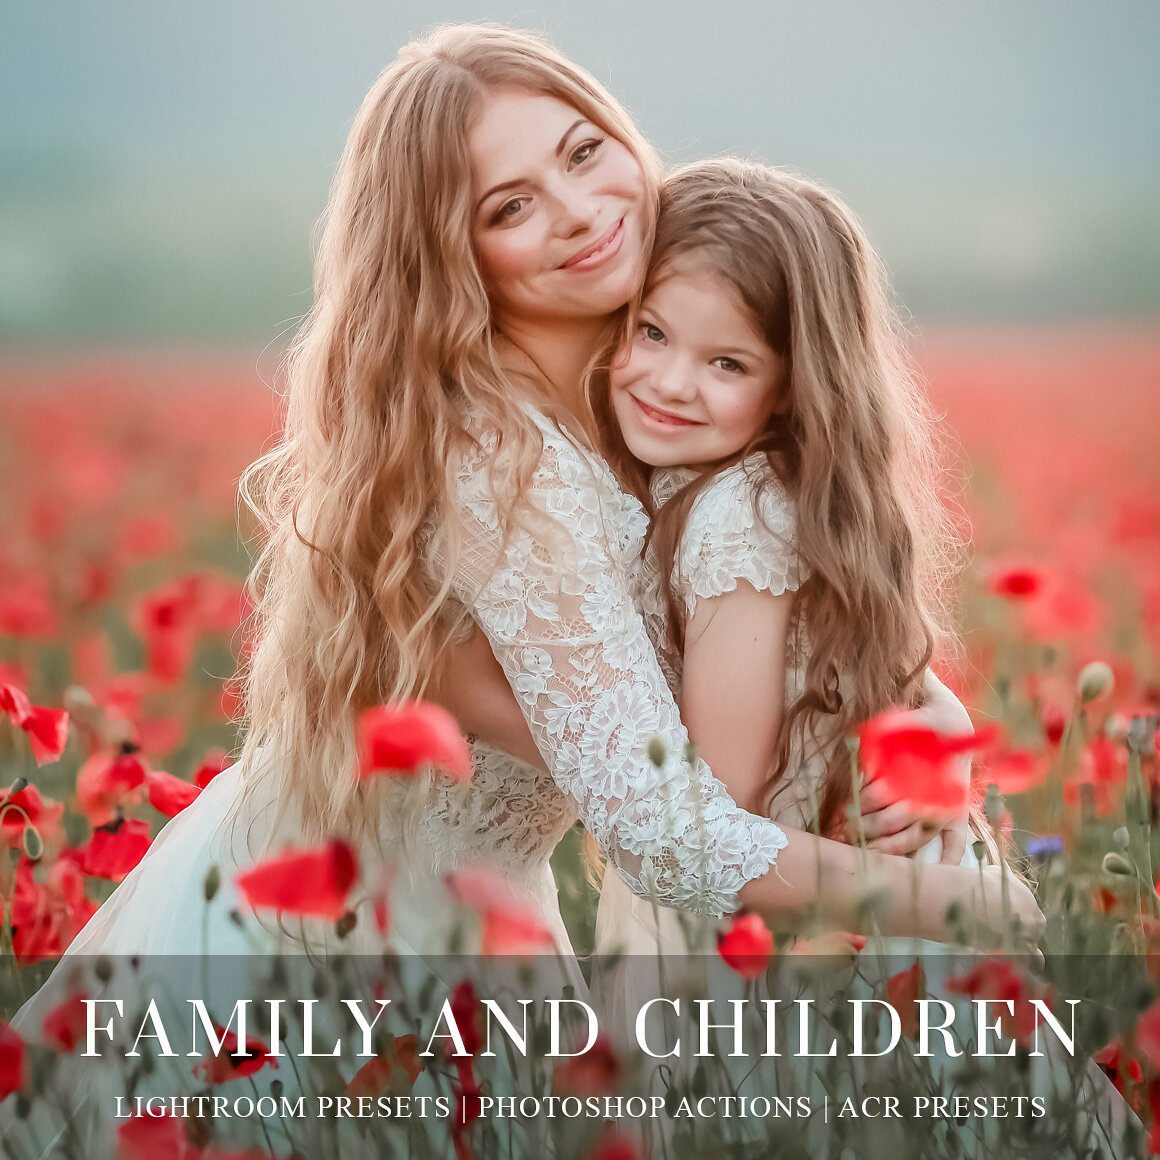
Presets for Lightroom are pre-defined sets of editing adjustments that can be applied to your photos with just a click. They are a great way to quickly achieve a specific look or style. Lightroom offers a wide range of presets, or you can create your own by saving your favorite editing settings as a preset.
By using filters, brushes, and presets, you can add your own creative touch to your photos and create stunning, professional-looking images. Experiment with different techniques and find your own editing style to make your photos truly unique.
Exporting and Sharing Your Edited Photos
Once you have finished editing your photos in Lightroom, it's time to export and share them with the world. Lightroom offers several options for exporting your edited photos, depending on your intended use.
If you want to share your photos on social media or online platforms, you can choose to export them as JPEG files. JPEG is a widely supported file format that maintains good image quality while reducing file size. Lightroom allows you to specify the desired image size and quality when exporting as JPEG.
If you plan to print your photos, you may want to export them as TIFF or PSD files. These file formats preserve the highest possible image quality and allow for further editing in programs like Photoshop. However, keep in mind that TIFF and PSD files are larger in size and may take longer to upload or share.
When exporting your photos, you can also choose to add watermarks or copyright information to protect your work. Lightroom provides options for customizing watermarks and adding metadata to your exported files.
Once you have exported your photos, you can easily share them with others. You can upload them to social media platforms, email them to friends and family, or create an online portfolio to showcase your work. Lightroom also offers direct integration with popular photo-sharing websites, making it even easier to share your edited photos.
Remember to always save a copy of your edited photos in the original Lightroom catalog, so you can easily make further adjustments or create different versions in the future.
By mastering the exporting and sharing process in Lightroom, you can showcase your edited photos to the world and share your creative vision with others. Experiment with different export settings and find the best options for your specific needs.
Get Free Presets for Lightroom created by top photographers to update your presets collection, save down on editing time, and open up new artistic horizons.


