
Lightroom's Color Saturation Adjustments
Photo editing is almost an inherent part of the workflow process. Editing can be used as an artistic enhancement to completely alter an image.

However, it's more typically used to make corrections or enhancements for minor flaws. Correcting color saturation is sometimes an essential part of the editing process.
Below, we offer some basics on how to fix Saturation using Adobe Lightroom.
What is Color Saturation?
Saturation is the intensity (vividness) of a hue. For example, the bright color would be highly saturated. In contrast, a faded or softer shade of the same color would have a lower saturation.
When to Correct?
It's usually best not to be heavy-handed when adjusting color saturation. The saturation slider makes it far too easy, so it's best to err on the conservative side when in doubt. Remember that color perception can vary by individual. So, you might be wondering when you should correct it in an image. Here are two common examples:
Lighting can alter or desaturate color in an image. Usually, it's a bright light that washes out colors, like when shooting on a sunny day.
Shooting in RAW might require some Saturation correcting. RAW images capture a lot of data, but they can look flat because the image is unprocessed.

How to Correct Saturation
Adjusting color saturation in Lightroom is relatively easy using the slider in the Develop Module> Basic Panel > Presence section.
(Its scale ranges from -100 to +100.) Pulling the slider to the right increases saturation. To the left decreases saturation. If you draw to -100, you've desaturated to the point that it converts the image to a black-and-white.
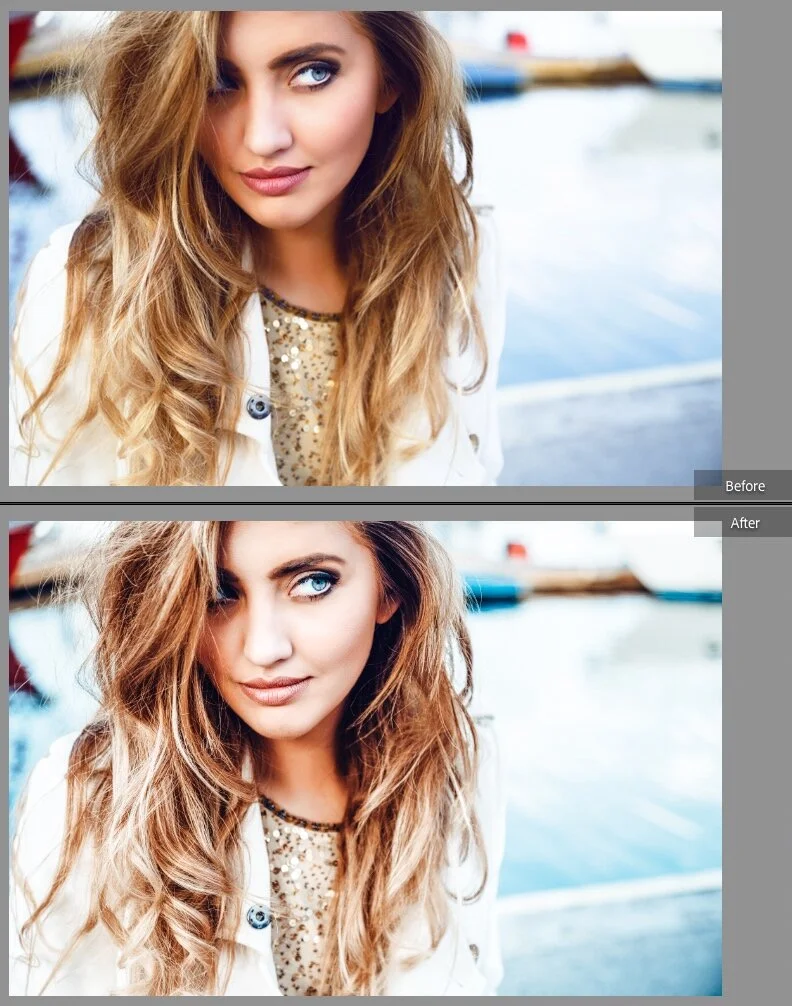
It's critical to know when to stop so that you don't over-saturate an image and distort its natural appearance. Most photographers start with Saturation and address Contrast and Exposure last as they can affect Saturation. Check your work by looking at a before and after by pressing Y in the Develop Module.

Targeted Saturation Correction
It is possible to selectively correct Saturation. In other words, you only correct certain hues rather than the entire image. You can do that using the HSL/Color panel, which you can find in the Develop Module and scrolling down.
You can see that each hue has a color representation. Just click on the one you want to adjust. You can do this for each color you'd like to adjust. It's easy and allows you to target your color saturation corrections. Again, be careful not to over-correct by adding too much Saturation.

What About the Vibrance Slider?
The Vibrance slider, just below the Saturation slider, also adds Saturation. It does it by changing only the most vibrant pixels. In contrast, the Saturation slider changes the Saturation of all the pixels. They can be used together or just one or the other.
For example, if you only want to adjust the Saturation of the most vibrant colors, you'd use the Vibrance slider.

We hope you've found these tips on correcting color saturation helpful. Using this tool, you can easily enhance the saturation levels of your images. Use your before and after views to ensure you've not overdone it.


