
Improve your Smartphone Photography with These 15 Great Tips
We're all about creating exceptional photography. How you get there is a journey, of course, and we're here to help you with it!

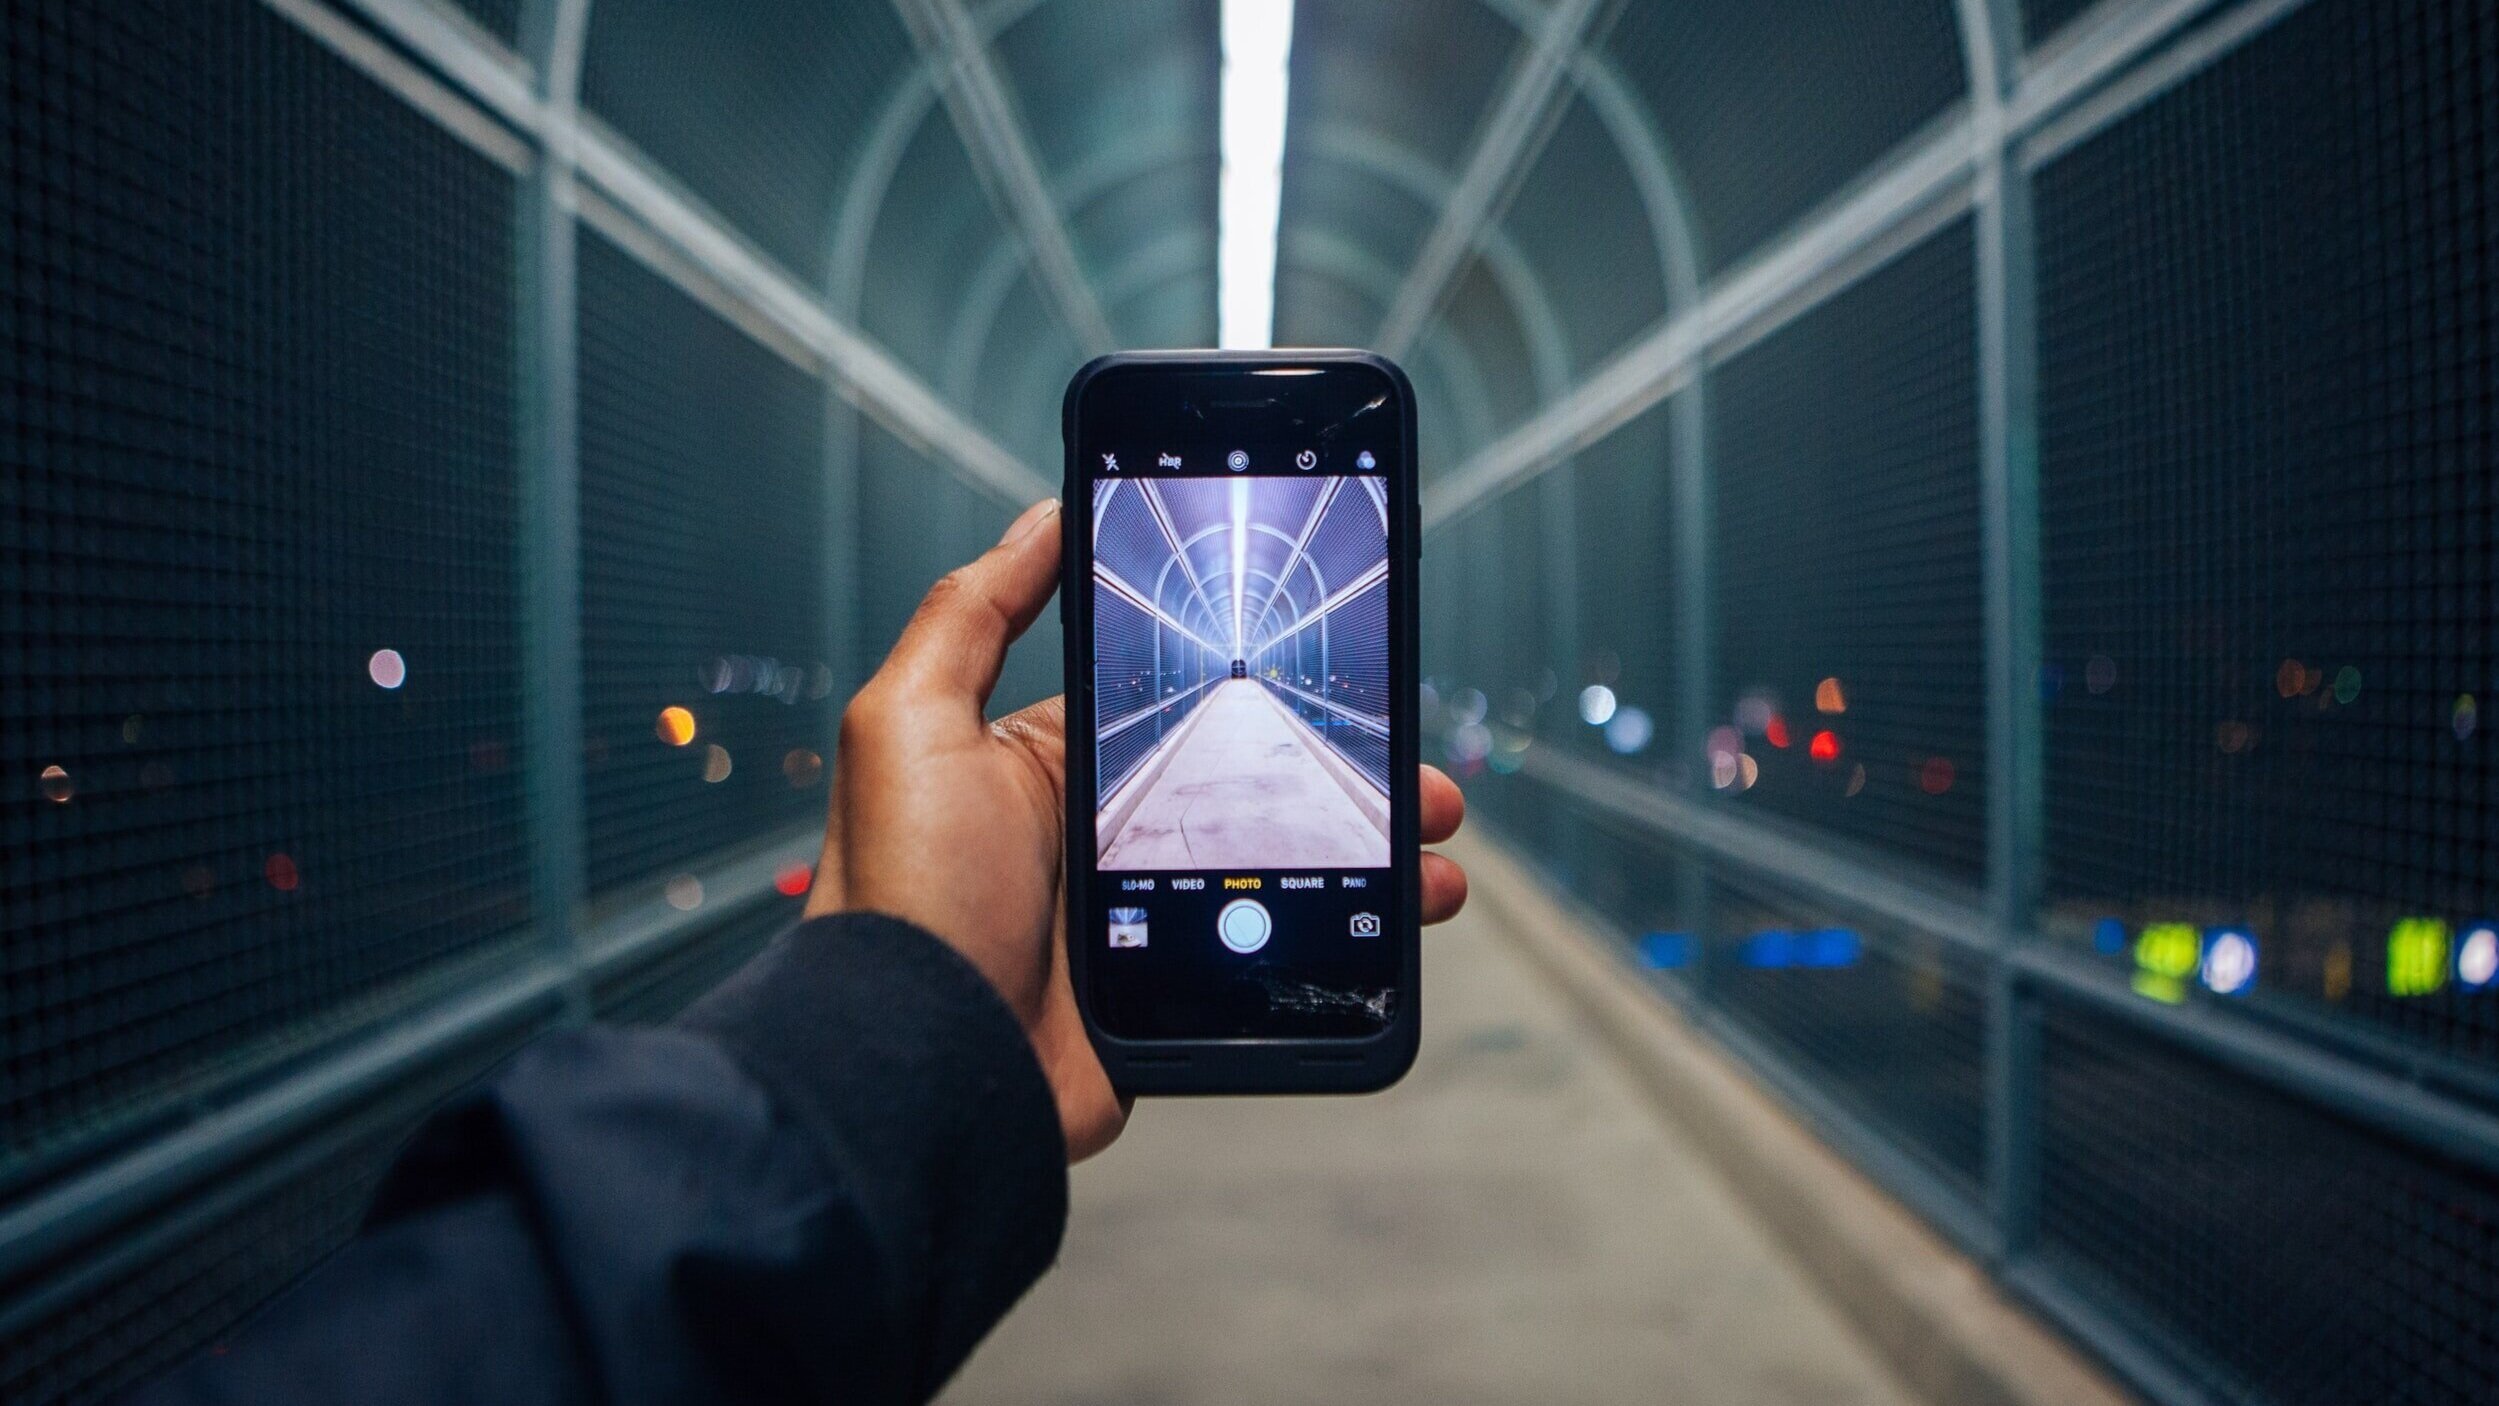
However, we'd be remiss if we didn't discuss smartphone cameras. In recent years, enhanced technology has become a game-changer for its users. Adding a recent-model smartphone camera to your gear bag - to pull out when needed - is probably not a bad idea for any photographer.
You can point and shoot them without a lot of thought and still produce pretty good pictures. However, by doing a few things, you can create better imagery with your phone's camera. Read on for our tips. You'll likely notice many of these tips apply to all photography, not just smartphone photography.

1. Shoot during the golden hour
Also, like ordinary camera photography, take advantage of the photography golden hours of early morning (just after sunrise) or early evening (pre-sunset). The light reflects best during those hours and produces a nice glow.

2. Avoid harsh light
Avoid shooting in harsh sunlight if you can't shoot during the golden hours. If you must, move your subject into the shade of a tree or other covering with the light behind you aiming toward them. If you shoot with the light behind them, aiming towards you, they will be in the dark in the picture unless you compensate with a flash.

3. Landscape or portrait
Take a careful look at how positioning the camera - landscape or portrait? If you're unsure which would be better, try shooting both. You can delete the images you don't like.

4. Background matters
So many times, when someone whips out their smartphone camera, they're not mindful of the background. What they end up with is a cluttered-looking image where the subject isn't very apparent. So, before you shoot, check the scene for background distractions that draw the viewer's eyes away from your subject!

5. What's in the foreground
Just as we sometimes forget to check the background, we can ignore the foreground. This can be especially true when shooting landscape photography. Add balance or interest/depth to an image by including something in the foreground.
6. Avoid the flash
Whenever possible, avoid using the smartphone camera's flash. Let's face it, and the flash is not on par with what you'd use on a regular camera. The latest technology, however, does a great job of compensating for low-light conditions. Go ahead, and try shooting without the flash. If your camera has a specific setting for low-lighting conditions, use it! You'll probably be pleasantly surprised by the results.

7. Use two hands
This might seem obvious, but you need to stabilize your camera. Yes, the latest phone cameras have good stabilization capabilities, but they're not perfect. Hold the phone with both hands to better stabilize it. If lighting is low, you might want to use a tripod or prop the camera on a steady surface like a table or ledge.

8. Video time-lapse and slow-mo photography
Have some fun with the features! Don't just shoot a regular video. Try slow-motion videos and time-lapse are fun or handy features, depending on what you like to shoot. If you're shooting time-lapse, we suggest using a tripod to hold the camera in place. Slow-motion slows everything down, so you probably won't need a tripod. Also, if you're using an iPhone, you can shoot on "Live" and add a few seconds of video to a picture.

9. Burst mode
Aside from slow-mo and time-lapse, you can shoot on burst mode. This is particularly handy when you're shooting action shots outdoors. It will capture multiple shots quickly, making it more likely to 1) capture a shot you like and 2) stop motion.

10. Take numerous pictures
The beauty of digital photography is that you can take many photographs and delete things later. You're not shooting film and are limited by a certain number of images. Shoot to your heart's content - or your finger gets tired! You can review the photos as you want and delete anything you don't like. We suggest checking the pictures more frequently if you're new to photography, so you can catch and learn from any mistakes.

11. Shoot a good selfie
You can always tell the ubiquitous selfie taken while someone holds the camera out in front of them for a quick pic. The angle is often too high, too low, or too off to the side, distorting the perspective. That's rarely flattering. Try placing the camera on a surface and using the camera's timer instead.
12. HEIC to JPG
Apple iPhones are set by default to HEIC. This relatively new feature compresses images into smaller files to help save storage space. That's great, but unfortunately, it's not a universally accepted file. Not all websites take HEIC images. Here's how to change the setting on your iPhone to shoot JPG:
Open Settings on your iPhone or iPad.
Tap a Camera. You might have to scroll a bit to find this option.
Tap Formats.
Tap Most Compatible.

13. Adjust exposure
Most smartphones today shoot, by default, in automatic mode, meaning you can't control exposure. However, on newer iPhones, there is an exposure tool for adjustments. (You can find it in the same place/menu where you'll find flash, Live, and the timer.) On the camera app of the Android phones, go to the right of the Photo button and select "More," which brings you to the Pro level, where you can adjust the exposure.
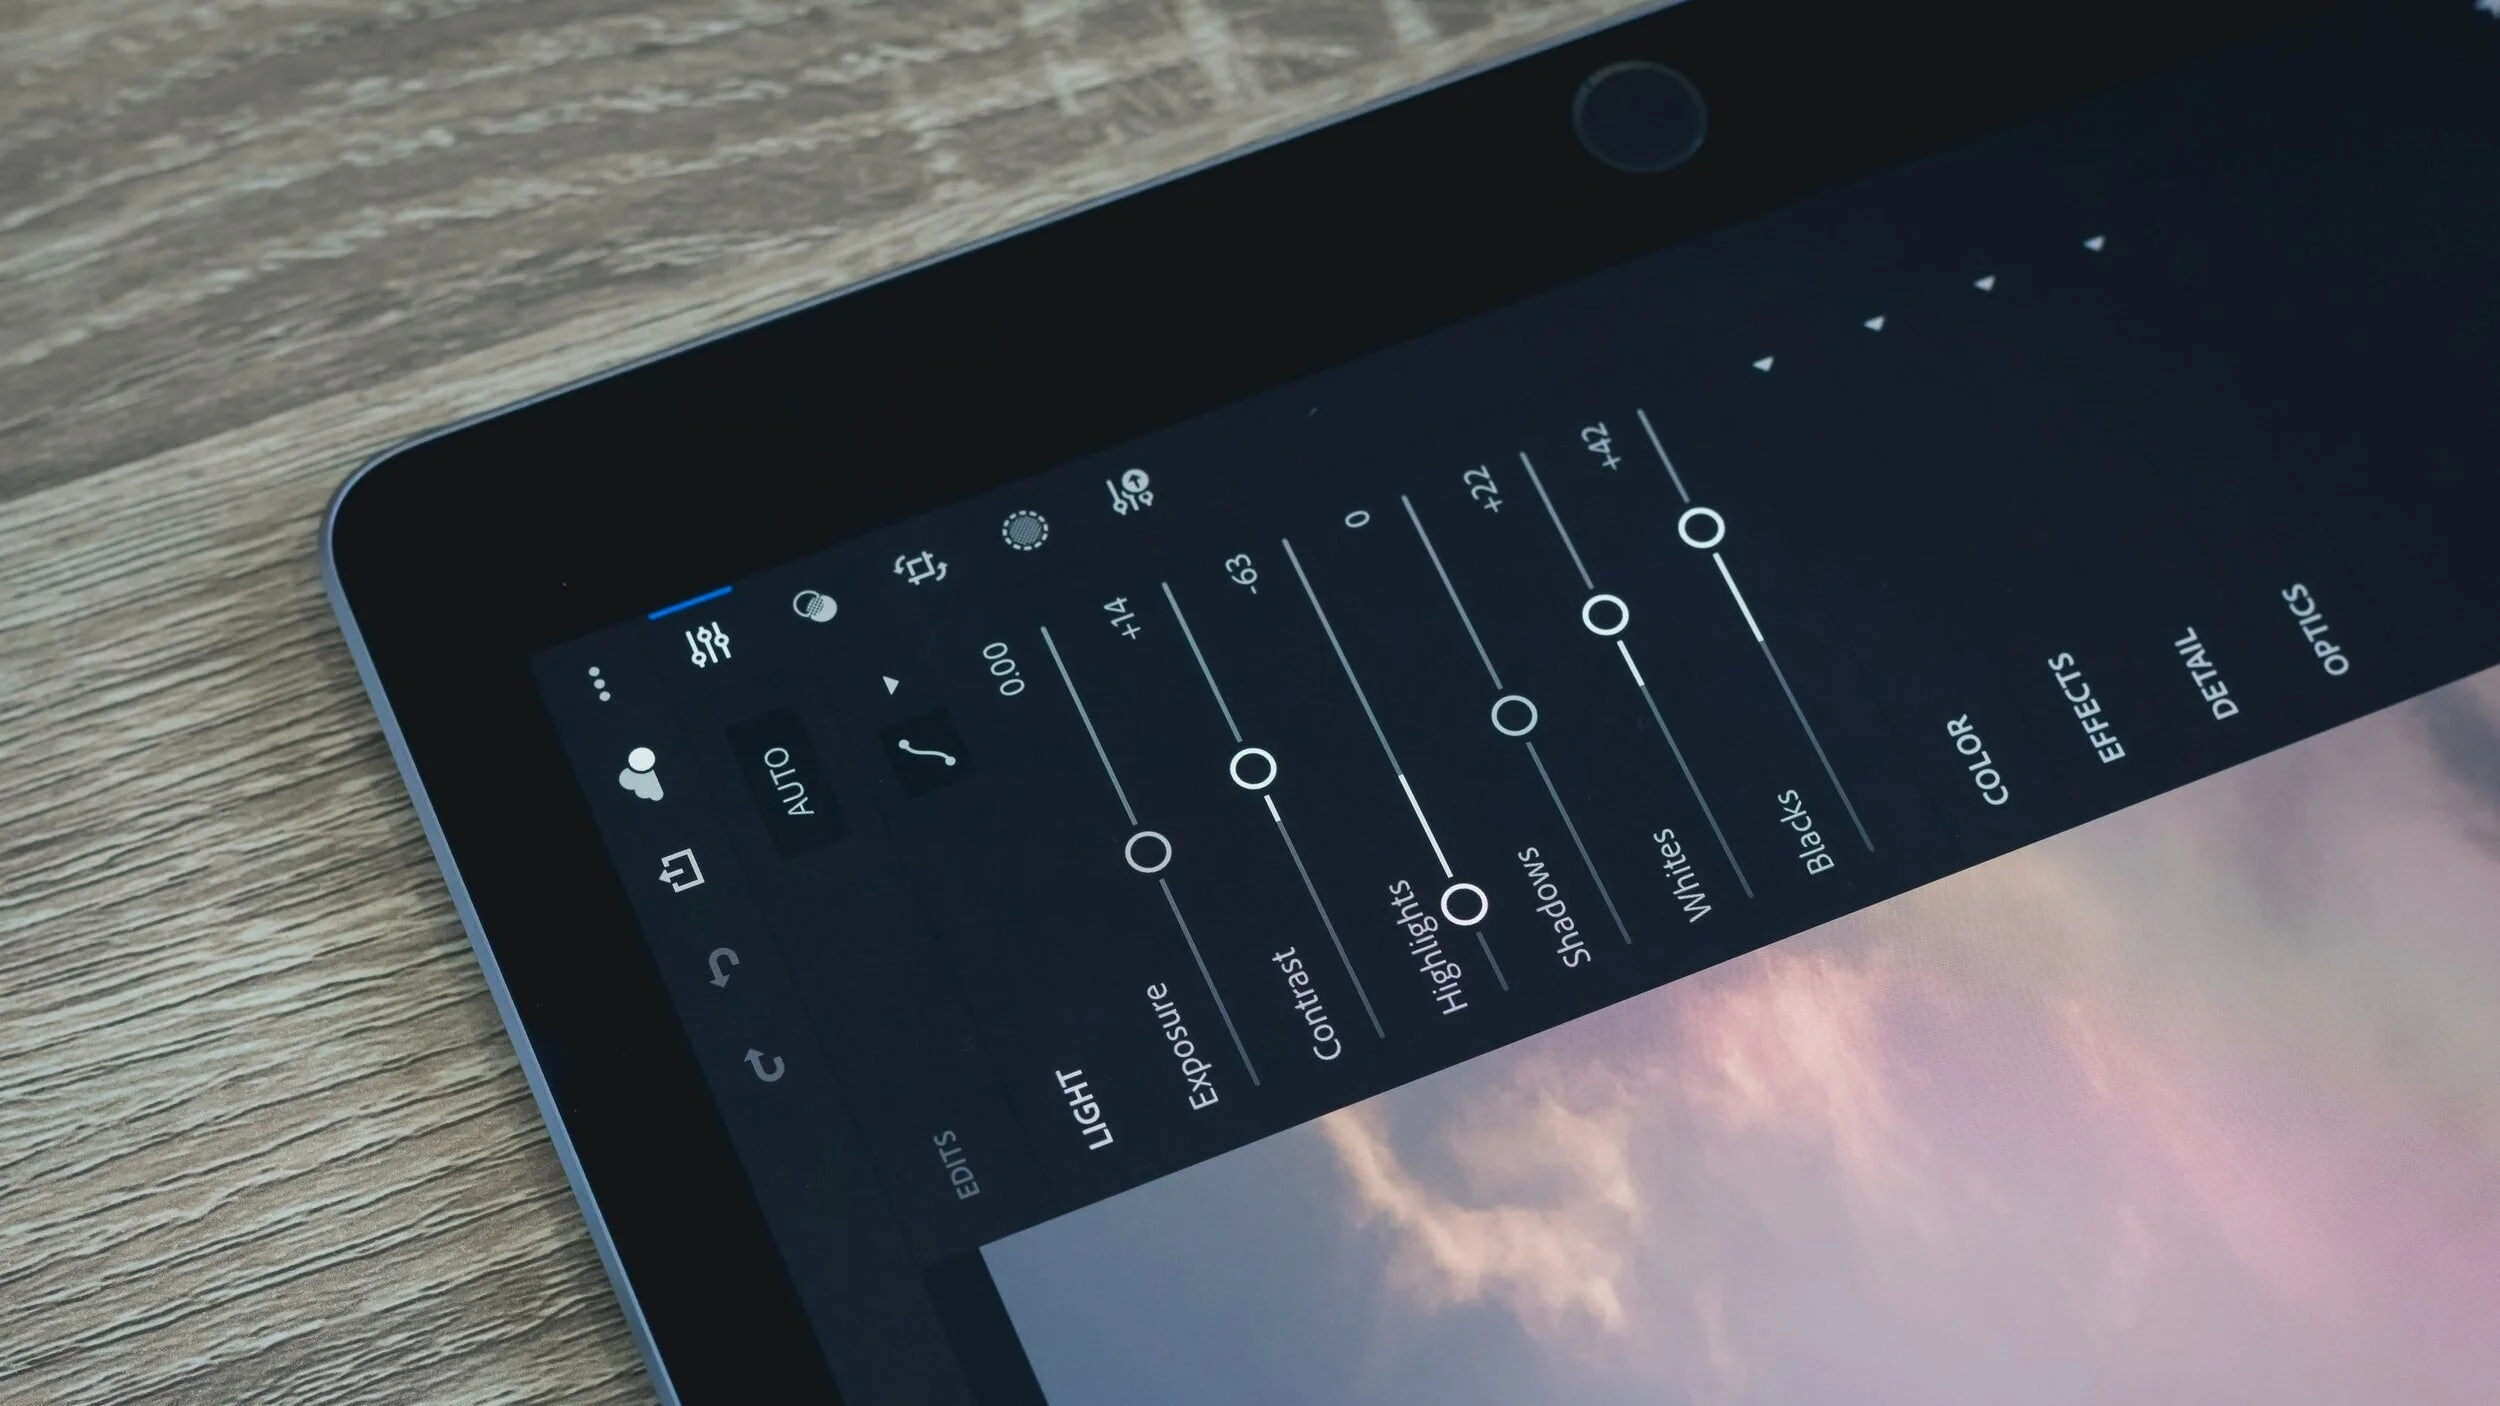
14. Editing tools
While the smartphone camera's technology has improved, you might want to supplement your editing with a smartphone app, such as Lightroom Mobile. While it's not an exact copy of Lightroom Classic, it comes pretty darn close, and you'll appreciate the automatic syncing between the two.

15. Clean the lens
Last but not least, and rather obviously, the smartphone camera's lens can get smudged. Unlike a regular lens, it doesn't have a cover. Clean the lens regularly to avoid a filmy appearance.


