11 Tips for Taking Clear and Sharp Photos
The majority of the newbie photographers are looking for some ways to make their photo more clear and sharp. This is a common deception that arises as the photos are compared to those made by professionals. Instead of trying to make a similar shot, it will be better to understand, what do you want to capture and which way is the best.
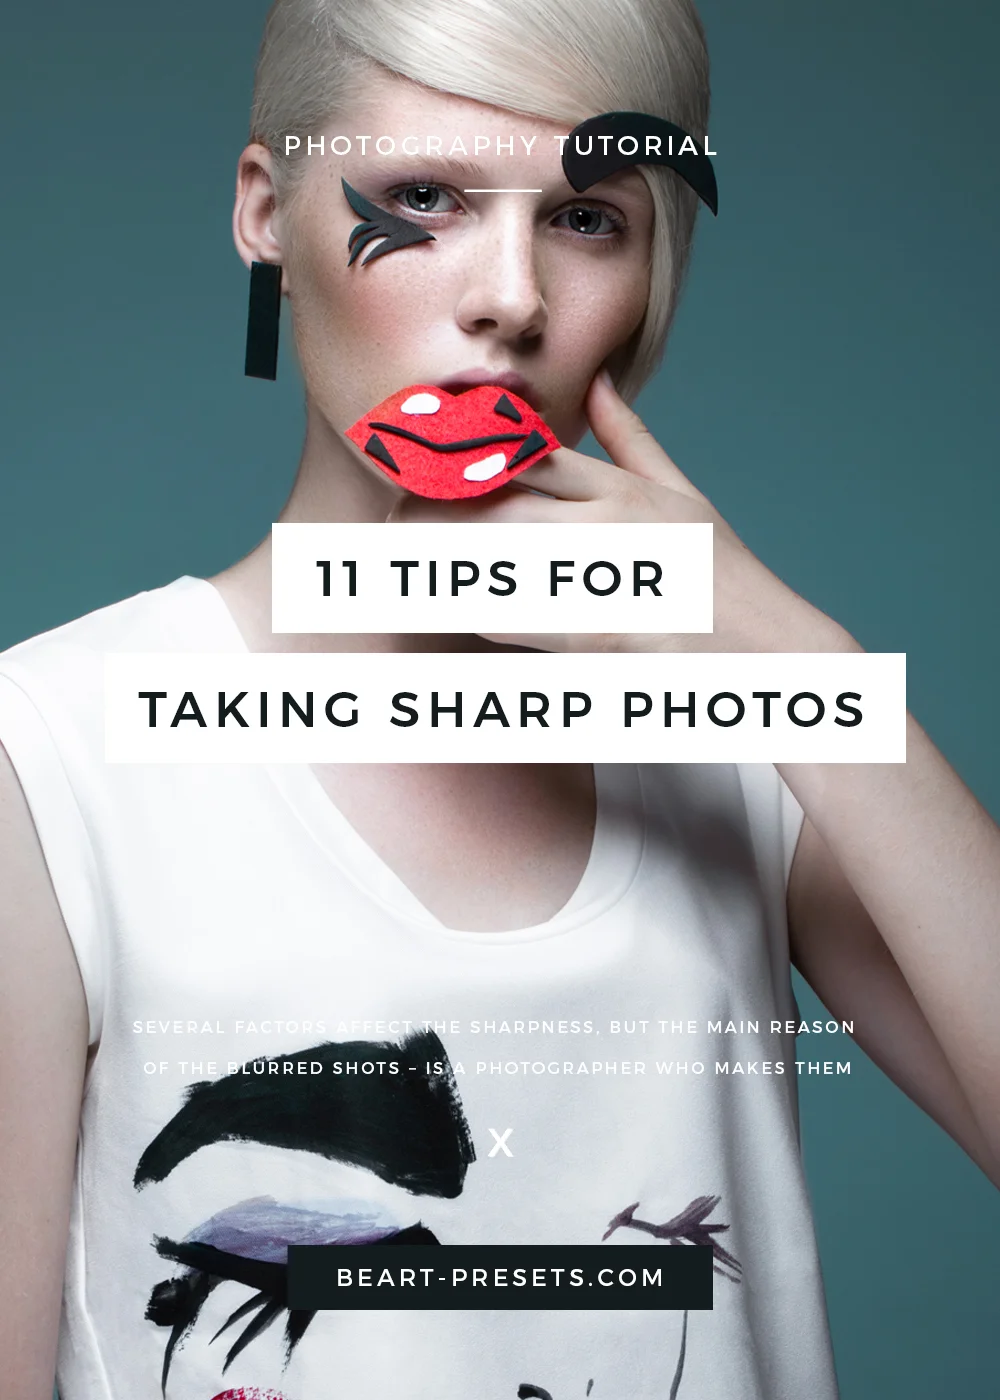
Several factors affect the sharpness, but the main reason of the blurred shots – is a photographer who makes them.

Any modern camera and any lens allow to make quite a sharp shot, so you won't notice any difference on a print that equals A4 format. And that's why on this web-site you will not find test shots to compare, as it makes no sense in real life. Only photographers theorists study the photos under a microscope. Sharpness is the last thing you should concern about. You'd better pay more attention to composition and lighting. If you think that still, your images are not sharp enough, that means you do something incorrectly and apply wrong settings or lens.
Before blaming your camera, check the following:
1. Are you sure you have focused on the subject?

ARE YOU SURE YOU HAVE FOCUSED ON THE SUBJECT?
Instead of figuring out why your shot is blurred after you have made a photo, try to make sure that your camera has focused, before taking a photo.
Check the focus indicator. On Nikons in a viewfinder, a green circle turns on, if the AI of the camera considers that it's focused on the selected area. And here is one tricky moment – you focus not on some particular point, but on the nearest object (there is such a mode in the settings. It is indicated with a white rectangle in square brackets), it will be difficult to tell where the focus will be, especially if you shoot somewhere in the forest.
If you are not sure, then focus on the center, wait until your camera focuses and you will see the indicator in a viewfinder. Instead of figuring out why your shot is blurred after you have made a photo, try to make sure that your camera has focused, before taking a photo.
2. The Depth of Field is too shallow

THE DEPH OF FIELD IS TOO SHALLOW
We live in a three-dimensional world, so you will be lucky if at least an eye or a nose will be in focus, but the whole photo will be blurred.
Surprisingly, 50mm prime lenses are the sharpest, and at the same time while using them, you can get blurred images quite often. The reason is shallow depth of field, and it is partially related to the previous point.
Let's say, you are sure you have focused on the chosen subject, and the green indicator has turned on (on some cameras there is also a sound signal, but I turn it off). So you have focused on some subject. But if you shoot with a wide open aperture - you will have troubles for sure. The reason is if you make a portrait at a small distance, then the depth of field will be just several millimeters.
We live in a three-dimensional world, so you will be lucky if at least an eye or a nose will be in focus, but the whole photo will be blurred. To get a good portrait, you will have to shoot with an aperture of f/5.6.
One more peculiarity, while shooting with a maximum aperture, the focus area is rather big, and it can capture several points at a different distance to the camera, that is critical with an aperture of f/1.8. In such case, it's impossible to foresee, where the focus will be. To avoid such unpredictable situations, it's better to choose a narrower aperture.
3. Camera shake

CAMERA SHAKE
Image stabilization only helps to increase the percent of sharp photos, as the optical stabilization feature may not always work.
Camera shake is a term that describes the shaking of the camera while shooting because of unsteady hands. Taking photos with a narrow aperture, you increase the shutter speed. If the light is insufficient, your shots will be blurred because of the camera shake.
If you think that you don't drink alcohol and make exercises every morning and your hands don't shake it is not like that. A camera – is a very sensitive tool and any slight movement, that you may not notice, will be noticeable on the images. In some cases, an image stabilization function can help (look for VR - Nikon lenses, Canon - IS).
But it’s not the best option. Image stabilization only helps to increase the percent of sharp photos, as the optical stabilization feature may not always work. So it's better to turn it off while using a tripod.
4. You are capturing a moving object

YOU ARE CAPTURING A MOVING OBGECT
If an object is moving fast and the light is low, and the shutter speed is slow, the object will be blurred
We are living not only in a three-dimensional world but also in the mobile world – all around us move. This is one more reason why the test shots of static scenes are absolutely useless. If an object is moving fast and the light is low, and the shutter speed is slow, the object will be blurred. To make the object sharp, decrease the shutter speed making it fast. To capture sports events, your shutter speed should be more than 1/500.
5. Make series of shots
MAKE SERIES OF SHOTS
Choose the images and see which one is the sharpest, and so leave it.
If you don't have an opportunity to make the same shot once again, make several shots at once. Choose a burst mode on your camera. Usually, I make 3-5 shots at a time, and then at my spare time (on my way back on the bus or airplane) accurately choose the clearest and the sharpest shot and delete the rest. It's easy to do: on the screen of your camera, you zoom in the shot up to 100%, when you can see every pixel. Choose the images and see which one is the sharpest, and so leave it.
6. Diffraction

DIFFRACTION
Everything is clear with an open aperture. However, if you make it too small, then you will see the results of a diffraction effect
Everything is clear with an open aperture. However, if you make it too small, then you will see the results of a diffraction effect. I don't recommend to use an aperture less than f/11 only if you don't do this on purpose, trying to increase the depth of field. In this case, you can lose the sharpness of the image. With an aperture of f/22, you will just spoil your shots.
7. Don't try to get such photos as in magazines

DON'T TRY TO GET SUCH PHOTOD AS IN MAGAZINE
Photos that are published in magazines are made using special large format cameras, with special lighting and other tricks.
Don't try to compare your work to what professionals do. Photos that are published in magazines are made using special large format cameras, with special lighting and other tricks. If no information is provided on how it was done, then perhaps it is very complicated. Moreover, professional photos are processed in the Photoshop by special people. One photographer can have a whole team of assistants and several suitcases of equipment.
8. Avoid high ISO

AVOID HIGH ISO
When an ISO value is high, you may have noises, but that won't add sharpness to your photo.
When an ISO value is high, you may have noises, but that won't add sharpness to your photo. Try to shoot using as low ISO as possible. In such case, the full frame cameras have more advantages. Because the bigger a format is, the sharper image, you get. The other question is, are you ready to pay for it? Moreover, in the most cases, you can make nice shots with a general camera for amateur photographers.
9. Adjust your LCD display

ADJUST YOUR LCD DISPLAY
If the display is not synchronized, a sharp picture on it will look blurred.
If the display is not synchronized, a sharp picture on it will look blurred.
10. Troubles with zoom

TROUBLES WITH ZOOM
If you post your photo on the Internet, make its size correct at once. If you try to zoom in/out on a web page, you will lose its sharpness.
If you make high-resolution photos. The resolution of your display is much lower. So to fit your picture to the screen, it's scaled by a program, in which you look through your photos, and not all programs do this correctly. When your photo is scaled, it may look not very sharp, although when printing you won't notice it. For example, the zoom in Photoshop is up to 50% it doesn't look bad, and up to 66% just awful. To make sure that there are no such problems with the sharpness, you should zoom your photo up to 100%.
If you post your photo on the Internet, make its size correct at once. If you try to zoom in/out on a web page, you will lose its sharpness. After the size of your photo is changed, I recommend adding a little bit sharpness. In any editor (Lightroom / Photoshop) there is such a function. Try not to overdo this, the value of 15-30 will be enough.
11. Don't use the maximum settings on your camera

DON'T USE THE MAXIMUM SETTINGS ON YOUR CAMERA
While shooting on some not expensive cameras using the maximum values of aperture or focal length you may get a blurred image
While shooting on some not expensive cameras using the maximum values of aperture or focal length you may get a blurred image. This often happens if you shoot with an aperture wide open, for example. On some cheap zoom lenses, this trouble can appear when you use the maximum focal length.
Conclusion
In conclusion, I want to give advice. Each lens and camera have its limits, as they are designed for different purposes. Sometimes your lens is not able to do what you want. So learn its weaknesses and strong sides and use them to your advantage.
Imagine that you are not a photographer. Imagine that you are an artist, and your lens is your brush. Each brush has its own peculiarity. Learn to create masterpieces using this brush. Sharpness is the last you should pay attention to. Learn how to use what you already have. I little bit of practice won't do you any harm, so try your new lens before making important shots. Learn its limits and peculiarities. Remember in what conditions and using what settings you get the best results. Don't use your camera or lens on its maximum settings; the best result will be something average. Use your knowledge and experience. The question of sharpness is quite disputable you don't always need it. A picture sharp in every point of it will look boring. Improvise!