
Our Great Tips to Enhance iPhone 14 Pro and Pro Max Photography
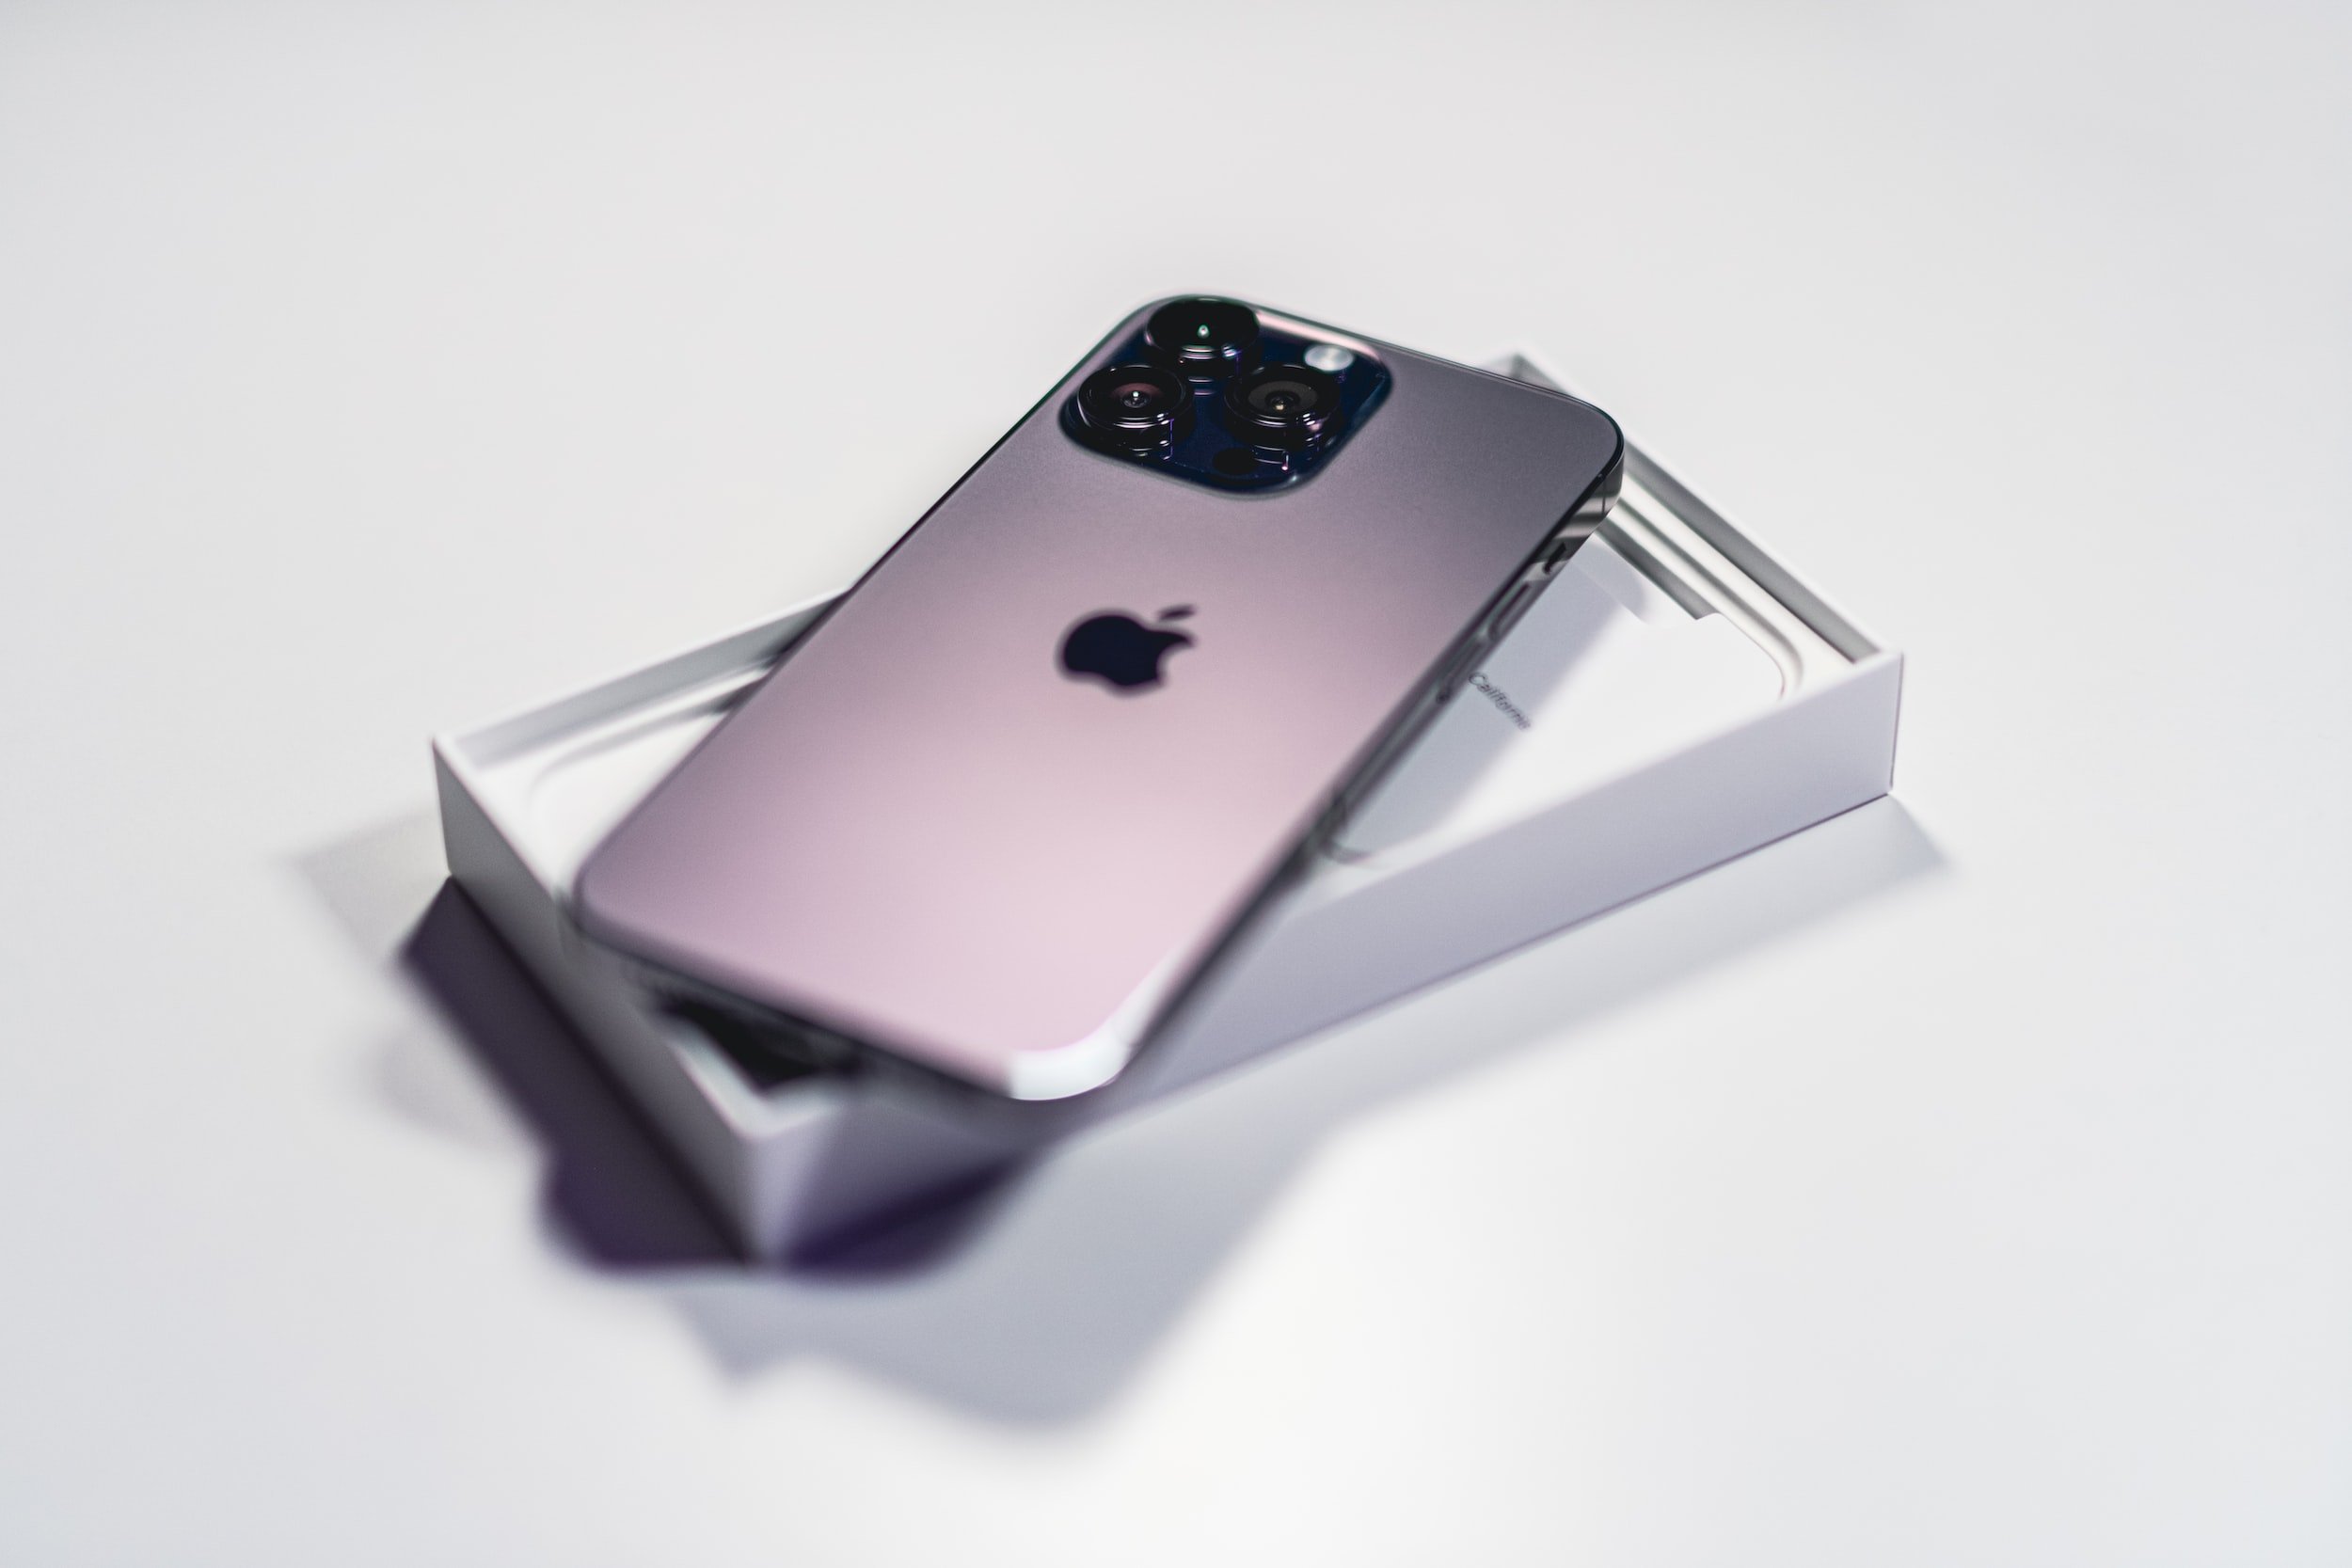
iPhone 14 Pro and Pro Max users have a lot to celebrate, including its impressive Camera. Even serious photographers will respect its capabilities.
As we've often said, smartphone cameras have improved dramatically since their early days. Gone are the low-res images, replaced by high-res, high-quality photos that can compete with DSLR images.
We're not exaggerating when we say that Apple's newest 14 Pro and Pro Max are serious competitors to most DSLRs! Tuck away your bulky Camera and pull out your iPhone 14 for your next vacation. Our great tips will help elevate your smartphone images beyond your wildest dreams!
A quick look at enhancements
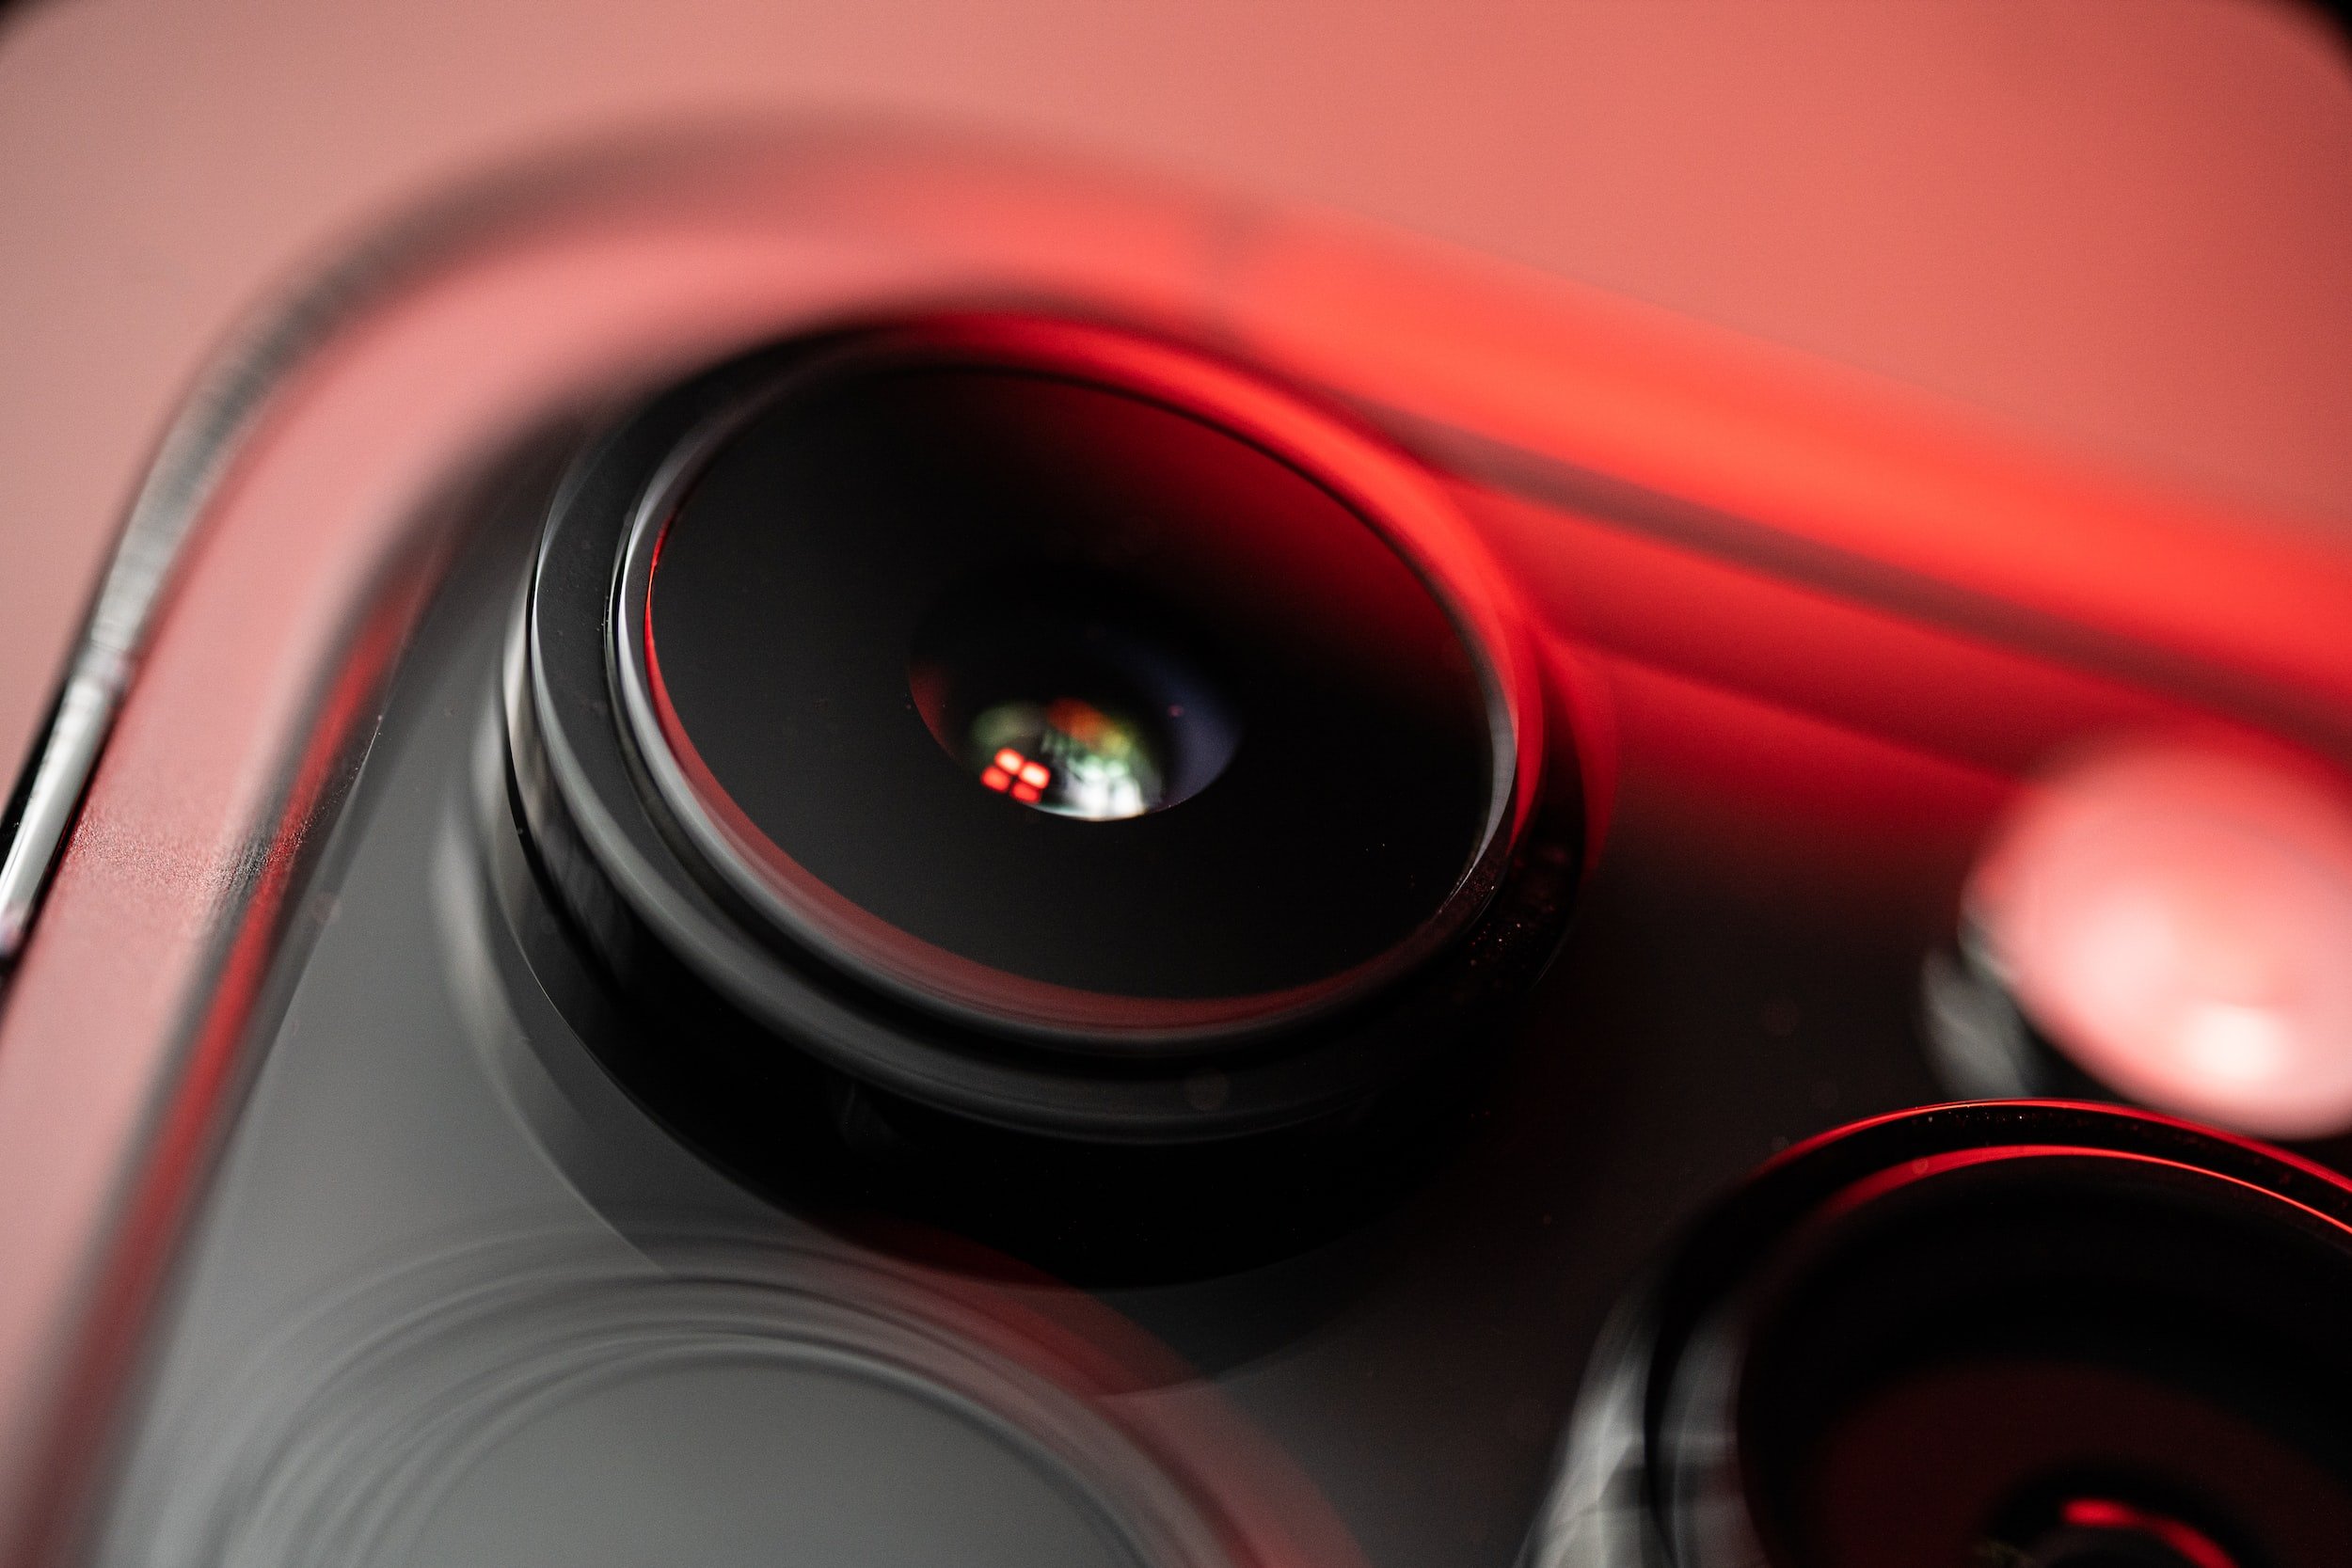
Let's start with a superbly enlarged image sensor with more focus pixels and a stepped-down f2.2 aperture lens - I love it!
The second-generation optical image stabilization system will give you crisper pictures - even with moving hands!
Zoom in tight with four fabulous optical zoom levels - close-ups galore!
Night Mode is better than ever. The Camera shoots at multiple exposures, selects the best-exposed images from each part of the frame, and combines them into one sharp, well-lit photo.
If you're a filter junkie, you'll appreciate the new Portrait Mode filters!
The new Photonic Engine produces richer image colors with sharper details and increased brightness.
Enhancements and features are only part of creating fabulous photography. You still need to know how to maximize a camera's potential. Below are our helpful tips to help you elevate your photography using the new iPhone 14 Pro and Pro Max.
Maximize settings
You can just start shooting, but if you compare the images from an iPhone 14 and an older iPhone, you should see a difference immediately. However, knowing how to best use its features will take things to the next level! Let's start in Settings.
RAW: You'll want your Camera to capture as much data as possible for the best pictures. We suggest setting your Camera to RAW, which captures the maximum data, and the pros use it. Previous RAW and Apple users will know that Apple has its own version of RAW called Apple ProRAW (Apple ProRes for video).
Unlike JPEG, ProRAW and ProRes files hold a large amount of unprocessed data from the phone's image sensor. There is no data compression. This means RAW files retain all of the information captured by the Camera when an image is shot.
Having more data allows you far more flexibility when editing photos, including more flexibility when adjusting elements like exposure and white balance.
Here's how to set your Camera to shoot ProRaw and ProRes:
In your phone's main Settings, choose Camera.
Select Formats.
Turn on Apple ProRAW and Apple ProRes.
Under ProRAW, there's a secondary setting for resolution. Choose the 48-megapixel setting for the largest image sizes.
There is a downside to this. These files are massive! An unedited ProRAW file can be more than 50MB. If you take tons of pictures and store them unedited in your phone, you can quickly eat up all your storage. There are three ways to deal with this:
You can buy the 14 Pro with the largest storage you can afford if you're an avid photographer.
Buy more online storage space online.
Download larger images to a Mac or Windows.
Quick shots: Set your Camera to be a grab-and-shoot. This means not missing a great image because the Camera wasn't set appropriately. Here's how to do that in Camera settings:
Preserve Settings will do just that - preserve your settings between uses; it recalls your last settings. There's no need to reset to what you had last time. This is a huge time-saver when you know you'll be shooting with the same settings but putting your Camera down and picking it back up to shoot some more a few minutes later.
We suggest turning on features like Faster Shooting, Macro Control, and Lens Correction. One thing to note is that Macro Control lets you get very close to a small subject and will automatically turn this once you get very close to a subject. (A small icon on the screen will indicate you're in Macro mode.)
Shooting
Once you've set the camera settings, you'll be ready to shoot. Here are some tips for you.
Tap and hold the shutter button on the screen to record the video.
If you hold the shutter button and slide it to the right, it locks on recording video, so you don't have to hold down the button.
Tap and slide to the left to take a burst of photos for as long as you hold the button. (A counter in the shutter button circle indicates how many images are in the burst.)
You can also use the volume buttons as a shutter button.
Adjust the photo exposure by tapping the screen and sliding your finger up and down to adjust the exposure.
Lock exposure and focus by tapping and holding where you want to focus.
When using the camera app, you'll find the camera app's other controls at the top of the screen, on either side of the Dynamic Island. These include controls for the flash and toggles for the Apple ProRAW setting and Live Photo.
Tap the small carrot arrow in the center of the top bar to reveal more controls. A bar below the picture frame gives you access to night mode (only appears when it's dark), flash control, Live Photo toggle, exposure control, a timer, and filters.
Videos
The 14 doesn't disappoint when it comes to video recording, either. In video mode, you'll see the resolution and frame rate in the upper right corner. Want to change it? Just tap it. If you want more of a cinema film look, select 30 or 24 fps. For a smoother film, shoot at 60 frames per second. Below the carrot arrow in the center, you can see how much time you can record below if you're shooting with Apple ProRes.
If you're shooting at high resolution, which eats up a lot of storage space, you might see a "free resources" text button. This will move some of the old photos and videos on your phone to your iCloud storage account if there is an internet connection.
If you need to turn on the camera flash, you can do it in the light control feature for better-lit videos.
Apple's new Action Mode does an excellent job of stabilizing shaky videos. Keep in mind, though, that you can't shoot in full 4K resolution in Action Mode. It only allows for 2.8k, and there's a slight crop to the image to stabilize the image.
Editing
Once you're done shooting and reading to review your images, there are a few things you need to remember or do. Let's start with if you shot in ProRAW.
ProRAW can appear low in contrast, thanks to the extensive amount of data captured. But don't despair. That massive amount of data allows you to do some terrific edits or enhancements without losing resolution and ending up with a lousy image. You don't even need to download it to a laptop. You'll be able to make the edits right in the palm of your hand on your phone!
Open the Photos app and tap the Edit button in the upper right corner of the screen.
A series of controls will show up under the image. You can scroll left and right on them.
The Auto setting will automatically adjust the photo based on some pretty advanced computational capabilities.
You can make your own adjustments to elements like exposure, shadows, contrast, brightness, and vibrance.
Conclusion
If you've already started using your iPhone 14 Pro and Pro Max cameras, you're probably already in love. We hope our tips and information deepen that relationship and get you to the next level of incredible images. If you're thinking about whether to buy the phone and how good its Camera might be, we hope we've enlightened you.
These are genuinely great cameras! They'll not render a high-end professional DSLR obsolete, but they make a terrific substitute in a pinch!


