
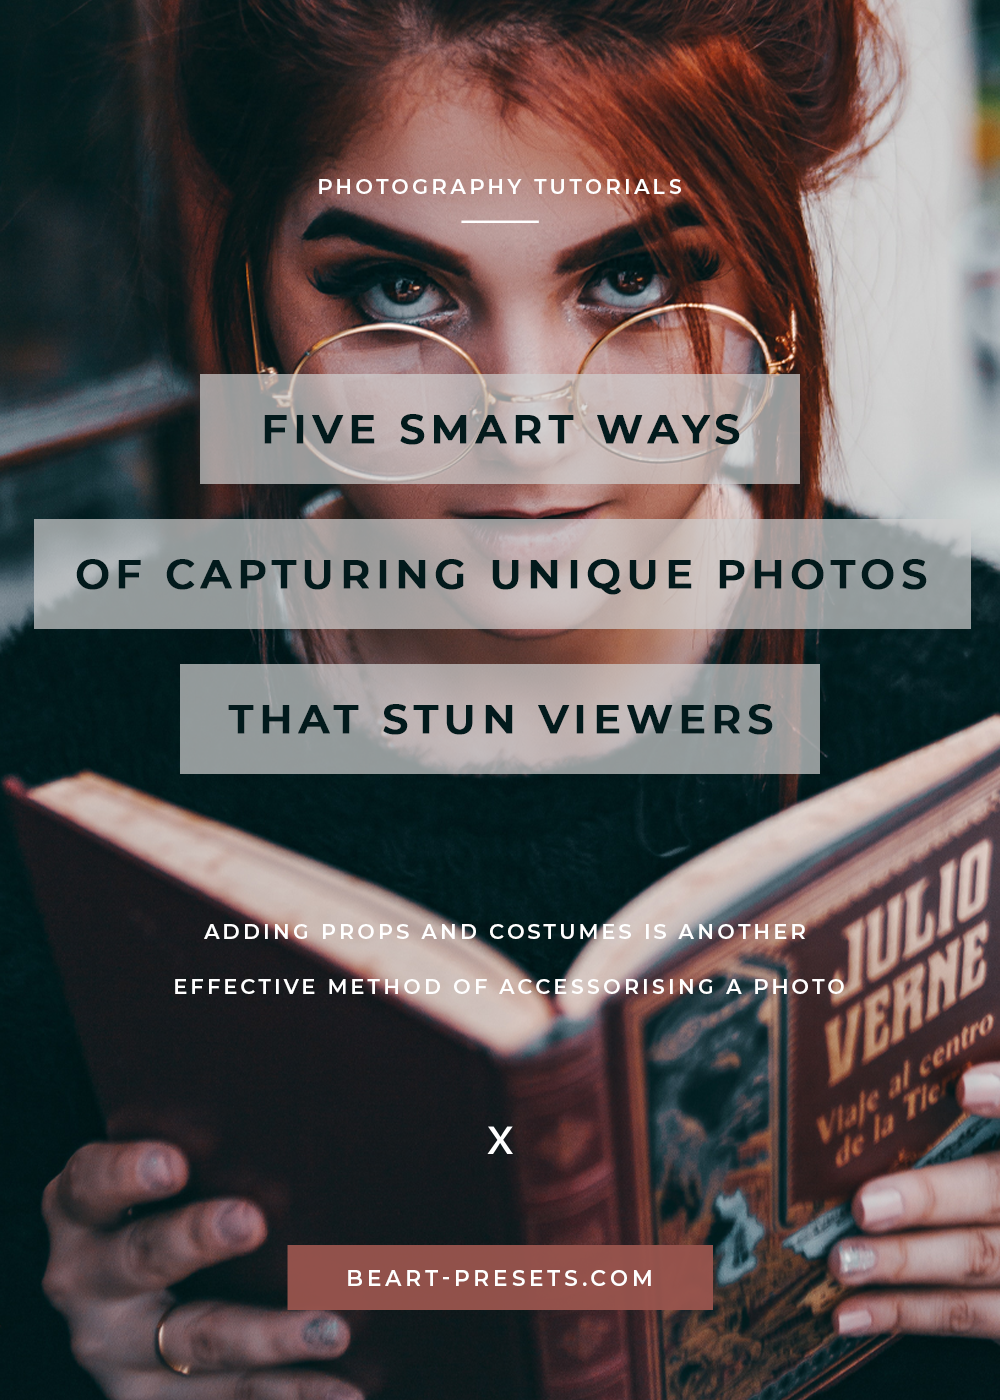
Five smart ways of capturing unique photos that stun viewers
Who remembers the days when DSLRs captivated the photography world in the 2000s? Photos suddenly became sharper and crisp, an aura of undeniable attraction crawled over them, and people started to look exquisite and charming.
At that time, a simple portrait of a lady sitting on a bench with some bushes in the background was enough to dazzle the viewers – It was that simple! But gradually, like everything else, photography evolved, high-tech cameras crept in, photographers started experimenting with new perspectives and angles, and photo enhancement software started becoming popular.
Thousands, if not millions, started adopting photography as a passion and what was previously a profession meant for formal gatherings and weddings only, now spanned across all dimensions of life. What brought in with all this creativity was sheer competition. And it’s been going that way since now.
Unless you have something unique to present to your viewers in today’s world, there are no chances of you being addressed. It’s a race of creativity – a battle of finding the “sweet” spot – a process of uncurbed evolution. You all have to realize that there is a huge potential of photography in recent times, and it is certain to grow in the future. Name one field which is not integrating this dimension?
Cooking channels are growing in recognition thanks to those befitting camera angles that make food look irresistibly delectable, fashion channels are enhancing the beauty of their models through sharpening modes, E-commerce websites are alluring customers to their products through well-contrasted pictures and Hollywood movies are incorporating photography effects that could only be “imagined” a decade ago.
But there’s one thing common in all these improvements and that uniqueness! Viewers will get bored if they observe the same routines in two successive photos. You have to remain on your toes and constantly come out with effects that are new. So let’s start.

Via: Unsplash
1. Play with the composition
Almost all professional photographers must have gone through the lecture on “how to compose a photograph” at the starting of their careers. It indicates the ingredients like subject and background that needs to be included in a picture. While there are certain rules to it, you can always try to be different.
Playing around with the face of the subject, the amount of background visible in the photo, and setting subjects in a non-traditional arrangement are all ways of setting your photo apart from millions of others. Let’s get on with some of the techniques.
You can hide or obscure a certain part of the subject’s face to instill that element of mystery that produces butterflies in the stomach of your audience. If the face has some sort of discolorment or scar, follow this technique instead of investing in makeup or face masks. Make sure that you do this on one side of the photo with the other side dedicated to the background.
Another thing you can do is tilt the camera angle. In fact, horizontal and vertical angles are too “mainstream” in the eyes of many photographers. Titling the angle can eliminate any unwanted details from the frame and give a different perspective to the picture, for example, capturing a smoking person through an inclined angle would give an idea that he is dizzy and ruffled.
But be cautious that the viewer gets that your tilt is ‘intentional’. This can be done by positioning subjects in a common slanting line.
You can also try reaching close to the subject by looking up or below at it. This helps in creating a dramatic composition and adds detail to the photo. Looking up to a date tree or looking down to a smartwatch lying elegantly with your iPhone seems to negate all rules of image composition but is, in fact, it’s more appealing and “cutting-edge.” If you can get to focus the Apple logo, it would be even better for your “brand-conscious” viewers.

Via: Unsplash
2. Try a movable lens
Even the tone of it sounds interesting, Right? What we are talking about here are gadgets that have aided the photographers, especially those who deal with landscapes, to capture stunning photos.
This includes glass lenses, prisms, and crystal balls. Light rays work in mysterious ways, and lens processes them. Adding another layer of convergence or divergence helps to achieve additional effects that cannot be attained with a camera lens solely.
You might have seen chequered or rainbow-effect photos on Pinterest and Instagram and imagined how in the world did they take it? Thanks to these gadgets, you can capture photos just like them.
Getting an inverted image through a camera doesn’t take a lot of taking. But what if you can add an upside-down variant of the same frame you are capturing in the photograph! That’s what the photography sphere does – it allows you to take a photo with a spherical effect that appears to be inverted. In this way, you can get two views in the same frame.
Not only does it adds a focal point, but it gives the viewer more time to observe and appreciate your effort and idea. These balls can provide incredibly unique and one-of-a-kind photos that are worthy of being praised.
Then, there are prisms that can add a rainbow or sky integration effect to a portrait or landscape. You can enjoy the freedom to either diffuse or focus your subject, depending on the angle of these prisms. Be it full image sky integration or a localised rainbow effect, a direct light projection, or ghost light effect; they can produce each one of them.
How can we forget the glass lenses that have revolutionised the world of photography since their arrival? They create engrossing color casting in the photos apart from that customary chequered or network effect that stuns the viewer for a second in an effort to realize how must have it been generated.
These gadgets are available readily and come at very affordable prices but hold high utility in them. It would be difficult to get the perfect effect with them at first, but with a little bit of fidgeting, you can get a suitable angle to focus on. It would take time and experimentation, but you won’t regret it once results start appearing.

Via: Pexels
3. Accessorize your photos
Getting a camera, learning the use of it, capturing breath-taking photos with it is one thing, but making it stand out is another. This process applies to everything. Your CVs, sample work, school projects, websites, and photographs.
There were about 114k US photographers in 2017, and each of them would have posted thousands of their pictures online, but the client who employed them wouldn’t have inspected all of their photos, rather he would have seen the first two of each profile and called the ones who impressed him with them.
So accessorising your photo to make it irresistible is the new skill to learn in today’s world. But don’t worry, it isn’t a can of worms. Especially with all the new online courses and software that are being introduced. There was a time when everything had to be done on the camera to finalize a photo but not anymore.
Software like Lightroom, Photoshop, and Luminar have given photo editing a whole new meaning, and with tools like Picmonkey, Gimp, and Fotor, images are being refurbished and rejuvenated at new heights. You can add filters, change the contrast ratios, play around with the sharpness, and pluck brightness curves from different points at desire.
Adding props and costumes is another effective method of accessorising a photo. Why do you think models wear those feathered crown and hold scepters while walking on the ramp? No one would carry them in practical life, but what it does is produce captivating photos for fashion magazines and blogs.
Top brands like Coach, Ralph Lauren and Micheal Kors often execute shoots that include models with certain props and wearables that are too “unreal” to be worn on real occasions, but why is this trend not declining? That’s because it’s selling on the part of its uniqueness and freshness.
You can do the same with your photographs too. Integrate some sort of a distinctive attire or a quirky element on the subject’s face that creates a sense of puzzle in a good way. Having a large ring on the hand or beaded necklaces in the neck can be a revitalising element.

Via: Pexels
4. The eccentric shadows
Shadows are your friends in photos, but only if you know how and where to use them. You aren’t advised to practice this technique if you are a beginner because it would result in nothing but chaos. First, get familiar with on-camera controls and take photos in bright light while following the standard composition rules.
Once you have turned pro in that, start using techniques that are out of the box, using shadows in photos, being one of them. Shadows add depth to photos and can shield some parts of the frame, which are either too hideous to be depicted or are obscured to produce a layered effect. It also diverts the focus of your viewer to the parts you want them to, which augments the worth of the captured scene.
So, what are some of the ways of using shadows in pictures? The first one is to make it the subject of the photograph. If your Instagram post is, say, related to the subject of untold reality, you can effectively include a photo of the shadow of a human or plant mirrored onto a wall.
Secondly, use it to represent the scene in its true form i.e., three dimensional. Cameras convert the three-dimensional scenes into two-dimensional photos, but integrating shadows can instill that missing dimension efficaciously. It creates a sense of depth and can add helping boundaries to specific subjects of the photo.
A third way is to capture the image afternoon when shadows are elongated, and you can give a flavor of an exaggeration to your picture. Consider a situation when you are capturing a frame including two water bottles alongside one forehead band and a Fitbit. What if you capture this frame through an angle that emphasizes their shadows. This would amplify the presence of these small items and make it more interesting.

Via: Freepik
5. Use blurring to focus
Don’t get flabbergasted with the concept, it’s true! Blurring allows your viewer to focus on the subjects you want them to, rather than the whole picture. Not only does it create multiple layers in the same image, but it also makes it more drastic and hence, engrossing.
Blur adds detail to an image; for example, a car can be made to move speedily behind a person if it is blurred. It adds a sense of motion, which is not possible without its usage. This also aids in focusing the person more by creating sharp and distinctive boundaries around him/her.
There are various types of blue effects that can be used in photography. Radial blur makes a part of the photo appear circular, which catches the attention of the viewer. The bilateral blur adds a dreamy touch to the photo by creating a “softening” effect. Sharp buildings, mountains, or roads can appear to be dissolving in air through this effect, which creates a magical aura.
Then, there comes the directional blur, which displaces the image in one direction and can be added to a part of the whole picture. We personally recommend blurring a part of an image because it increases the worth of the focused subject. Let’s be honest, wouldn’t a focused tip of a pen with blurred surroundings appear more catchy than a complete unblurred pen? Sure it would. Try different apertures and shutter speed in your camera to specialise in the field of blurring.
So there you go! Entertained with some of the smartest tips to make your image one of its kind. That’s important too, because how would you get noticed otherwise!
Author bio:
I am smart, fashionable, attractively creep, and an active traveler. Writing is my passion – I compose scripts to spread emotions rather than information. In my free time, I feed my cat, water my plants, and watch Netflix.


