Expert Portrait Photography Advice
The newest book by veteran photographer Neil Creek, 30 Tips & Tricks for Portrait Photography, has just been released.

The author offers advice that you can use in your work as well as personal portrait photography experience. Some of his information is revealed below. The model will relax and grin more easily if a friendly atmosphere is maintained through discussion.
Regardless of the type of camera you own or how frequently you take pictures, you are probably taking pictures of people. We believe that this is the most fascinating aspect of existence.
When we photograph friends, relatives, or other individuals, we want to preserve their memories. These 30 techniques should help you enhance your portrait photography; everyone can do it.
Here are three hints, two of which are from the previously mentioned book and one other. They will give you a preview of the contents of the book. We hope you will find them useful. By the way, buying the book will only cost you $5.

Be aware of how your model is feeling emotionally
Working with a subject who is capable of expressing a wide range of emotions in front of the camera is one of the toughest components of portrait photography. It might be worry, embarrassment, or shyness.
A conversation that fosters a welcoming environment allows the model to unwind and produce a natural smile. Possessing psychological expertise might help you develop as a professional portrait photographer. It's beneficial to comprehend human emotions and behavior.
Put yourself in the subject's shoes first. Imagine his thoughts and encounters. What would put you at ease if you were that person? How would you feel? Look out for indications of his mental state. Does he struggle to look you in the eye? Does he flinch and express pain when the flash occurs? To relax or find a distraction, do you frequently fix your gaze on someone? You can solve the issue after you have a thorough understanding of it.
Usually, talking to the model makes her feel more comfortable. The topic will become more relaxed through casual chat.
Get feedback on what you do and provide comments to improve the engagement. If things aren't going as smoothly as we'd like, it doesn't mean the model isn't making an effort or that she's to blame for everything. Ascertain the person's comfort level and learn what you can do to assist. Saying, "This pose/lighting doesn't work," and moving on is preferable to making the model feel as though her performance isn't good enough. She or he will then make an extra effort.
Building trust with positive comments is essential for taking great pictures. You can reassure the model that the photo shoot is going well and inspire her confidence in her appearance by displaying the images on the camera's back.
You can gain experience by putting yourself on the other side of the camera as well. Invite a friend to act as the photographer while you pose and pretend to be a model.
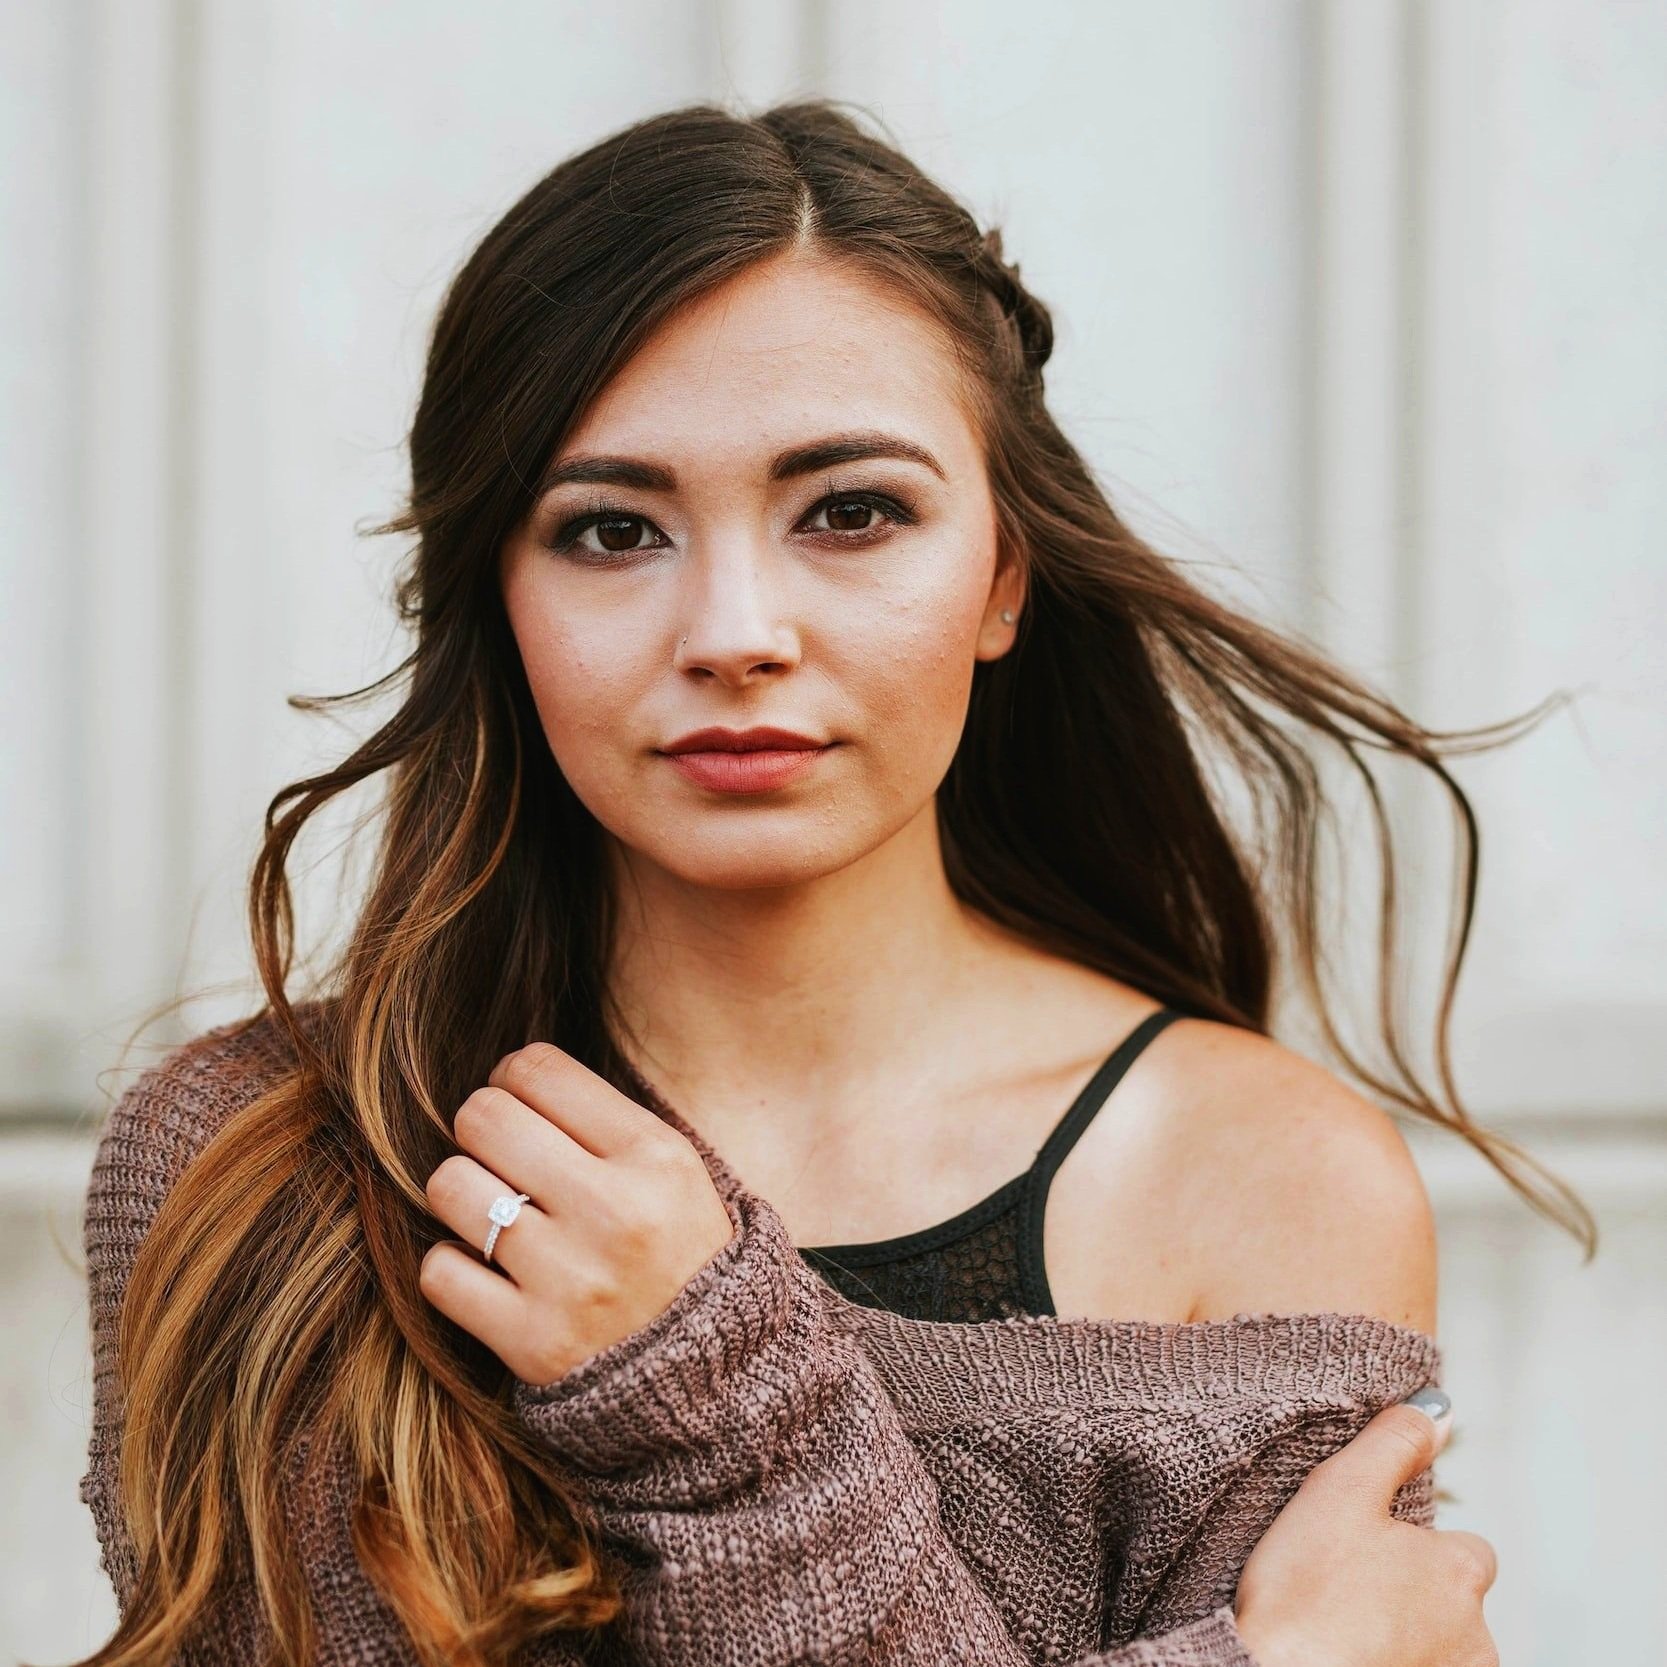
Recognize both curved and straight lines
Curves and straight lines predominate in photography, particularly in portraiture. After all, our brains play a part in what we see in addition to our eyes. Lines are a crucial component of the skills our brain utilizes to interpret a visual image. The brain infers the three-dimensionality of a figure in the real world based on its position and shape.
For instance, in the traditional style, the model leans slightly to one side while placing her hand on her hip. The ensuing space between the arm and the torso draws attention to the back's curve and gives it a thinner appearance.
If the arm is simply dangling to one side, the back line is not visible to the brain, making the entire figure appear wider. Evidently, the model has not shed any pounds. But it only takes a split second to alter the stance, and the lines start to make it appear thinner.
This is only one of many cases where altering the composition and geometry of the body's lines can alter how the viewer perceives the model. Although it makes little sense, doing so significantly alters how the images appear and feel. If you take photos frequently, you'll get better at this and incorporate it into your toolbox of practical knowledge over time.
The greatest way to depict curved lines is to adopt the appropriate stance.
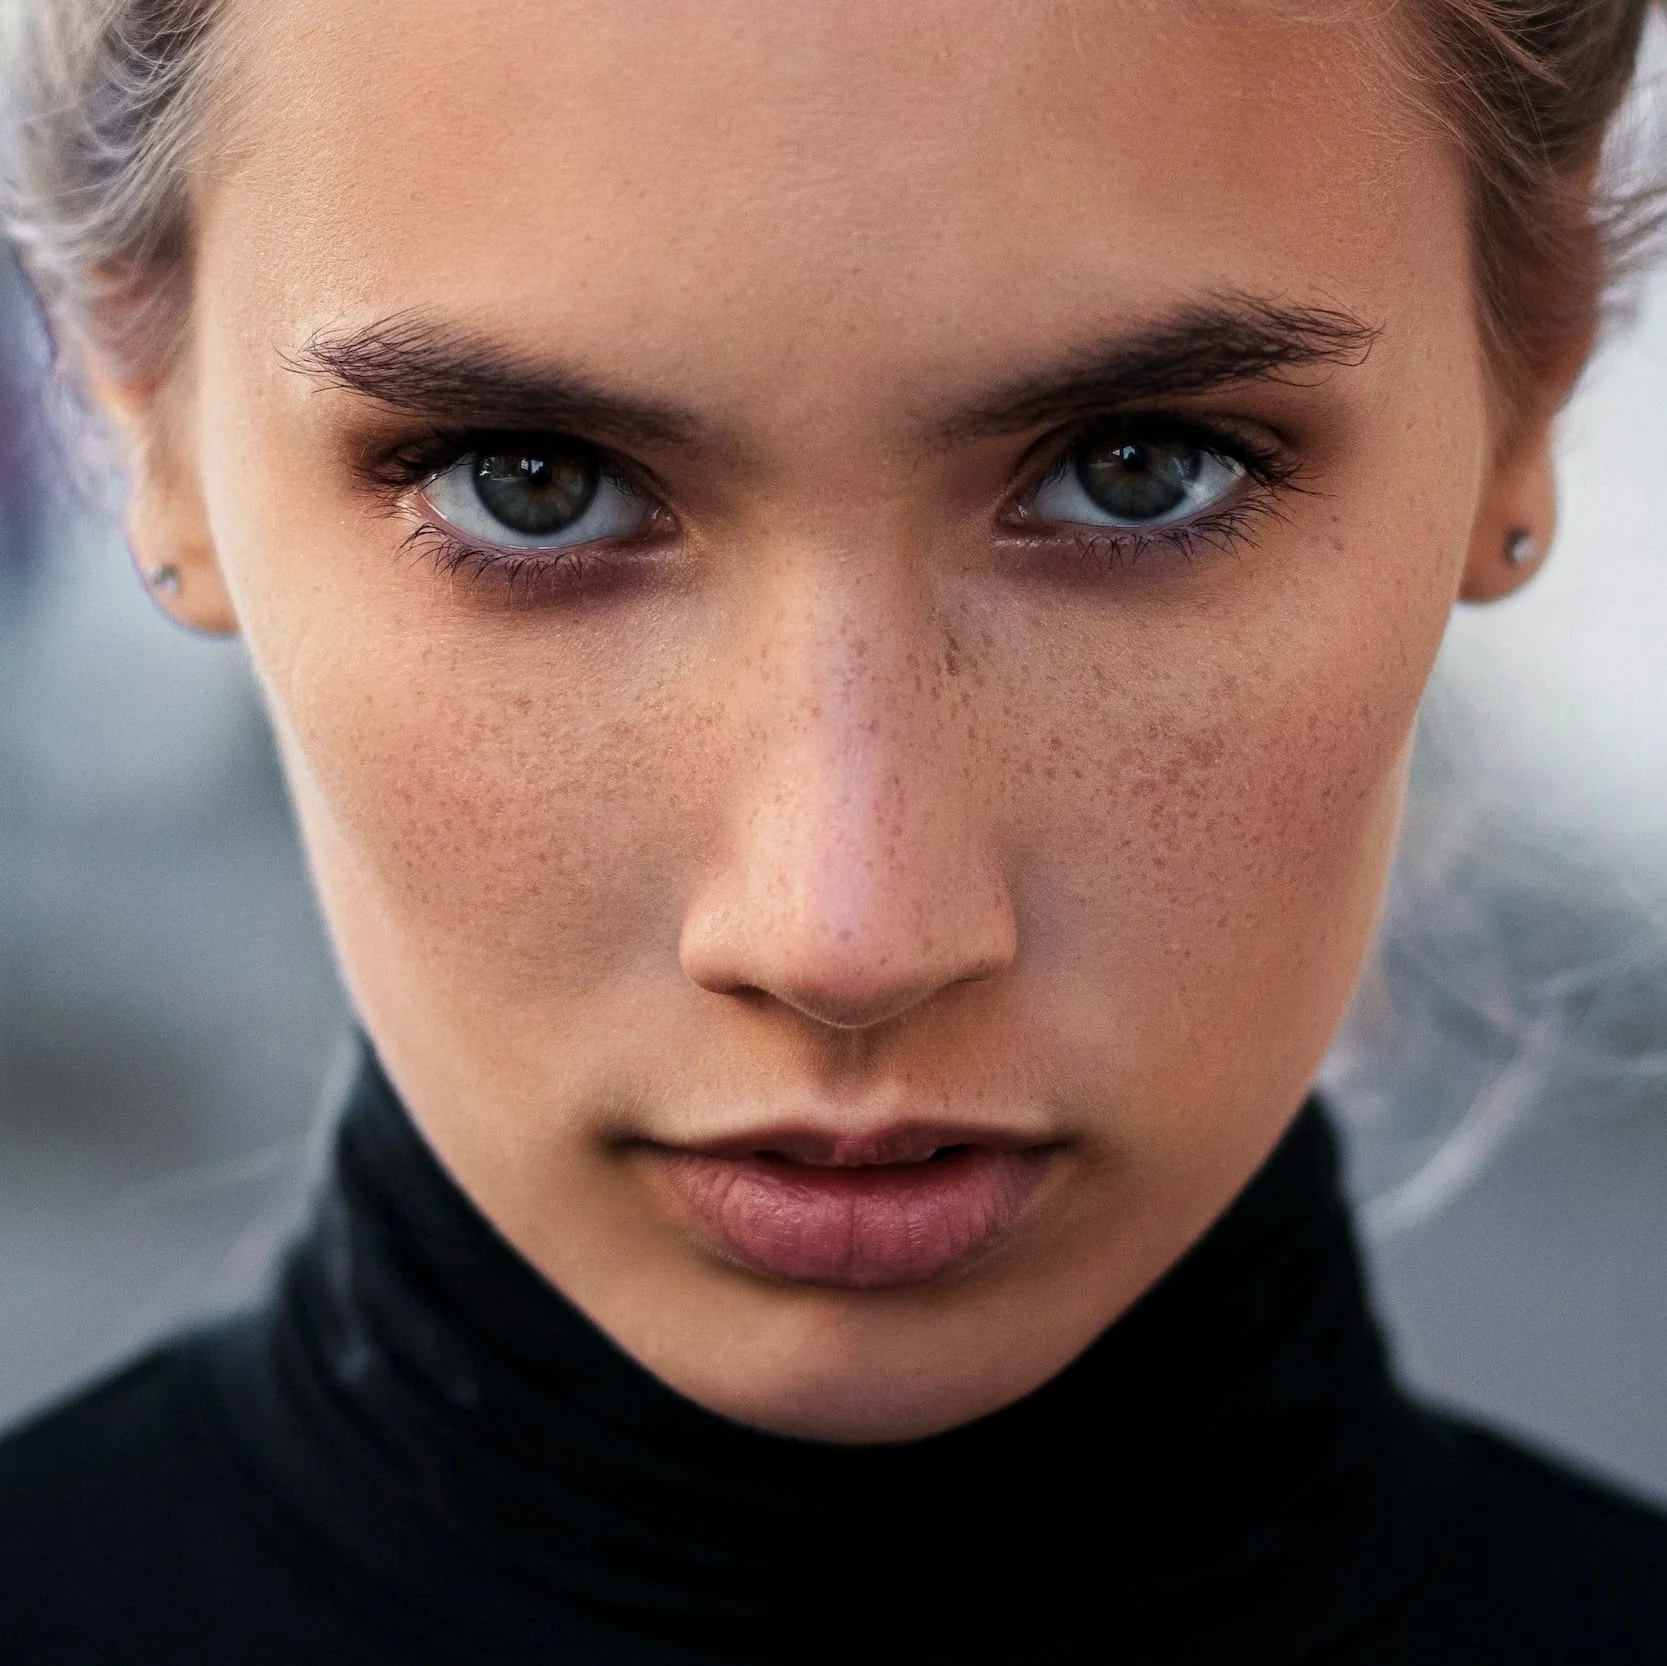
Shadows and light on the face
By determining the location and shape of the shadow, the direction of the light contributes to the definition of the subject's shape. The nose is a great facial example. Under the brows is one location where shadows may be an issue.
Sunken eyes and a prominent forehead are characteristics of the human face. This implies that the forehead will cast a shadow across the eyes whenever the primary light source is above your subject. The area surrounding the eyes will then appear to be the color of raccoon fur as a result of two black circles. The eyes are typically the focal point of a portrait photo; thus, it is ideal for them to be well-lighted and not blend into the background.
You can employ a variety of techniques:
Shift the focus to the shadow. Stop in a location where the eyes will be filled with light that is primarily coming from above, making them more noticeable.
To reflect the light and illuminate your eyes, use a reflector, a piece of white paper, or a white card.
To eliminate shadows, apply additional light that directly lights the face, such as a flash.
Set up the diffuser so that it transforms the above light into a significantly larger diffused light source concerning the object. More light will enter your eyes in this manner.
Light the area around the eyes, specifically during post-processing, if the contrast is not too high.
Having something brightly reflected in the subject's eyes is another technique to lessen the impact of the brows. These lights will give the photograph more life and a more pleasing appearance.