The Basics of Mobile Editing vs Desktop Edits
Do your images turn out exactly as you wanted? Many, if not most, won't turn out precisely as a photographer envisioned, which is why post-processing editing is so critical.

If it isn't already, it needs to be a regular part of post-processing. Below, we offer some valuable tips on photo editing. They are a good starting point if you're unfamiliar with post-processing editing.

Review and Categorize
It's a good idea to create a system for categorising your images. It makes post-processing editing easier and saves you time later when you need to look for a particular image.
So, how do you do this? Once you have a batch of images to review, you need to first go through them to categorize or label (mark) them. That not only helps you find them later on; it also enables you to identify a related series of images.
You might need to go through them several times to achieve this. While you're doing this review, it's a good time to delete images that you think won't be helped with any editing or enhancing.
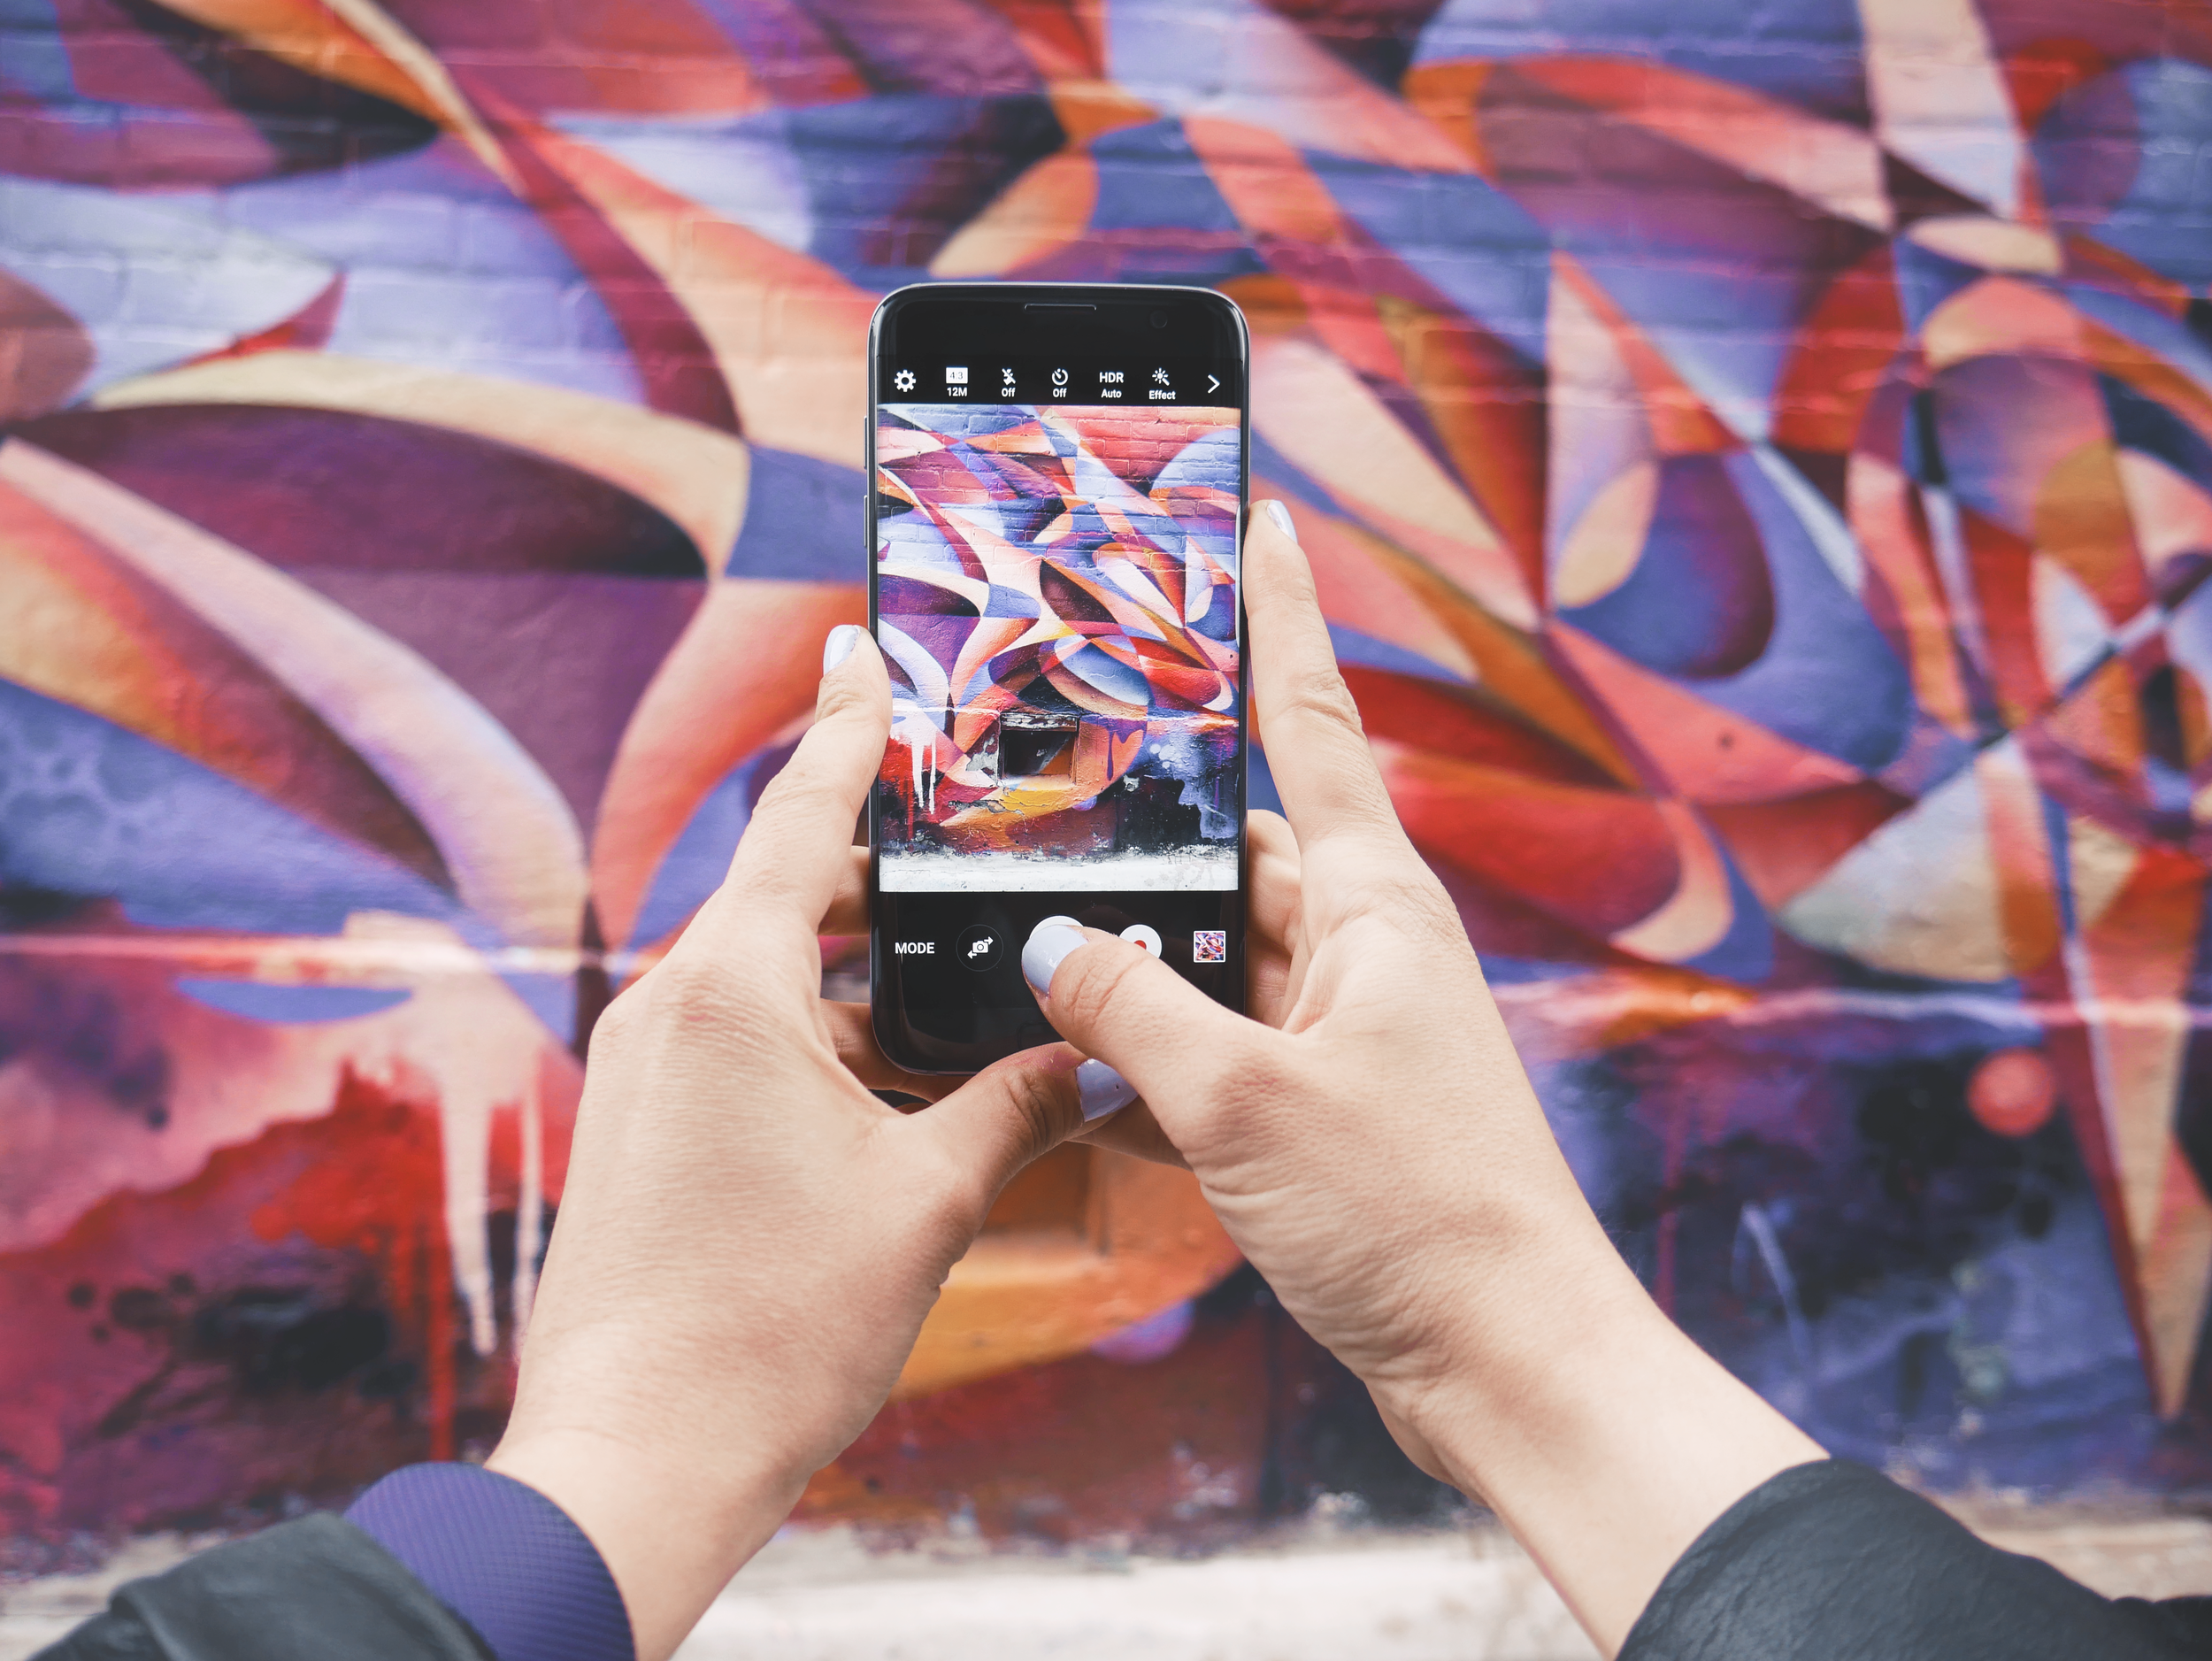
Editing Mobile Apps
Once you've categorised your images, it's time for editing. Here are some tips for mobile editing. You likely already have many of the editing tools you need right in your smartphone.
There are also several smartphone apps available to take your mobile editing to the next level. A few high-quality editing apps include Snapseed, Afterlight, Instagram, and Adobe Lightroom.
Before you edit an image, consider what enhancements you want to apply. Most good-quality apps today allow you to do almost as much as you would on a desktop. You can correct the white balance, adjust the overall exposure, sharpen, and even crop an image. You can also convert a color image to black and white.
Be careful not to make so many edits to the image that you lose quality and distort it. Over-processed photos are usually pretty obvious.

Desktop Editing
You can do almost as much editing on a smartphone as on a desktop. But note that we said "almost as much." Once you begin making edits to an image, the camera you used to take the picture matters greatly.
Making more than a few edits to a photo taken with a smartphone will diminish its quality. That is because today's DSLR or mirrorless cameras offer superior technology able to capture a better quality image created in RAW file format.
Smartphone's cameras create images as a JPEG file. Therein lies the big difference when you're making edits - JPEG vs. RAW.
JPEG vs. RAW Files
The advantage of editing images on the go using a mobile app isn't insignificant. But once you start making edits, you begin deteriorating the image's quality.
That's because JPEG images aren't equal to RAW images. Why? Because RAW images contain far more information than JPEG does. That means when you start making edits to a JPEG file, you will begin to degrade its quality.
The same doesn't happen to a RAW image. If you plan to do serious edits to an image, it's probably best to take them on a DSLR or a mirrorless camera. Using more powerful software can make a significant difference.

Editing Desktop Software
Editing software can make more significant adjustments to an image without sacrificing quality or diminish a RAW image file.
However, because RAW images do contain more information, the software needs to be able to handle the processing. That's where software like Adobe Lightroom and Adobe Camera Raw can tackle the challenge.
Lightroom tends to be the go-to software for photographers and is known for its high quality presets and a plethora of editing tools. Presets can save photographers a tremendous amount of time in post-processing.
Not only can you make individual edits to an image, but you also can make them across an entire batch of pictures with a few clicks. That means a significantly time-saving process for your workflow.