
A Comprehensive Guide to Capturing RAW Photos on Your iPhone
iPhones have been able to take RAW images since the 2016 release of iOS 10. Shooting in RAW has several benefits, and it's a terrific approach for photographers to get greater control over the appearance and feel of their photographs.
You may record much more information about the scene in front of you when you shoot in raw. Much more than the typical JPEG format allows you to capture.
I'll go over RAW, the various available formats, and some advice on taking excellent pictures with this frequently underutilized format in this guide.
So continue reading if you want to improve your iPhone photography!
What is the meaning of RAW in photography?
The RAW format is something you will be accustomed to if you are a DSLR photographer. If you're not, you're probably asking what I'm talking about and what makes RAW unique.
The term RAW photography describes the unedited digital photos taken straight from your camera's image sensor. It is not the same as the compressed image file that you receive when you shoot in JPEG format. JPEG files are processed by the camera to minimize file size and facilitate web sharing.
As the name implies, RAW keeps all of the RAW data that was recorded by the camera sensor, giving you a more fantastic choice over how your images will appear once they have been post-processed. For professional and amateur photographers who wish to record as much information as possible about the scene in front of them in order to achieve the optimum final outcome in post-production editing, this makes iPhone RAW photography the right choice.
Apple ProRAW, which debuted with the iPhone 12 Pro, and common RAW formats like DNG (Digital Negative) are among the several RAW formats that are currently available to iPhone users. The quality of these various RAW file types can vary depending on the format you select.
Recognizing the Variations in File Formats
What Makes Them Different? Which is better: ProRAW, regular RAW, or JPEG/HEIF?
There are three primary alternatives to consider when selecting the format for your iPhone photos: JPEG/HEIF, standard RAW, and ProRAW. Let's look more closely at each of these as each has pros and cons of its own.
Zip/HEIF
The most common image format used by cell phones is JPEG/HEIF. It is a compressed format that allows for smaller files, which makes storing on your phone or sharing online simpler. Nevertheless, because this is a compressed format, part of the original data that your camera recorded is lost during the compression process, which restricts your capacity to edit and modify photographs in post-production.
DNG Older RAW file formats, such as DNG (Digital Negative), record all of the information from the image sensor in your camera without any compression or processing. This implies that compared to a JPEG/HEIF image, you can make more post-processing tweaks to exposure and color balance. The drawback of this is that RAW files might be bulky, making it more difficult to store them on your phone or distribute them online.
With the release of the iPhone 12 Pro models, ProRAW was created, combining the benefits of traditional RAW files and JPEG/HEIF. It offers smaller file sizes than typical RAW files, which makes it simpler to keep and share online while still capturing all of the information from your camera's image sensor.
Professional photographers seeking high-quality results with minimal effort during post-production will find Apple ProRAW photos ideal as they retain control over processing parameters like white balance, tone curve, and exposure and color balance. This makes them more flexible than other formats when it comes to post-processing.

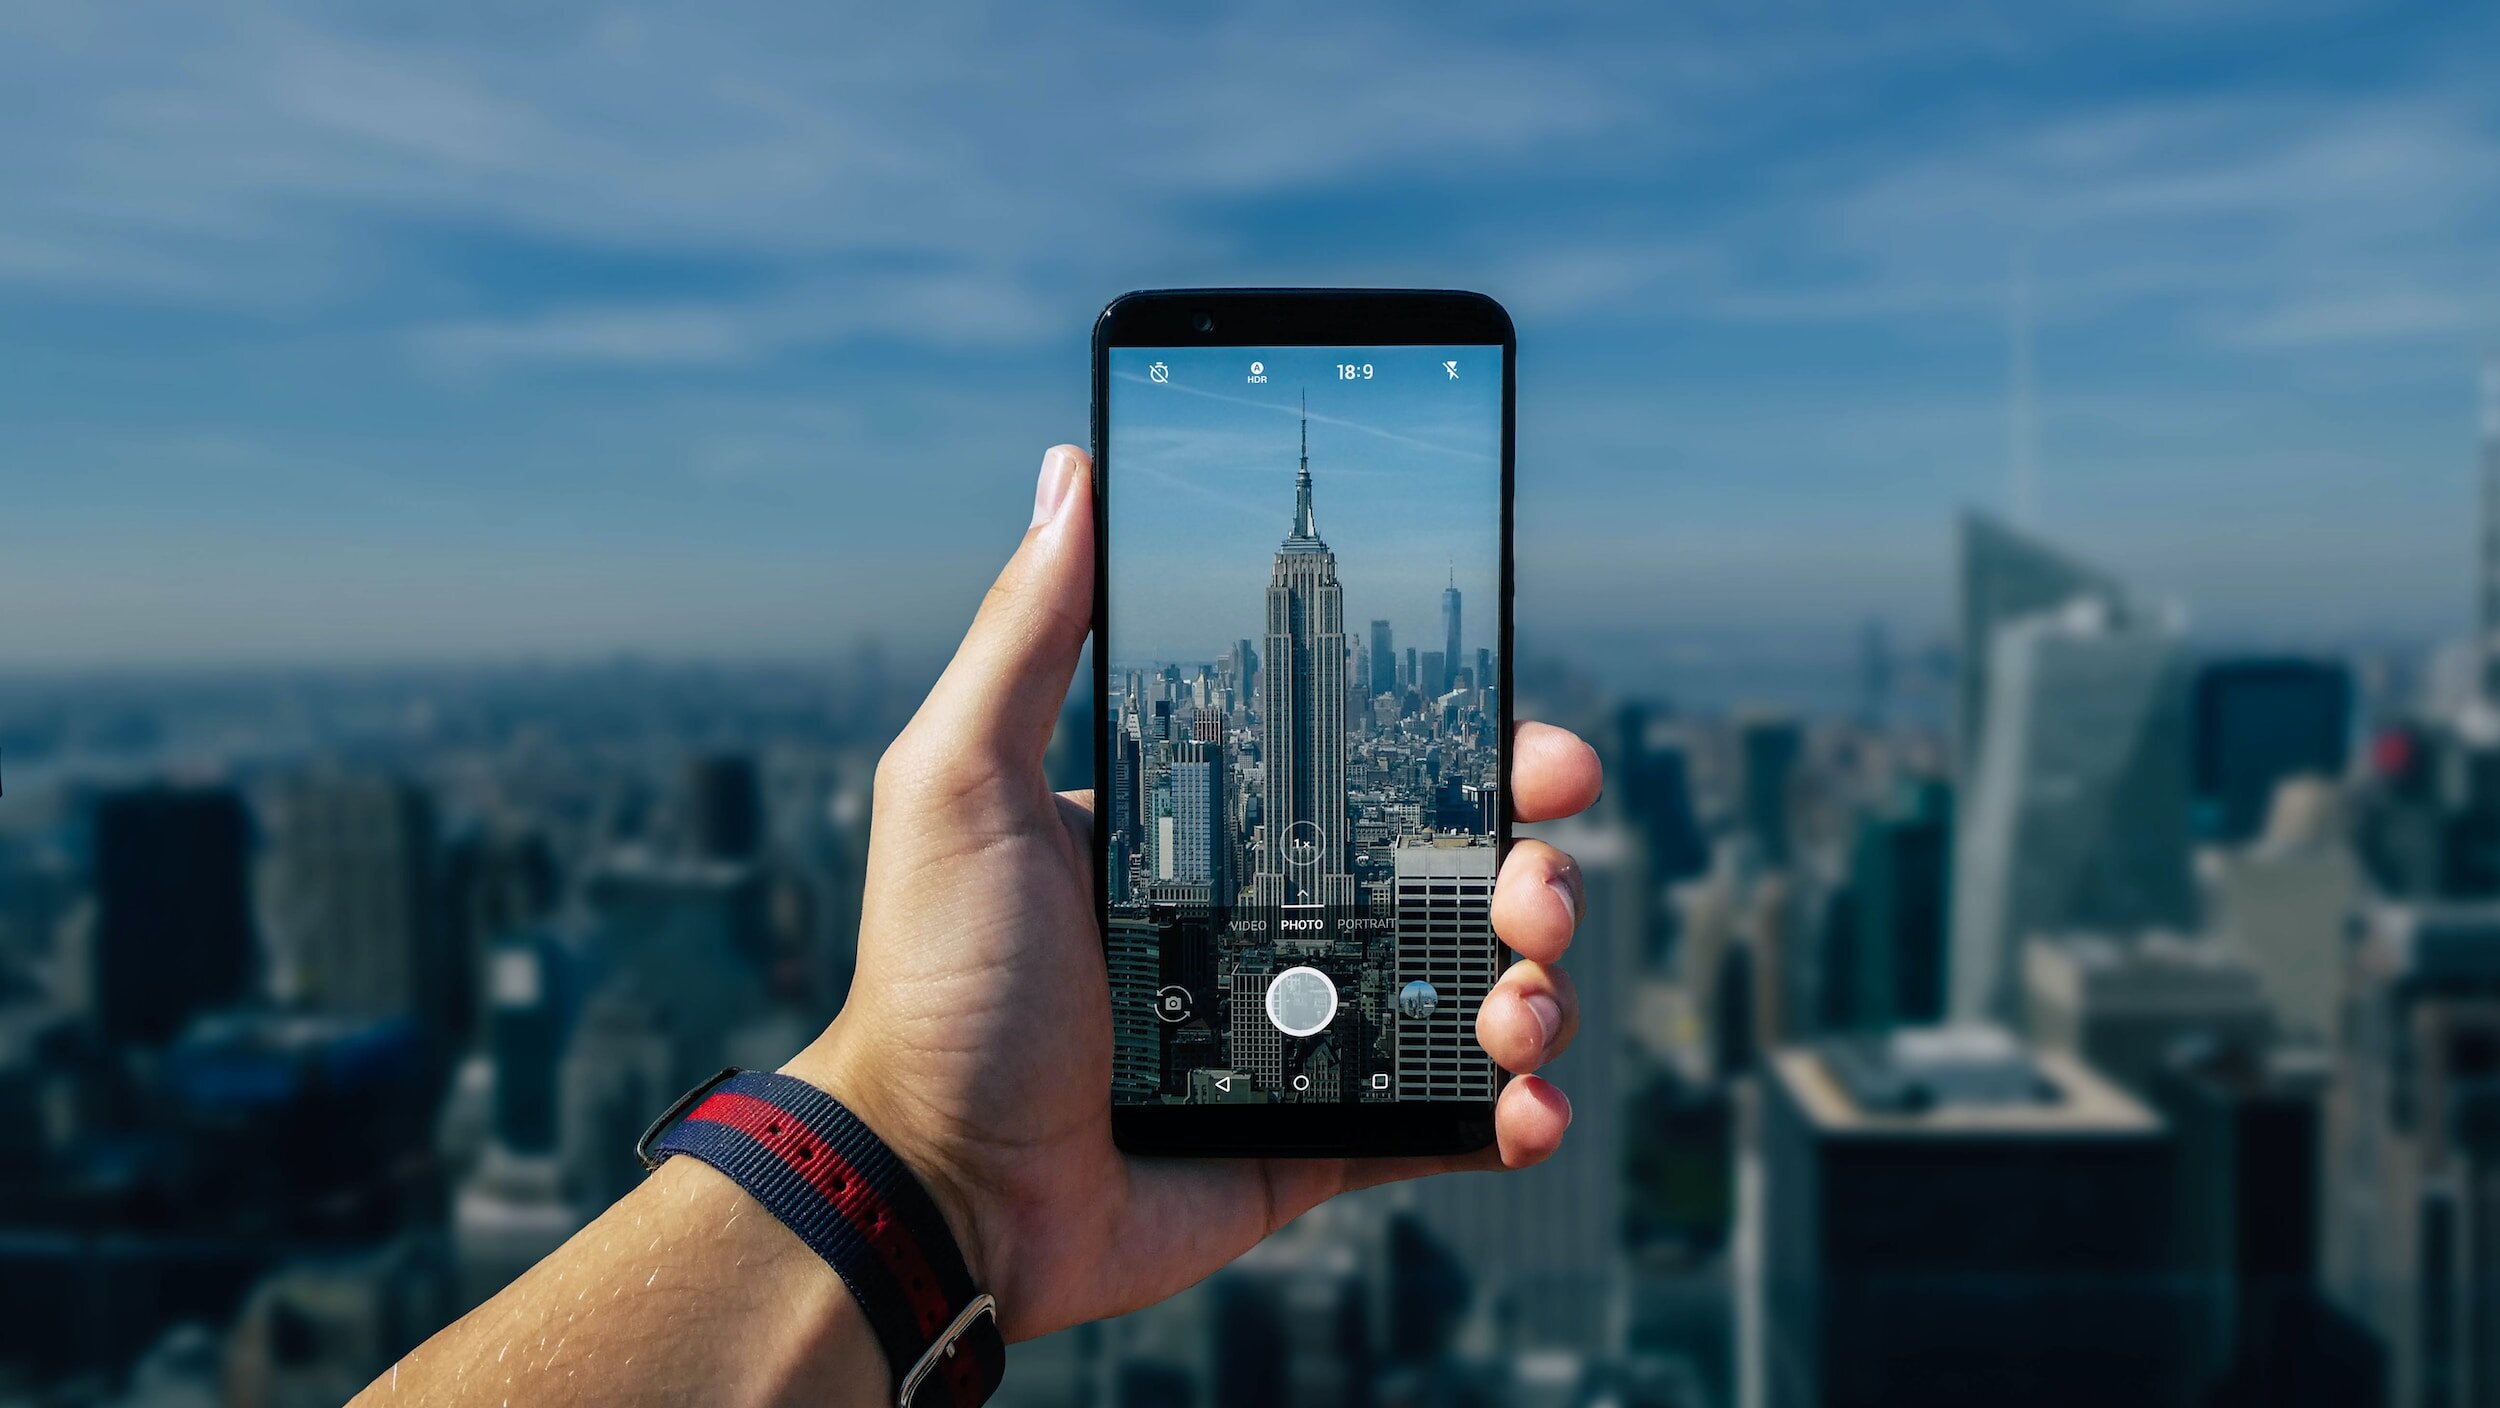
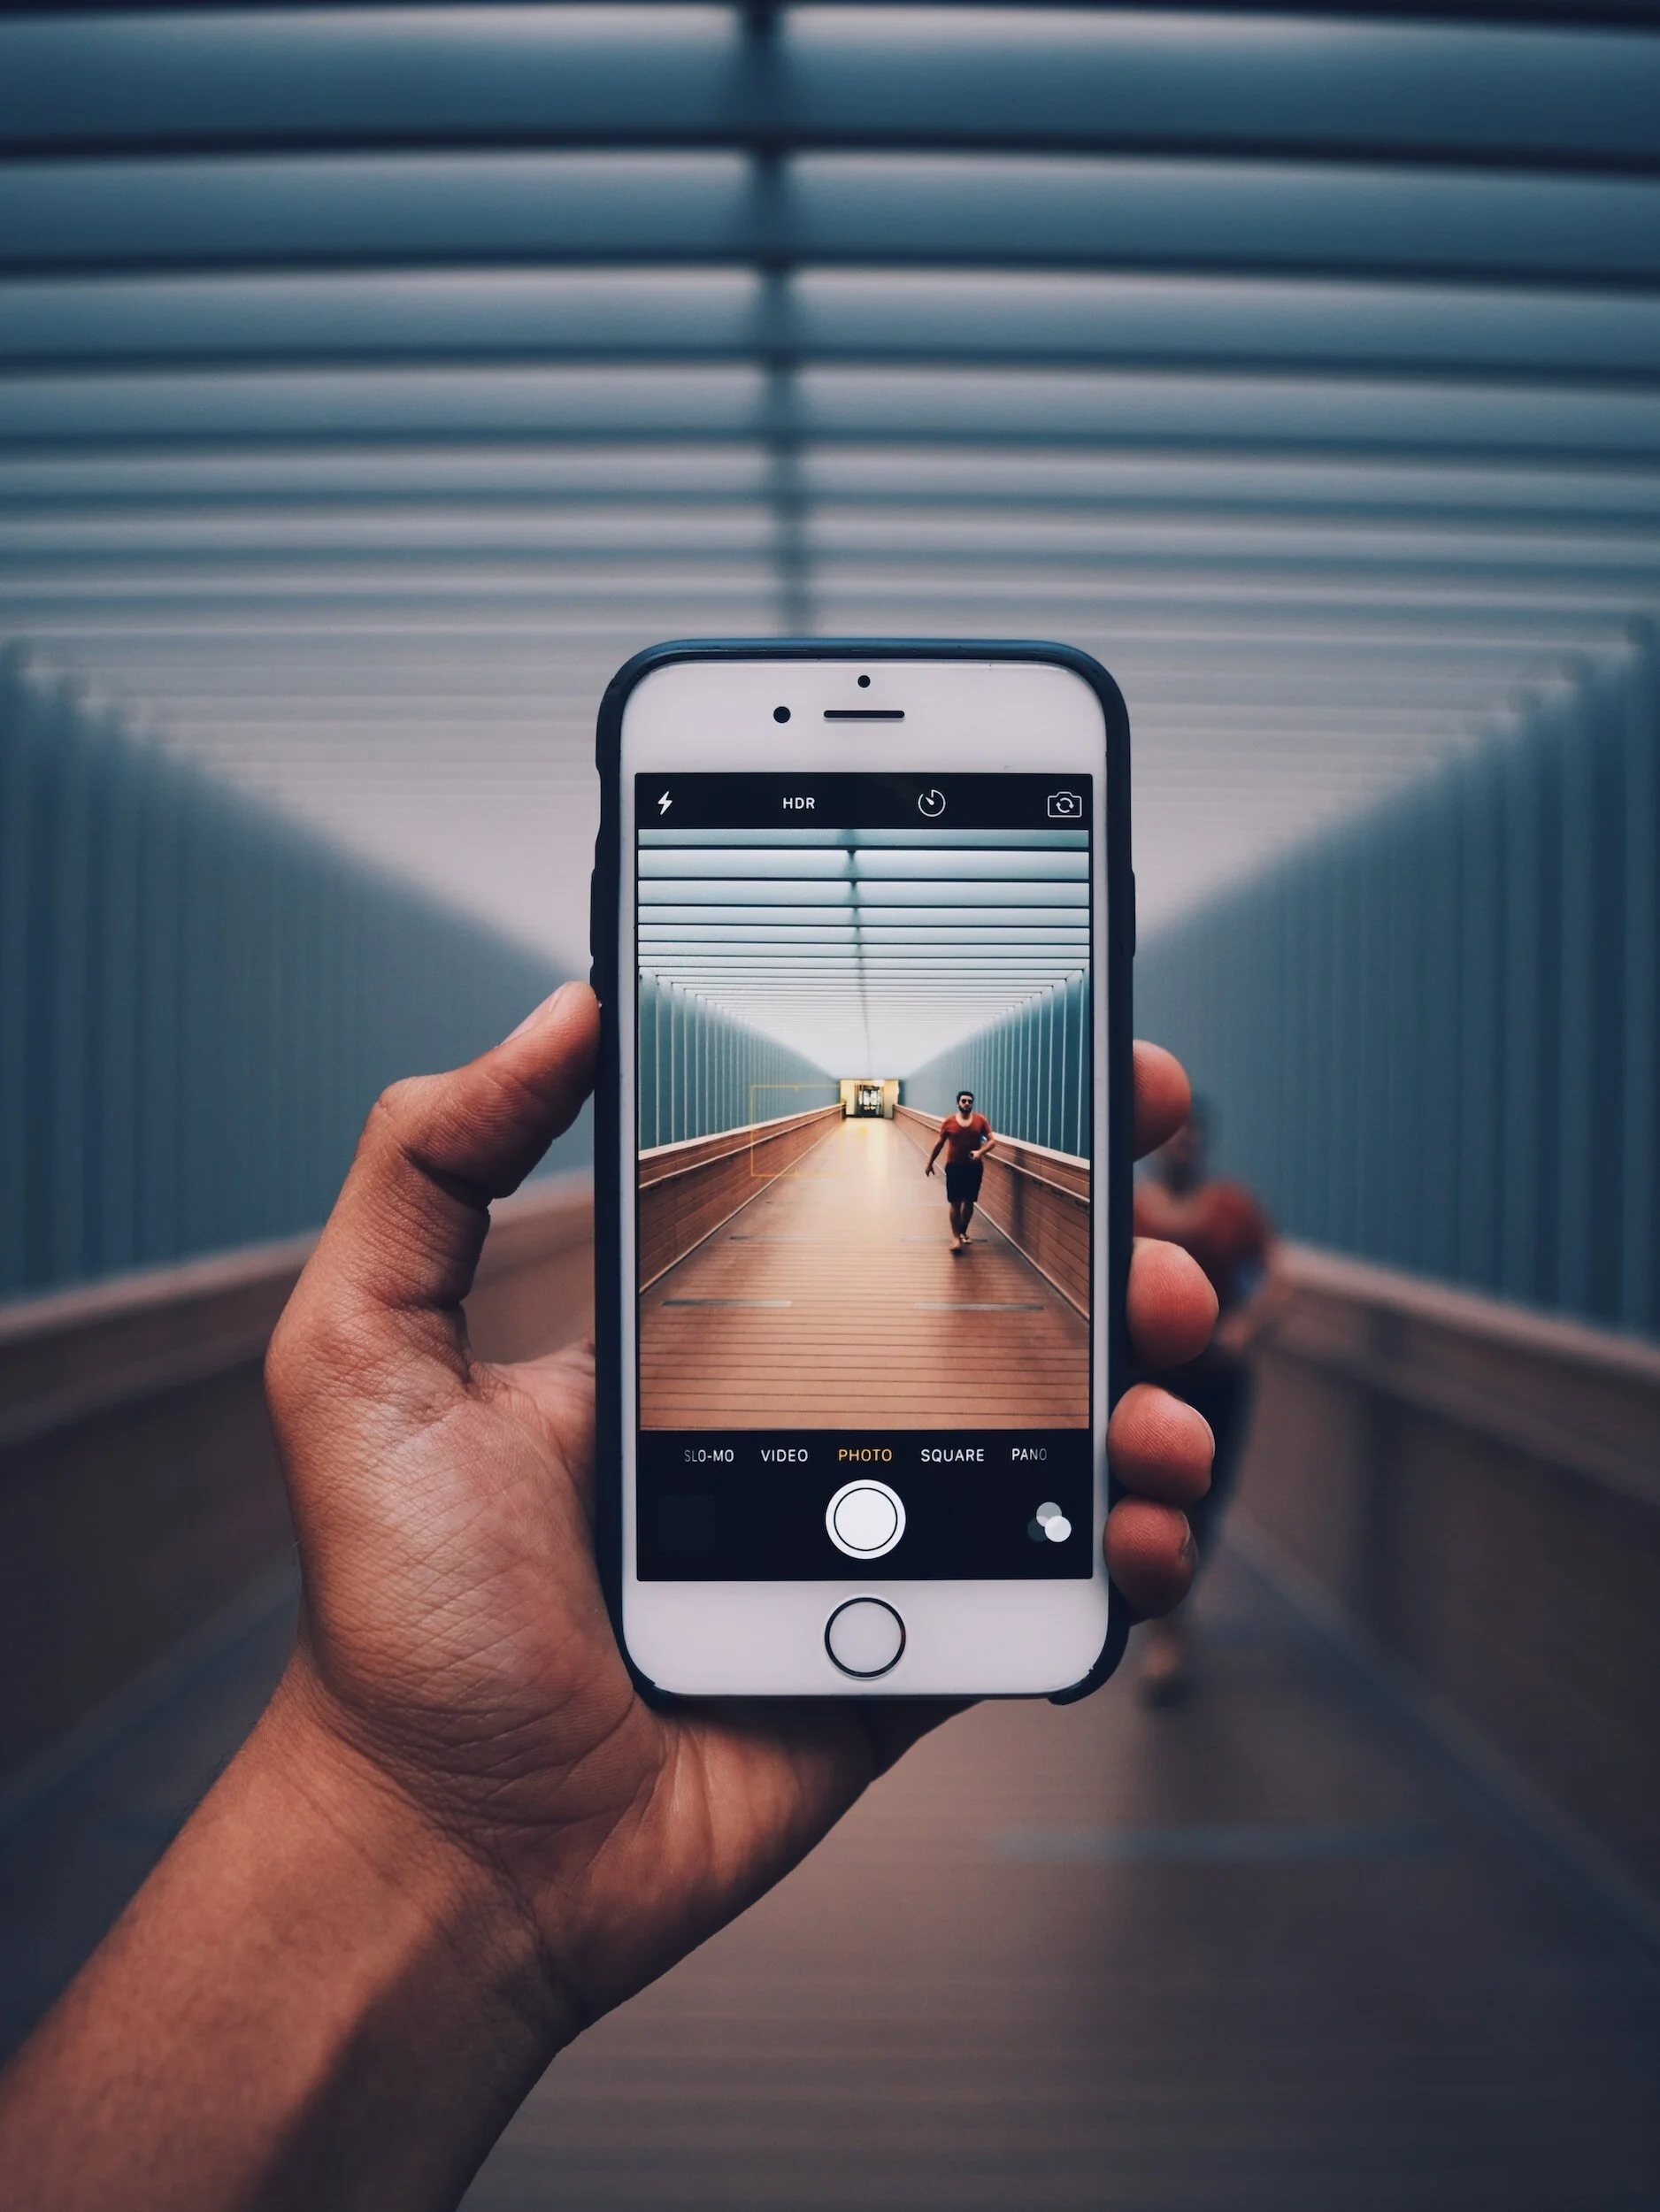
Which camera apps allow RAW photography?
You can take RAW pictures with your iPhone using a number of different camera apps. The most often used ones are Reeflex, Adobe Lightroom, Halide, and the built-in camera app on the iPhone.
If you want to shoot in RAW format, one of the first camera programs you should test is the built-in iOS camera app on the iPhone. The RAW file types supported by the iPhone, such as Apple ProRAW, give consumers greater flexibility and control over their post-processing photographs.
With Adobe Lightroom, you can easily take, organize, and edit photographs on iOS and Android devices. It is a full photo editing suite. It also provides a number of strong tools for post-processing RAW photographs and supports shooting in the DNG format.
3. Halide
Halide is a sophisticated camera app designed especially for taking RAW images with the iPhone. It supports many common RAW formats, including Apple ProRAW, and capabilities like auto white balance correction, automatic focus management, and automatic exposure bracketing (AEB).
Halide, in contrast to other camera programs, has an easy-to-use interface that lets you take beautiful pictures with precise control over the settings. Because of this, Halide is an excellent option for serious photographers who want to maximize the capabilities of their iPhone cameras when shooting RAW.
4. Reeflex
Lastly, Reeflex is an additional camera software that gives the user complete manual control over the white balance, exposure, and focus of their images. Moreover, Reeflex allows for RAW file shooting in JPEG, RAW, and Apple ProRAW.
Apart from these third-party camera applications, there are several others that provide different degrees of support for taking RAW photos with an iPhone. To name just a few, these include Camera+, ProCamera Moment - Pro Camera, and Obscura 2.
It's also important to note that RAW photo processing is supported by programs like Adobe Lightroom Mobile, Snapseed, and Darkroom.
Why should you use an iPhone to shoot in RAW format?
There is an easy solution to this query. Using an iPhone or DSLR camera and shooting in RAW is a terrific method to maximize the quality of your images and utilize all the data that the sensor detects.
This effectively means that you can alter the different elements that go into creating an image. For instance, using a RAW photo format, you may quickly fix brilliant, blown-out portions of the sky in post-production. By doing this, you will be able to reveal the information hidden beneath the clouds and bring it back to view.
Similarly, if a picture has underexposed, dark, and shadowy parts, using a RAW file will help you smooth out the exposure levels and highlight the features in those areas.
Allow me to explain. Look at the picture down below. There is almost no detail in the picture due to its extreme underexposure. When photographing brilliant skies, the opposite could happen. Under such circumstances, the clouds and sky may lose all of their detail and turn a bright white or blow out.
There is not much you can do to fix this underexposure if the picture was taken in JPEG format.
Nevertheless, because the picture was taken in RAW format in this instance, I can load it in a photo editing program that accepts RAW files and change the exposure settings to highlight the scene's details, as you can see in the modified version.
When Is It Appropriate to Shoot RAW?
It's a common recommendation among DSLR photographers to always shoot in RAW. The primary cause of this is the control that RAW affords you because of the volume of information the camera's image sensor captures. But when should iPhone photographers shoot in RAW format? Here are some rules to follow:
Low Light Photography: RAW file format can be very helpful when taking pictures in low light since it makes it possible to extract details from areas that were underexposed in post-production.
When Major Modifications Are Required: Compared to JPEGs, RAW files provide far more freedom when it comes to post-processing modifications like exposure and color balance.
When You Want the Best Quality: RAW shooting is the best option if you're a professional photographer or simply want the best quality photos available.
But there are several circumstances in which I doubt I would want to shoot in RAW. For example, shooting in JPEG format might be a better option because it will take less processing time if you need to catch action images or you have to respond quickly. This is because RAW records a large amount of data. Additionally, RAW files will quickly use up a lot more storage space than JPEG because of their larger file size. Therefore, if storage capacity is an issue, I would most likely choose the JPEG format.
How to Make an iPhone RAW-Enabled
On an iPhone, enabling RAW is really easy. Depending on the camera app you're using, there will be differences in how to accomplish this.
Activating RAW in the App for Native Camera
On the iPhone, open Settings and then open Camera to enable Apple ProRAW.
Then select Formats.
Verify that the option for Apple ProRAW photos is turned on.
When activated, the camera app's interface will provide a RAW option in the upper right corner.
Concluding Remarks Regarding Taking RAW iPhone Pictures
All things considered, using your iPhone to take RAW pictures might be a terrific technique to have more control over the appearance and feel of your pictures. There are plenty of choices available for taking breathtakingly beautiful RAW photos with iPhones, thanks to the variety of camera applications accessible these days.
Whether you use Reeflex or Halide, the iPhone's built-in camera software, to capture raw images, remember that post-processing will significantly alter the final image's appearance.
Additionally, don't overlook Adobe Lightroom Mobile, a potent editing application with amazing features that let you quickly edit Apple ProRAW photos without sacrificing quality.
Thus, try shooting RAW on an iPhone if you wish to increase your photographic abilities!


Get Free Presets for Lightroom created by top photographers to update your presets collection, save down on editing time, and open up new artistic horizons.