Learn to use your camera's exposure compensation
In this piece, we'll talk about what exposure compensation is on a digital camera and how you can use it to change the exposure when you're shooting in modes like aperture priority, shutter priority, program mode, and other scene modes.
Every current camera has a built-in way to change the exposure settings, which makes it easy to take pictures with the right amount of light. In easy words, the goal is to be able to change how bright or dark a picture looks.
To do this, you need to use the Exposure Compensation feature, which is usually a button on a camera or a dial that you can turn from "positive" to "negative" exposure compensation. Let's look at how you can use this great tool on your camera to fully control the setting.
Before we tell you where to find the exposure adjustment tool on your camera, let's talk about what it does and how it can be used in different camera modes.
But first, it helps to know a lot about exposure, which is the sum of the three most important camera settings: shutter speed, aperture, and ISO. The three of these together make up what is called the exposure triangle.
With Exposure Compensation, photographers can change the exposure settings chosen by their camera's light meter to make pictures darker or brighter before they are taken. Since camera meters work by judging how much light a subject reflects and are calibrated to middle gray (18% gray) when a camera is pointed at something very dark, the meter will do the opposite and brighten the exposure. When a camera is pointed at something very bright, the meter will do the opposite and darken the exposure.
This is done to get as close as possible to the middle gray so that the final picture is neither too dark nor too bright. Most of the time, this works out well, but in more difficult lighting situations, the camera meter might change the exposure too much, causing the photo to be too bright or too dark.
This is where Exposure Compensation comes in. The shooter can take direct control of the image's brightness and override it by using the camera's exposure compensation tool.
How Should Exposure Compensation Be Used?
To use exposure compensation, you must be in one of the camera modes that use the camera meter, such as aperture priority, shutter priority, program mode, or any other "scene" mode that automatically adjusts the exposure. In Manual mode, exposure correction does nothing unless Auto ISO is turned on. Once the right camera mode is chosen, the exposure adjustment tool of the camera can be used to change how bright the picture is.
So, where on a camera do you find the brightness adjustment feature? All of this depends on the type and brand of the camera. Most cameras will have a specific button on the top or back of the camera, but some cameras may only have a handle for this feature. It's pretty easy to find the exposure adjustment button on a camera. Just look for a button with plus and minus signs, like the one below.
Exposure Compensation Button
And if you can't find such a button, there may be a scale on the top or back of the camera that goes from a negative number to a positive number, like -3 to +3, with small changes in between. If you can't find the button or setting for exposure correction, please read the instructions that came with your camera.
If you're using a Nikon camera, it will probably be a button near the shoot button.
If you have a Canon camera, the back of the camera might have a "AV" button.
And on some other cameras, like the Fuji X-T20 below, which is a compact camera with a retro style, you might find an exposure correction dial on the top of the camera.
It's easy to use radiation correction. If a picture looks dark, you dial a positive number (+EV), and if it looks bright, you dial a negative number (-EV). To change the exposure value on a camera with a button, you have to hold the button down and turn one of the thumb dials or press the button once and use the LCD screen. It is even easier if your camera has a setting; all you have to do is turn it in the right way, and your exposure should change.

Since DSLR cameras have optical viewfinders, the exposure correction area will look like this in the viewfinder.
As you start making changes to your exposure using exposure compensation, you will see a bar moving to the left or right of the middle "0" value. This shows that you are dialing negative (-) or positive (+) exposure compensation. If you have never used this feature before, you might not even see the area highlighted in red until an exposure compensation value is added.
If you are using a compact camera, changing the exposure correction should make the picture on the LCD and electronic vision (EVF) brighter or darker, making it easy to see how the photo will turn out. Along with the automatic changes to brightness, there should be an information display that shows the current exposure correction value. It could be shown in one or more of the following places in the viewfinder.
When you change the exposure correction, the +-EV numbers will show up on both the LCD and the EVF. If you can't see these numbers after making changes, you may need to use the camera menu to turn on informational displays.

How the compensation for exposure works
Depending on what camera setting you are using, exposure adjustment works by changing one or more of the exposure factors. When shooting in Aperture Priority mode, the shooter sets the Aperture, and the camera sets the Shutter Speed instantly based on what the camera meter says. When a shooter uses exposure correction to change the brightness, the shutter speed set by the camera is overridden.
When taking in Manual Mode, the only thing you can change is the Camera ISO, which must first be set to Auto ISO. It would work the same way as in the other examples, but the aperture and shutter speed would stay the same.
With advanced metering systems, you can fix the exposure.
Even though I said that cameras' metering systems always use middle gray, many modern cameras now have sophisticated metering systems that can recognize scenes based on pre-loaded data and make the necessary adjustments to the exposure. This means that the exposure compensation feature is used less and less.
Some cameras can even tell when there are people in a picture and adjust the exposure based on the skin tones of the people to avoid over or underexposure. A highlight priority or highlight-weighted metering setting is also available on many cameras. In this mode, the camera tries to capture as much as possible without blowing out any colors.
Because of these changes, using the brightness adjustment tool on our cameras might need less and less human help. But no matter how smart our cameras get, it's still important to know how to quickly change the exposure, not just because you might need to one day but also because you can push your camera to its limits by using techniques like exposing it to the right.

Putting the Right on Notice
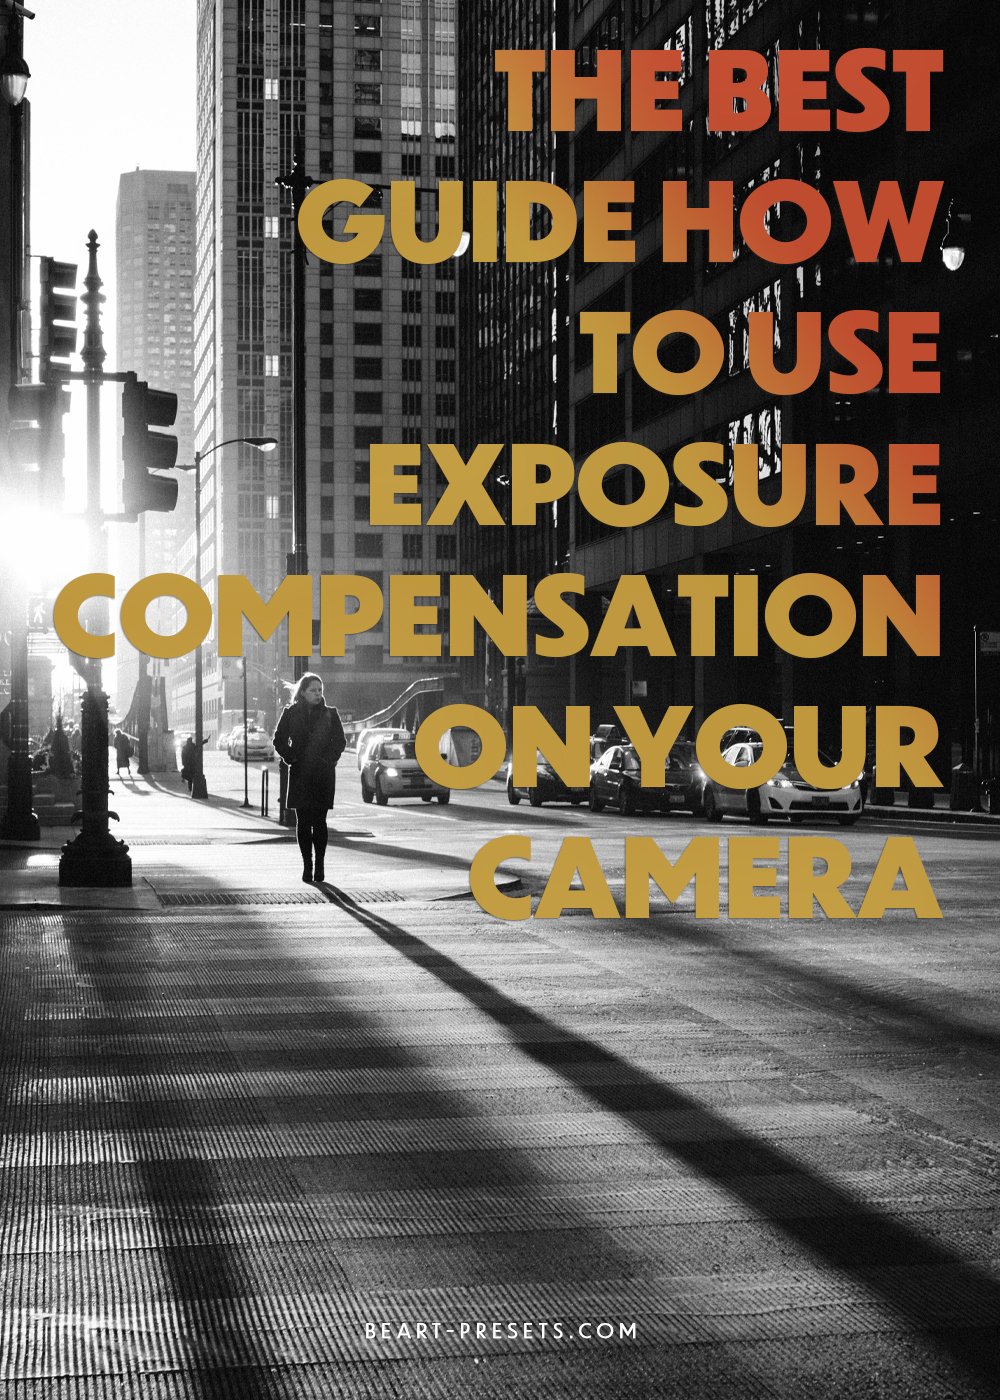
Even though there is no such thing as "proper exposure" for every scene because photographers choose the relative brightness of the scene based on what they are trying to show (like making an image darker to show silhouettes, as in the image above), the exposure compensation feature can be used to get the best out of every image.
This method called "exposing to the right," lets photographers make images as bright as possible without blowing out any highlights. This lets them get the best-quality photos possible. Be aware, though, that this is not a method for beginners since you need to shoot in Raw to get the best results.