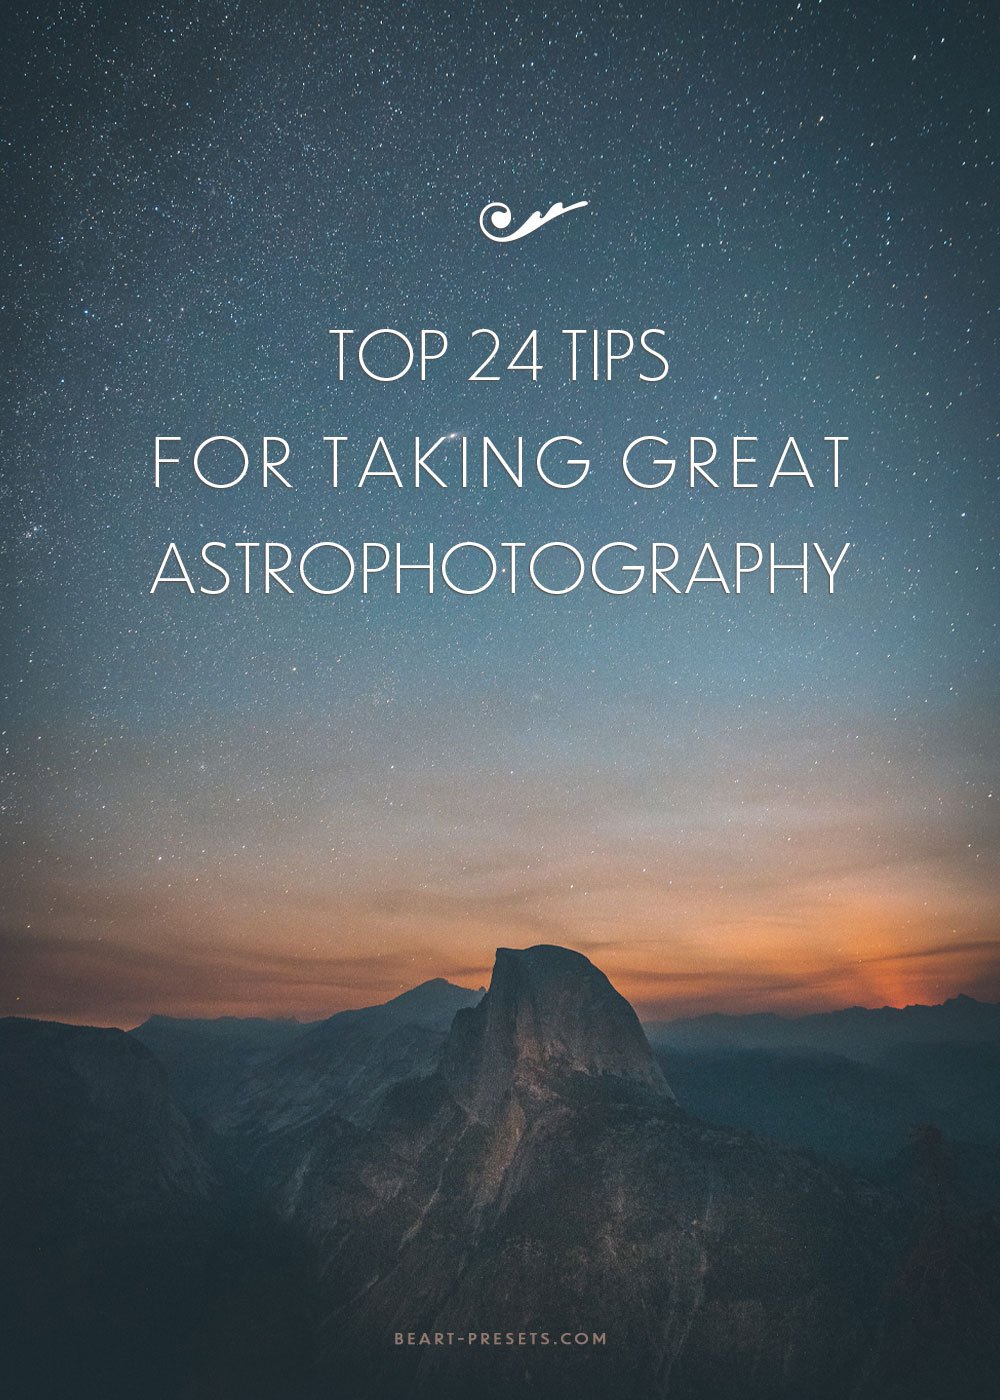
top 24 tips for taking great astrophotography
The interesting area of astrophotography enables you to take beautiful pictures of celestial objects like stars, galaxies, and even the Milky Way. The following advice can help you take excellent astrophotography pictures:
Plan: Plan your shot after doing some research on the celestial objects you intend to photograph. You may find out where stars, galaxies, and other interesting objects are located by using websites and mobile apps like Stellarium and PhotoPills.
Camera Settings: To have complete control over your camera settings, shoot in manual mode. For more light, use a wide aperture (low f-number). To boost sensitivity, adjust the ISO to a high setting (for example, 1600-3200). If necessary, start with a shutter speed of 20–30 seconds.
Invest in a Sturdy Tripod: To prevent camera shaking during long exposures, a sturdy tripod is essential. Look for a reliable tripod that can hold your camera and lens.
Remote Shutter Release: To activate the shutter without touching the camera, use a remote shutter release or a smartphone app. Thus, there is a lower chance of introducing vibrations.
Camera: Invest in a manual-control DSLR or mirrorless camera. For collecting more light, a wide-angle lens with a small aperture (f/2.8 or lower) is optimal. A reliable tripod is also necessary to keep your camera steady during extended exposures.
Master Manual Focus: Set your lens to manual focus and begin by focusing on the infinity () symbol. Zoom in on a brilliant star while using the live view mode to adjust the focus.
Star Tracker: Consider utilizing an equatorial mount or a star tracker for prolonged exposures free of star trails. These tools follow the course of the stars, enabling you to take clear pictures for a long time.
Shoot RAW: To maintain the most detail and versatility during post-processing, capture your photographs in RAW format.
Try Different Exposure Times: Start with exposures of 20 to 30 seconds and make adjustments as necessary. While longer exposures collect more light, they might also produce star trails.
Overexposure: Avoid overexposure by being aware of the histogram and taking care not to cut the highlights. To keep the stars from seeming like blown-out blobs, adjust your exposure settings accordingly.
Reduce Light Pollution: To lessen light pollution, shoot from a location distant from city lights. You'll be able to take pictures of the night sky that are sharper and more detailed as a result.
Moon Phase Is Important: When organizing your astrophotography sessions, consider the moon phase. Darker skies during new moon or crescent moon phases are perfect for photographing deep-sky objects.
Check the Weather: To guarantee clean skies for your shoot, keep an eye on the weather forecast. Stars and other celestial objects can become obscured by clouds or haze.
Bracket Exposures: To catch a wider variety of details, take a series of pictures at various exposure settings (such as overexposed and underexposed). In post-processing, this method aids in image mixing.
Use Light Painting: During a long exposure, use a flashlight or a special light-painting tool to illuminate foreground objects. To get the desired result, try out various angles and intensities.
Dark Frame Subtraction: To get a dark frame, cover your lens and use the same shutter speed as your astrophotography exposures. This frame aids in the post-processing reduction of noise.
Stack Images for Noise Reduction: To reduce noise and improve details, take several pictures of the same object and stack them using software like DeepSkyStacker or Sequator.
Capture Star Trails: Use longer exposure periods (e.g., several minutes to hours) to capture star trails. For finer results, make sure your camera is stable and think about utilizing a star tracker.
Learn Post-Processing Techniques: Become familiar with Photoshop or other post-processing applications. Make adjustments to the colors, details, and overall appearance of your astrophotography photographs. Utilize post-processing applications like Adobe Lightroom or Photoshop to edit your astrophotography photos. To emphasize the finer features of the stars, galaxies, or nebulae, adjust the white balance, contrast, and hues. Free Lightroom Presets are another option for accelerating the process.
Practice and Patience: Astrophotography calls for both of these. To develop your abilities and produce great photographs over time, experiment with various approaches, settings, and settings.
Plan: Planning your photographs' compositions will help you include attractive foreground features like scenery, trees, or structures. Your astrophotography photographs get dimension and context as a result of this.
Long Exposures: To prevent camera shake when taking long exposures, use a remote shutter release or a self-timer. Try out various exposure times, but to prevent star trails, don't go past 30 seconds without an equatorial mount or star tracker.
Location: Locate yourself distant from city lights to reduce light pollution. Consider timing as well. To choose the finest nights for astrophotography, consider the weather and moon phase. Because they offer darker skies, new moon or crescent moon nights are preferred.
Focusing: Set your lens' manual focus to infinity and switch to manual focus. To manually adjust the focus, you can zoom in on a bright star while your camera is in the live view mode.

Remember that there are many other types of astrophotography, including wide-field Milky Way photos, star trails, and deep sky imagery. As you go further into the field of astrophotography, start with the fundamentals and gradually increase your knowledge and tools.