
The Complete Guide to Photography Lighting
If there is one intimidating aspect of photography - aside from working with clients - most photographers would probably say it's lighting.

Many photographers also consider it one of the most challenging but fundamental elements of their work.
If you're going to improve your photography, you need to know how to work with lighting. We recommend starting with the basics. Learning the fundamentals of lighting will allow you to see an immediate improvement in your work. You can build your proficiency from there.
We've put together this guide of photography lighting basics to help get you started.

Kinds of lights
As with all lighting, light sources will produce various light quality, and quality matters because it can affect your image. Some lights produce soft lighting, while others create hard or harsh light. The quality of light in photography is most noticeable - or has the most effect - in the shadows seen in images.
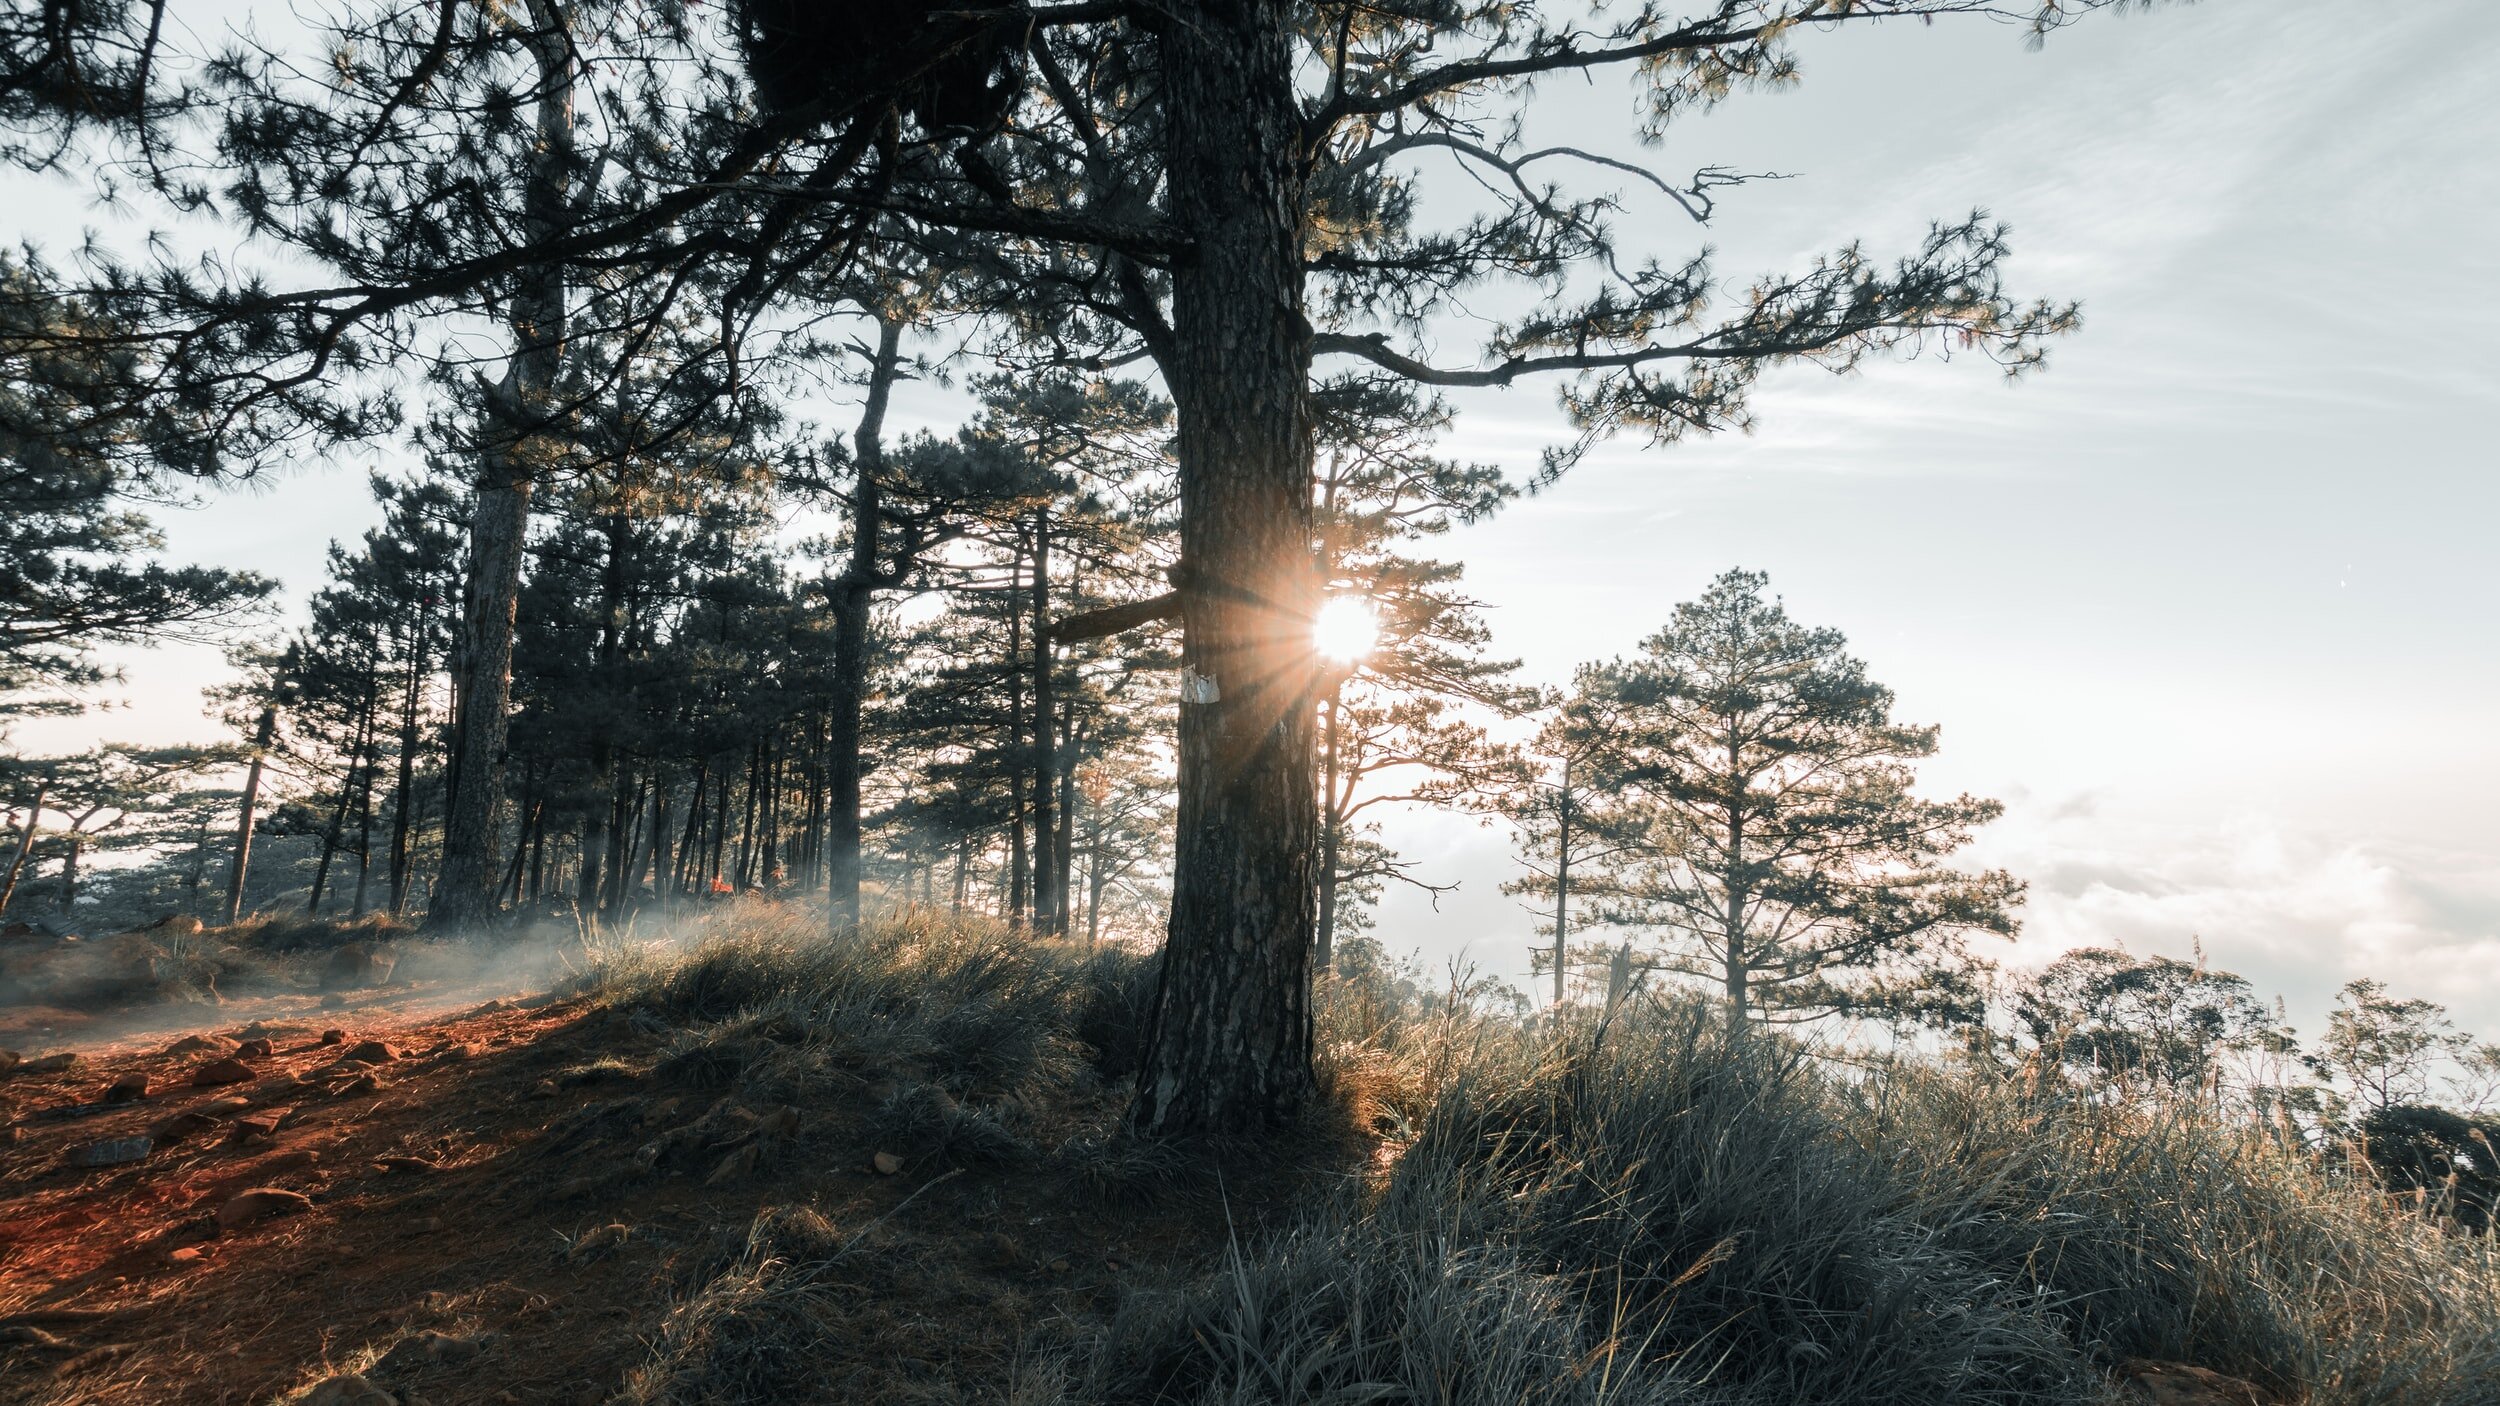
Hard light: Photographers use a hard light source to direct light. This kind of light comes from a directional light, like a flash, spotlight, or bright sun. It shines light intensely with little to no diffusing and minimal transition between light and dark areas of the image. It typically creates sharp, deeper, and darker shadows, strong contrast between light and dark areas. Photographers also use hard light to create a certain kind of mood through light to dark.
Hard light isn't typically used in portrait photography because it can create dark shadows under a subject's eyes. However, the experienced and skilled portrait photographer sometimes works with it, knowing how to combine light sources to create drama.
When shooting a portrait, hard light tends to emphasize imperfections in the skin, while soft light tends to disguise blemishes a bit better.
Soft light: These create fewer shadows and a softer contrast or transition between shadows and light in an image. Soft light is more diffused compared to hard light, which is more directional. Details in the shadows or darker areas of the image are more visible while disguising blemishes a bit better than hard light. An example of natural diffused lighting is the light cast on a cloudy day versus bright, midday sunlight, which is hard. Soft light is popular with portrait photography, and beginners will find working with it easier than hard light.

Hard or Soft Light
A small light source will create harsh shadows, while a larger light source produces soft light. For example, a camera flash (without a modifier) will create a hard light with sharp shadows because it's a small light source.
However, the size of your light source isn't the only factor. The distance of your light source can also create hard or soft light. (Below, we discuss light placement as it relates to your subject.) Light sources close to your subject are softer. A distant one can create a harsher transition between light and dark, producing deeper shadows.
The most obvious example of a large light source is the sun. Shooting at midday on a sunny day produces a hard light with dark shadows and strong transitions between light and dark. Now, try shooting on a cloudy day, and you get a soft light because the clouds act as a diffuser, spreading light out.
Diffusing Light
There are several ways you can use to diffuse your light to soften the shadows.
Speedlights often come with a diffuser box you can attach. The white plastic spreads out the light to soften shadows.
You can use a bounce flash by directing your flash at a larger object, creating a flash out of that object (like a wall or ceiling).
Use a beauty box when working with models. These are large light setups that disperse light onto the subject but still produce a soft light look.
Light Placement
Whether you are working with natural or artificial light, the light's placement or direction can affect the photograph in several ways. Proper lighting can be particularly crucial for portraits when you want the image's focus to be the model. Here are the three basic ways to place your lights. A combination of light placement can produce outstanding results, but it's a challenge best tackled by experienced photographers.
Front lighting: If you set the light directly in front of the subject facing them, you're likely to end up with an image with no depth, although you will capture a lot of details. The front light pushes the shadows directly behind the person or object, leaving now dark or shadow to reduce or conceal details. This type of light placement might be the easiest way to shoot, but it's often not desirable for portraits. It can result in an image that looks flat and uninteresting or too harsh.
Side lighting: This is when you place the light source slightly to the side of the subject or move the subject to the side of the light source (like natural light from a window). This type of lighting is easy to photograph and adds interest and just enough shadow to create depth. Just watch how the shadows fall compared to your subject, and keep in mind that side lighting doesn't have to be at a full 90-degree angle. Even small adjustments in the subject's position can create flattering shadows. It also captures the best level of texture, shadows, and contrast.
Backlighting: Placing your light source behind your subject is probably the most challenging of the three placements, even though it can create spectacularly dramatic images. Typically, it's best left for more experienced photographers, but if you want to give it a go, there are a few things to know. You'll want to work with a light modifier and understand how to operate your camera manually. When the light source is behind the subject, it will appear darkened or in silhouette. There are two ways to expose the subject: shoot on manual mode to compensate for the backlighting or use a front or side light source.

Artificial Lights
As you advance in your photography skills and work, you'll eventually want to work with various artificial light sources.
Speedlights: These are the flashes that are attached to your camera and use its built-in meter. They aren't the perfect light source, but they are a great introduction or first step in working with light sources. Usually, speedlights can be paired with other light sources to create light from multiple sources - to give you a bit more flexibility with light placement.
Studio: As you become more advanced with your lighting skills, you can move up to working with advanced studio lighting. These can be a bit of an investment, so sometimes, photographers will rent the lights as needed. Studio lights allow you to light up specific composition areas, like foreground or background.
Specialty: Specialty lights can help you produce a color tint or soften shadows.
Strobe: Strobe lights create short bursts of light.
Shoot in Natural Light
The best advice regarding light we can give a photographer in the early stages of their career is to shoot in natural light outdoors or near a window or glass door whenever possible. It's a great stepping stone to becoming proficient with lights on the way to manipulating artificial lighting. You will learn the fundamentals of working with light.
These are the variables to consider when shooting with natural light:
You or your subject will likely need to move around for the best light placement.
Shoot just after sunrise and just before sundown for ideal natural light.
Shoot on a cloudy but bright day.
Move into the shade or other filtered light if the sun is too strong.

Shooting Inside
You might need to shoot indoors for a variety of reasons. If possible, find a window or open the door to allow you to capture natural light filtering in. If that's not possible, or it's not sufficient light, you'll need to get creative.
Use lamps or candles to produce soft lighting for your subject, and place them strategically.
Avoid harsh overhead lighting and bright white fluorescent lights (like in offices).
If the natural light coming in through the window is too bright, try to filter it with a sheer fabric.
Use a diffuser to soften the light from a flash or a reflector to add extra light.

Multiple Light Sources
To elevate your work as you become proficient in working with lights, you'll want to use multiple light sources. Using various lights can produce the best results, giving you the ability to control light and dark aspects.
The best photography lighting technique has at least two light sources on each side of the camera. If you're taking a portrait, set one light at about 45-degrees and the other as a sidelight. This placement allows the lights to balance each other and creates a lovely soft shadow and depth, reducing the harsh shadows behind the subject and softening facial details.
If you want to light the background, you can add a third light being careful not to add so much light that you overwhelm your other lights, plunging your subject into the dark.
Perfecting the use of multiple light sources takes some practice. Play around with light placement. Be patient with yourself and remember that you will learn by trial and error.

White Balance
Did you know that lights have different color temperatures they cast? Lights might all look white, but they aren't necessarily pure white. An incandescent light will cast a different temperature color than a fluorescent light bulb. This is where a camera's white balance comes into play. It will automatically correct an image so that anything white appears white regardless of the light source.
You can also use the "manual" mode. Take a picture of a white object; then, the camera determines the correct white balance from that image.
Another way to adjust your white balance is to shoot in RAW mode. Because a RAW file contains a lot of data, it's a good way to change the color temperature.
You can also affect the white balance by using flash gels. These are colored pieces that fit over your flash, producing colored lights. It's a more creative and colorful way to play around with light.
Lastly, editing software such as Lightroom allows for white balance adjustments using its tools.
Conclusion
A camera will always strive to capture an image correctly, but your lighting basics still need to be there. After all, the camera needs something with which to work. Elements like the direction of light, quality of light, placement, and temperature will still influence the results and, thus, matter.
Lighting can be complicated and overwhelming if you plunge into it all at once, rather than taking it step by step, learning as you go before advancing to the next level. Begin with the basics of photography lighting techniques such as we've laid out here.
We suggest starting with one light and moving to two lights and then three. You need to master the use of one before you should tackle two. Practice with light placement and sources of light. As with most things in photography, practice, practice, and practice - or you'll never be perfect at it!


