
How to Create Black and White with Selective Color in Adobe Lightroom
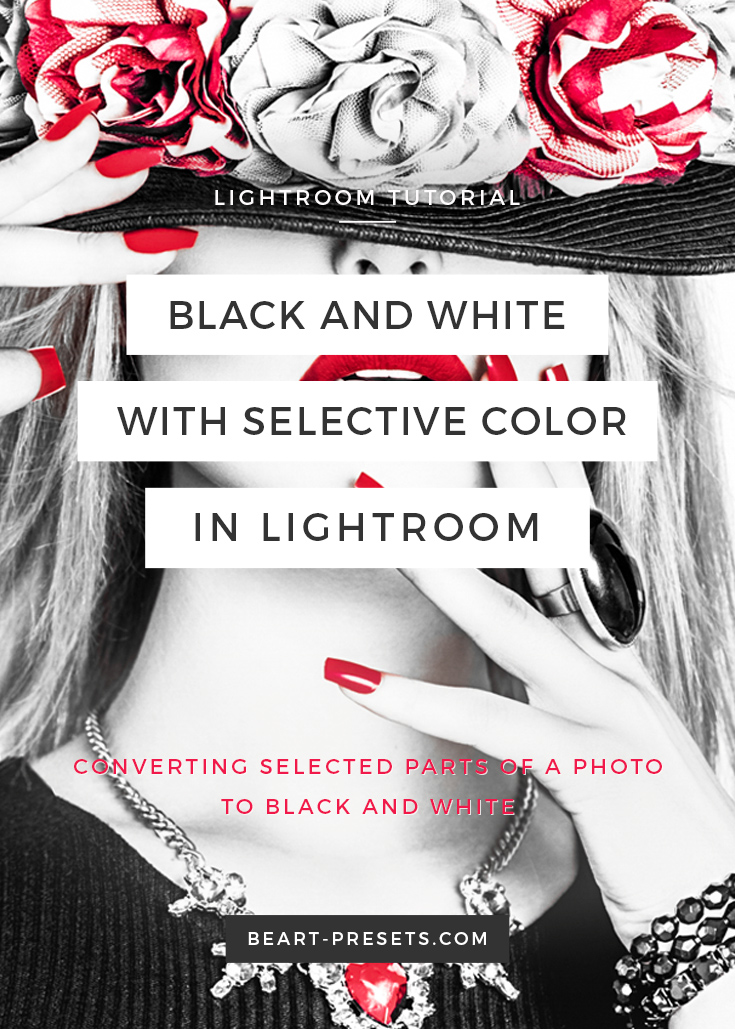
Selective color is a process used broadly in photography after the original image has been taken. This technique entails converting selected parts of a photo to black and white but leaving out some parts in color. A lot of digital cameras these days have a selective color option you can use. But today I’m going to show you how to create a simple selective color image using only Adobe Lightroom as your post-processing software.
1. Import your Photo.
Open Lightroom and import your photo, then go to Develop mode.
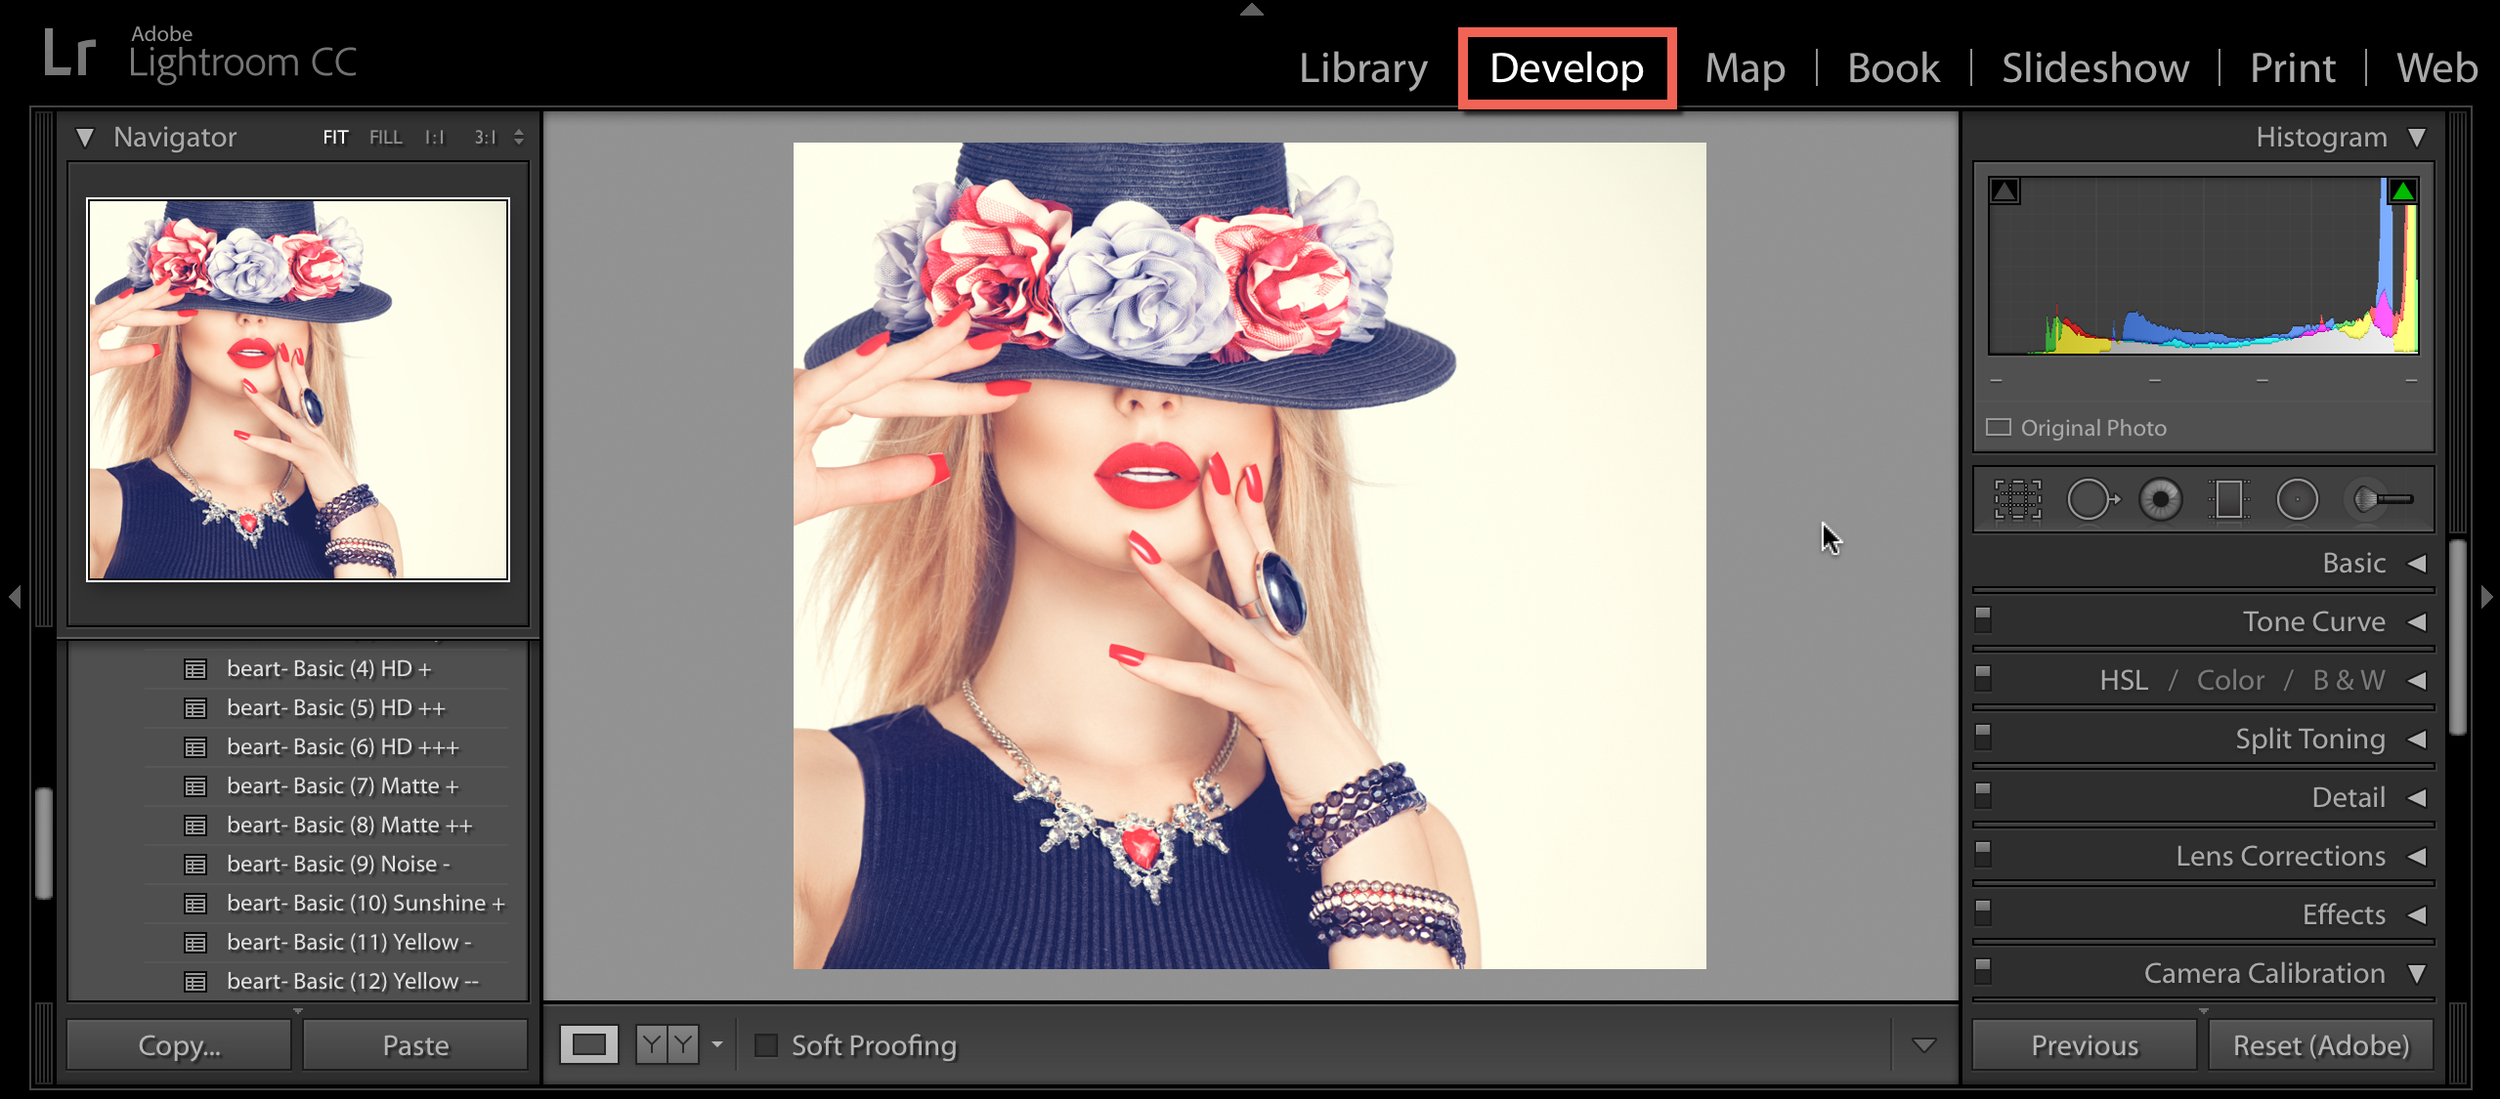
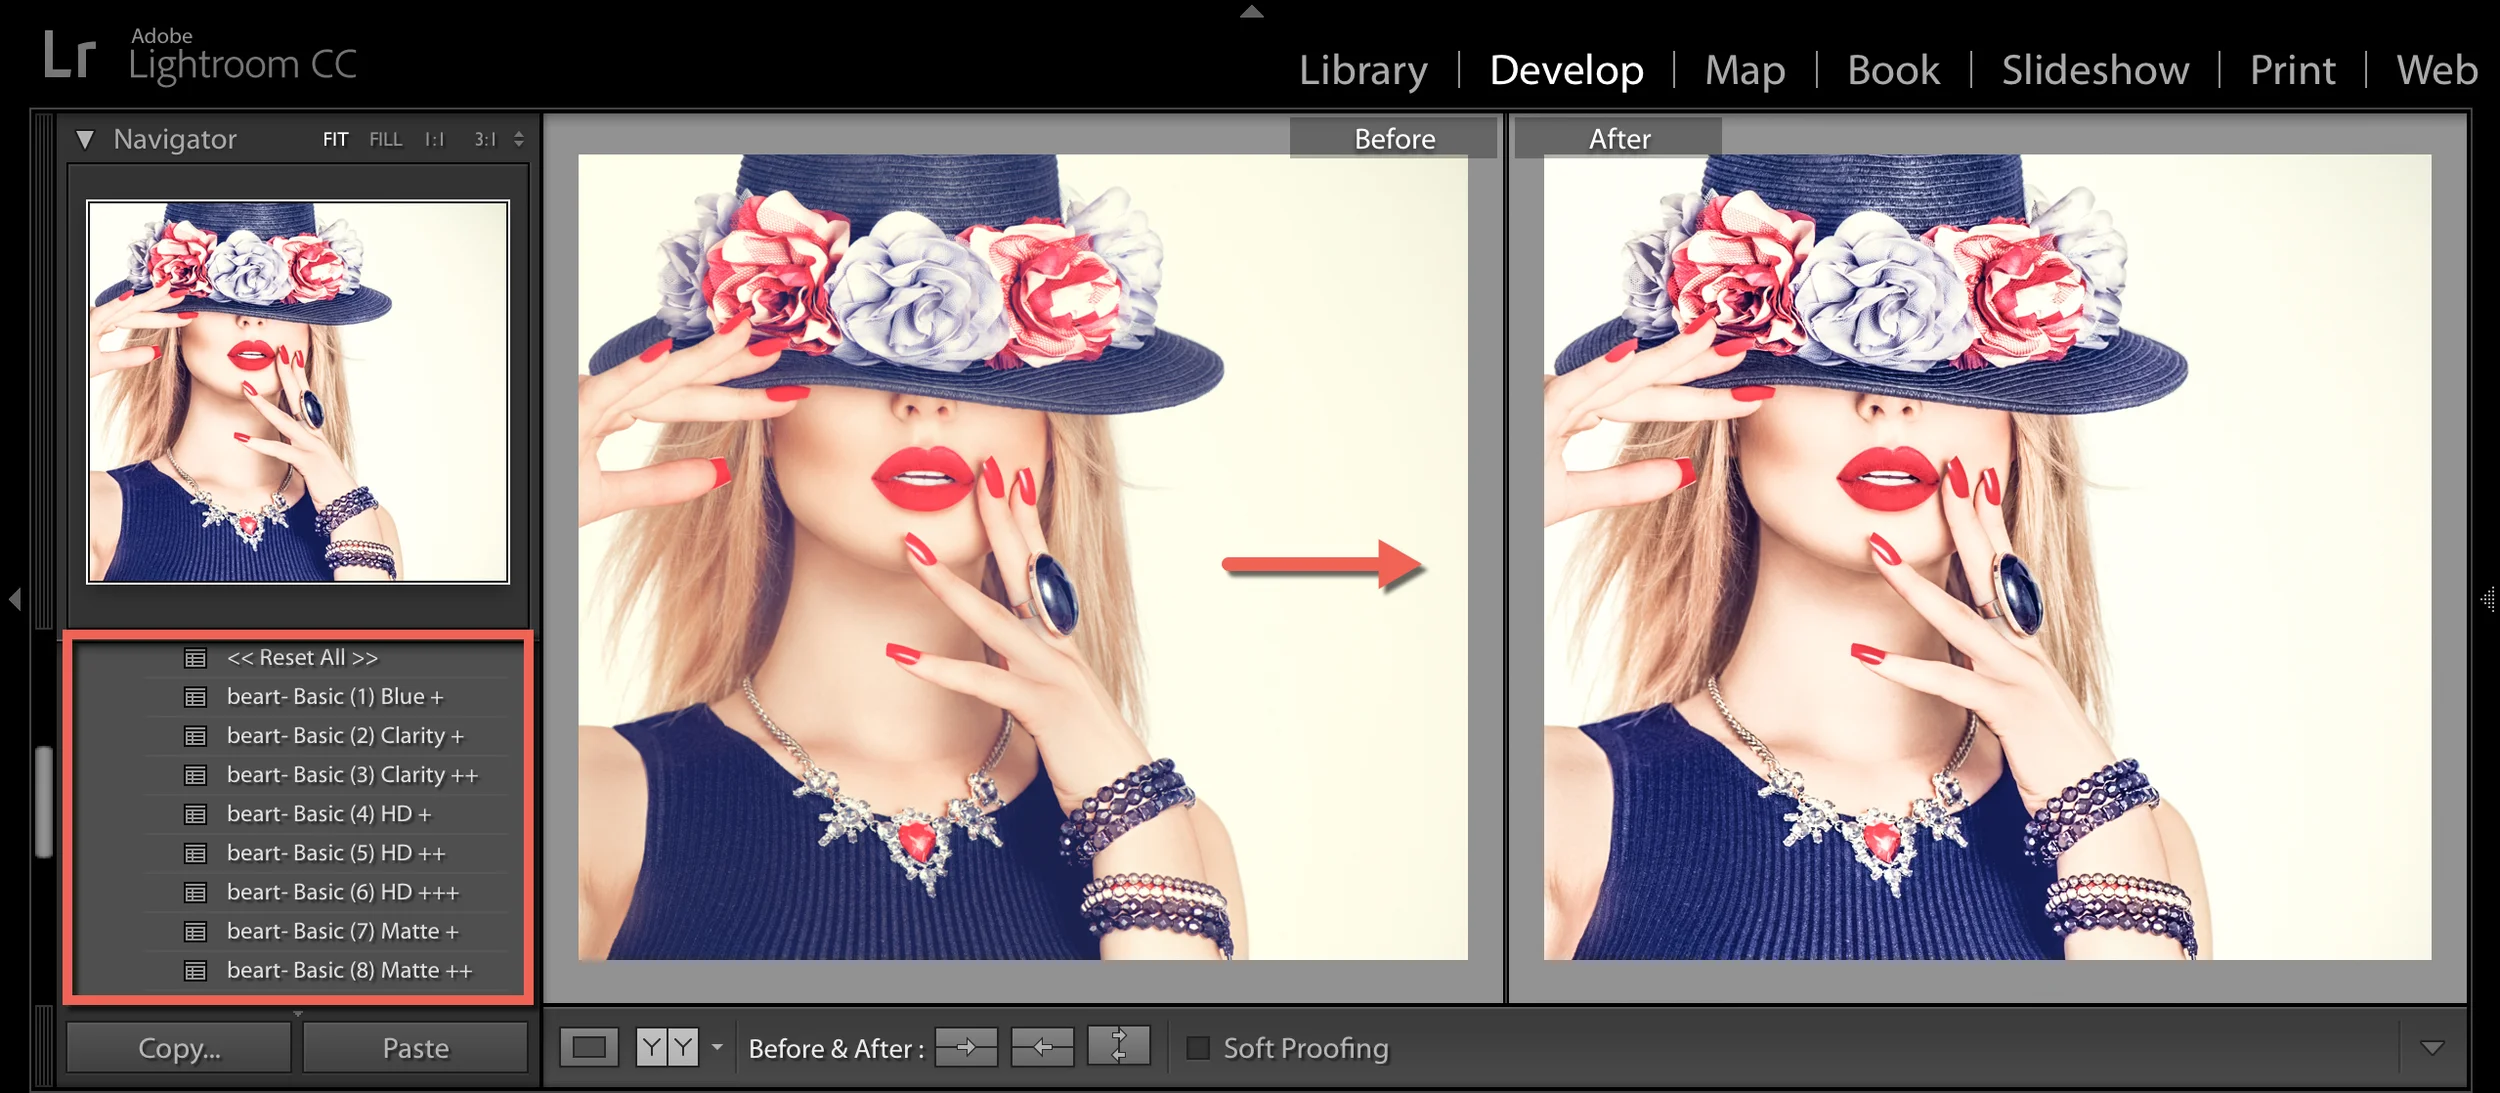
Note: We used our Portrait Perfection Lightroom Presets Collection to improve and enhance an image.
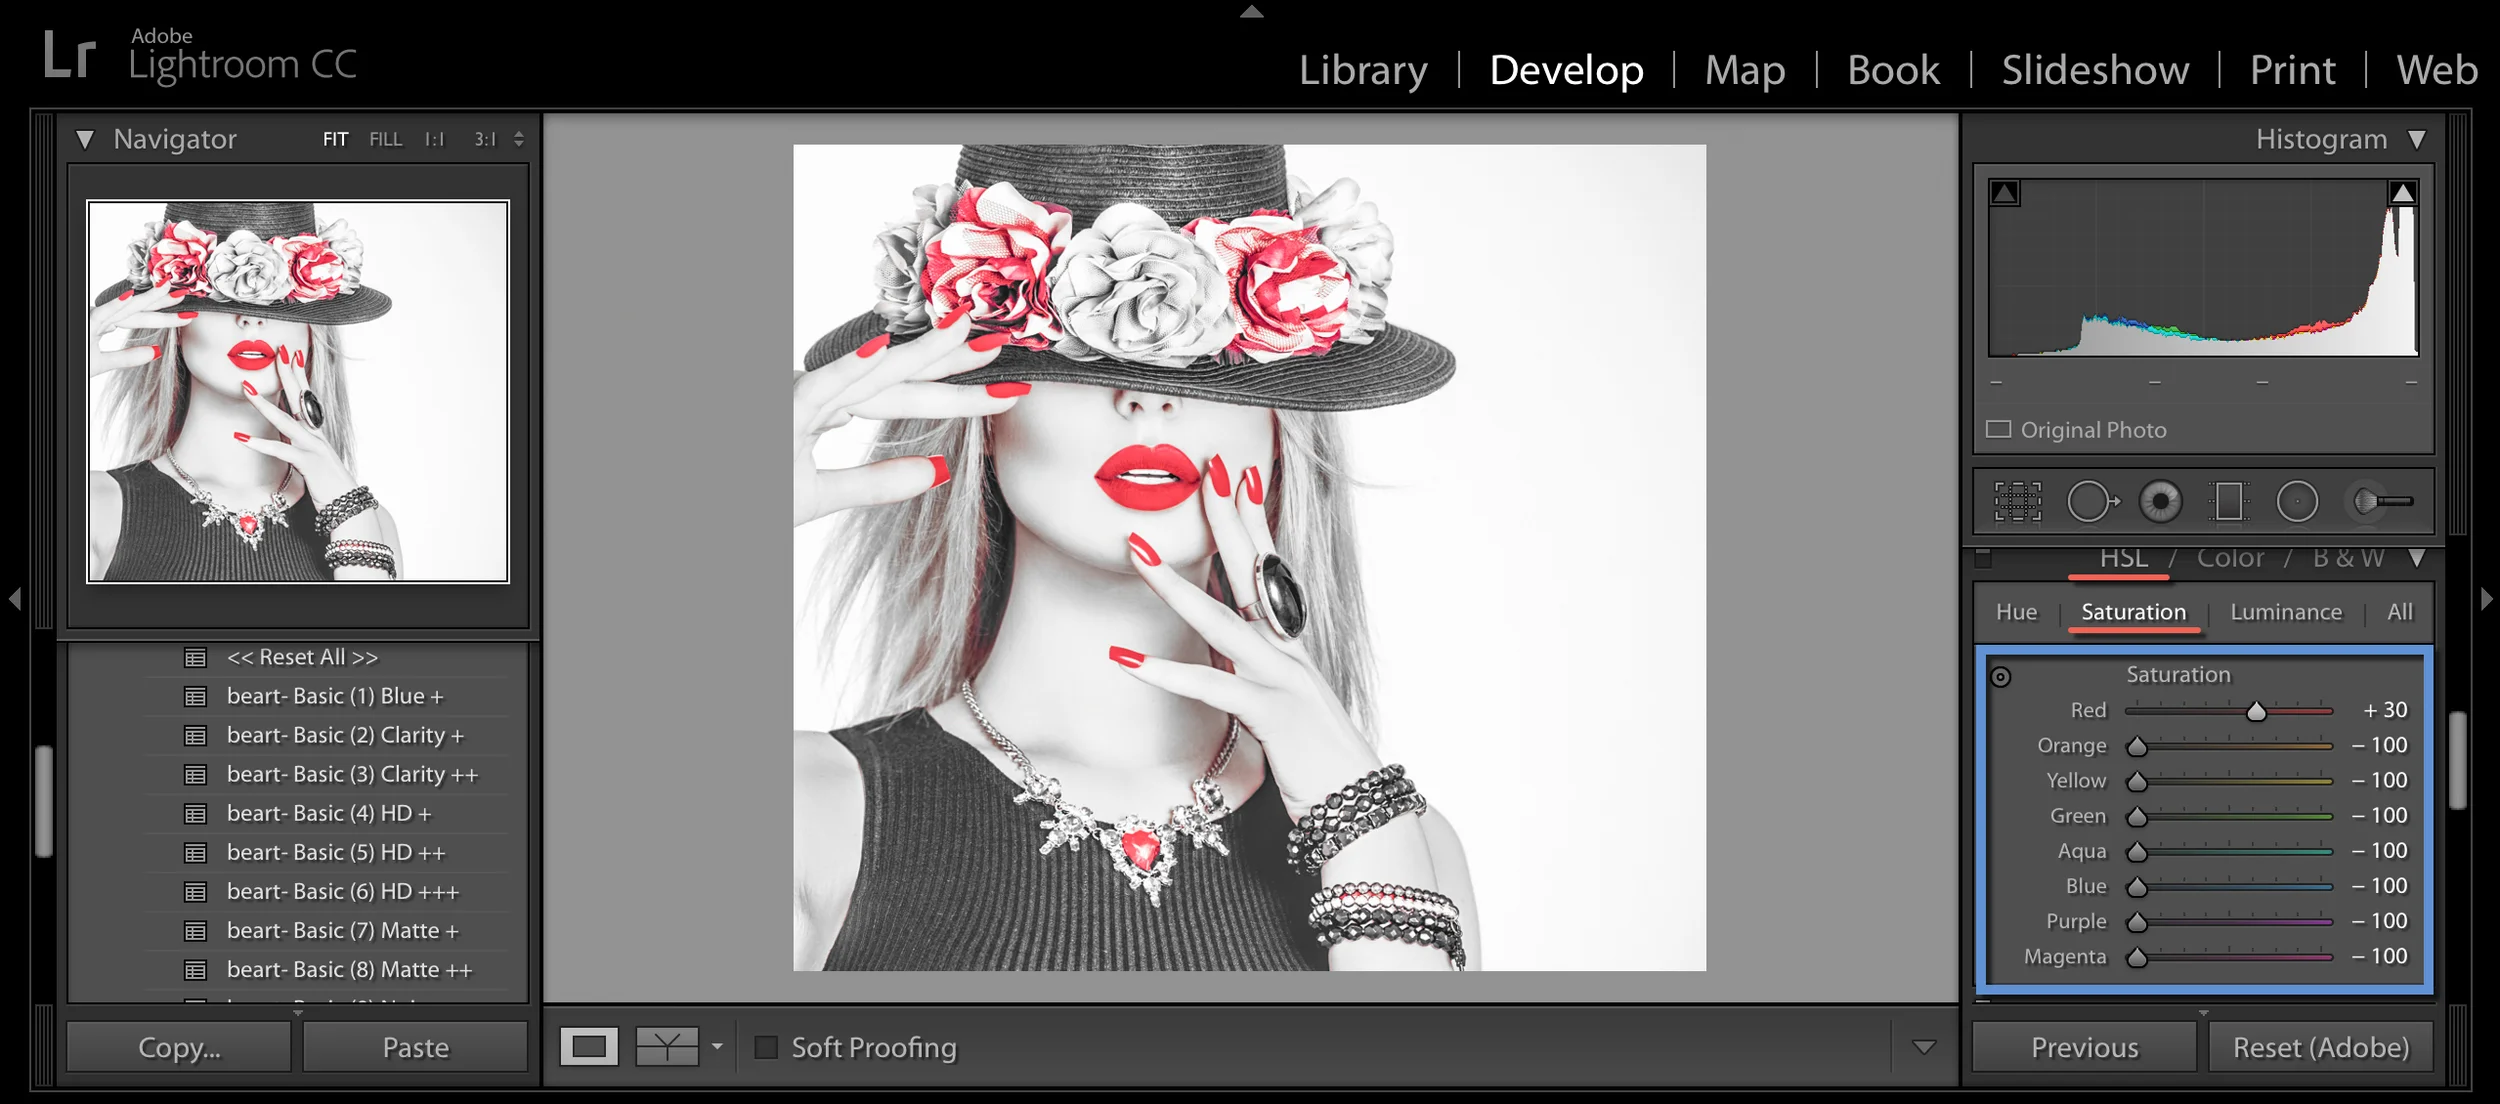
2. Select your color.
In this picture, we decided to leave a red color and convert all other colors into black and white. To do this, in HSL mode select Saturation, and then, increase to +30 points Red color, and decrease to -100 all other colors.
3. Post-processing.
Use Tone and Presence options to enhance your image. We decided to do this with: Exposure +0.10 / Contrast +40 / Shadows -50 / White +30 / Blacks +20 and Clarity +23. The result you can see on the image below.
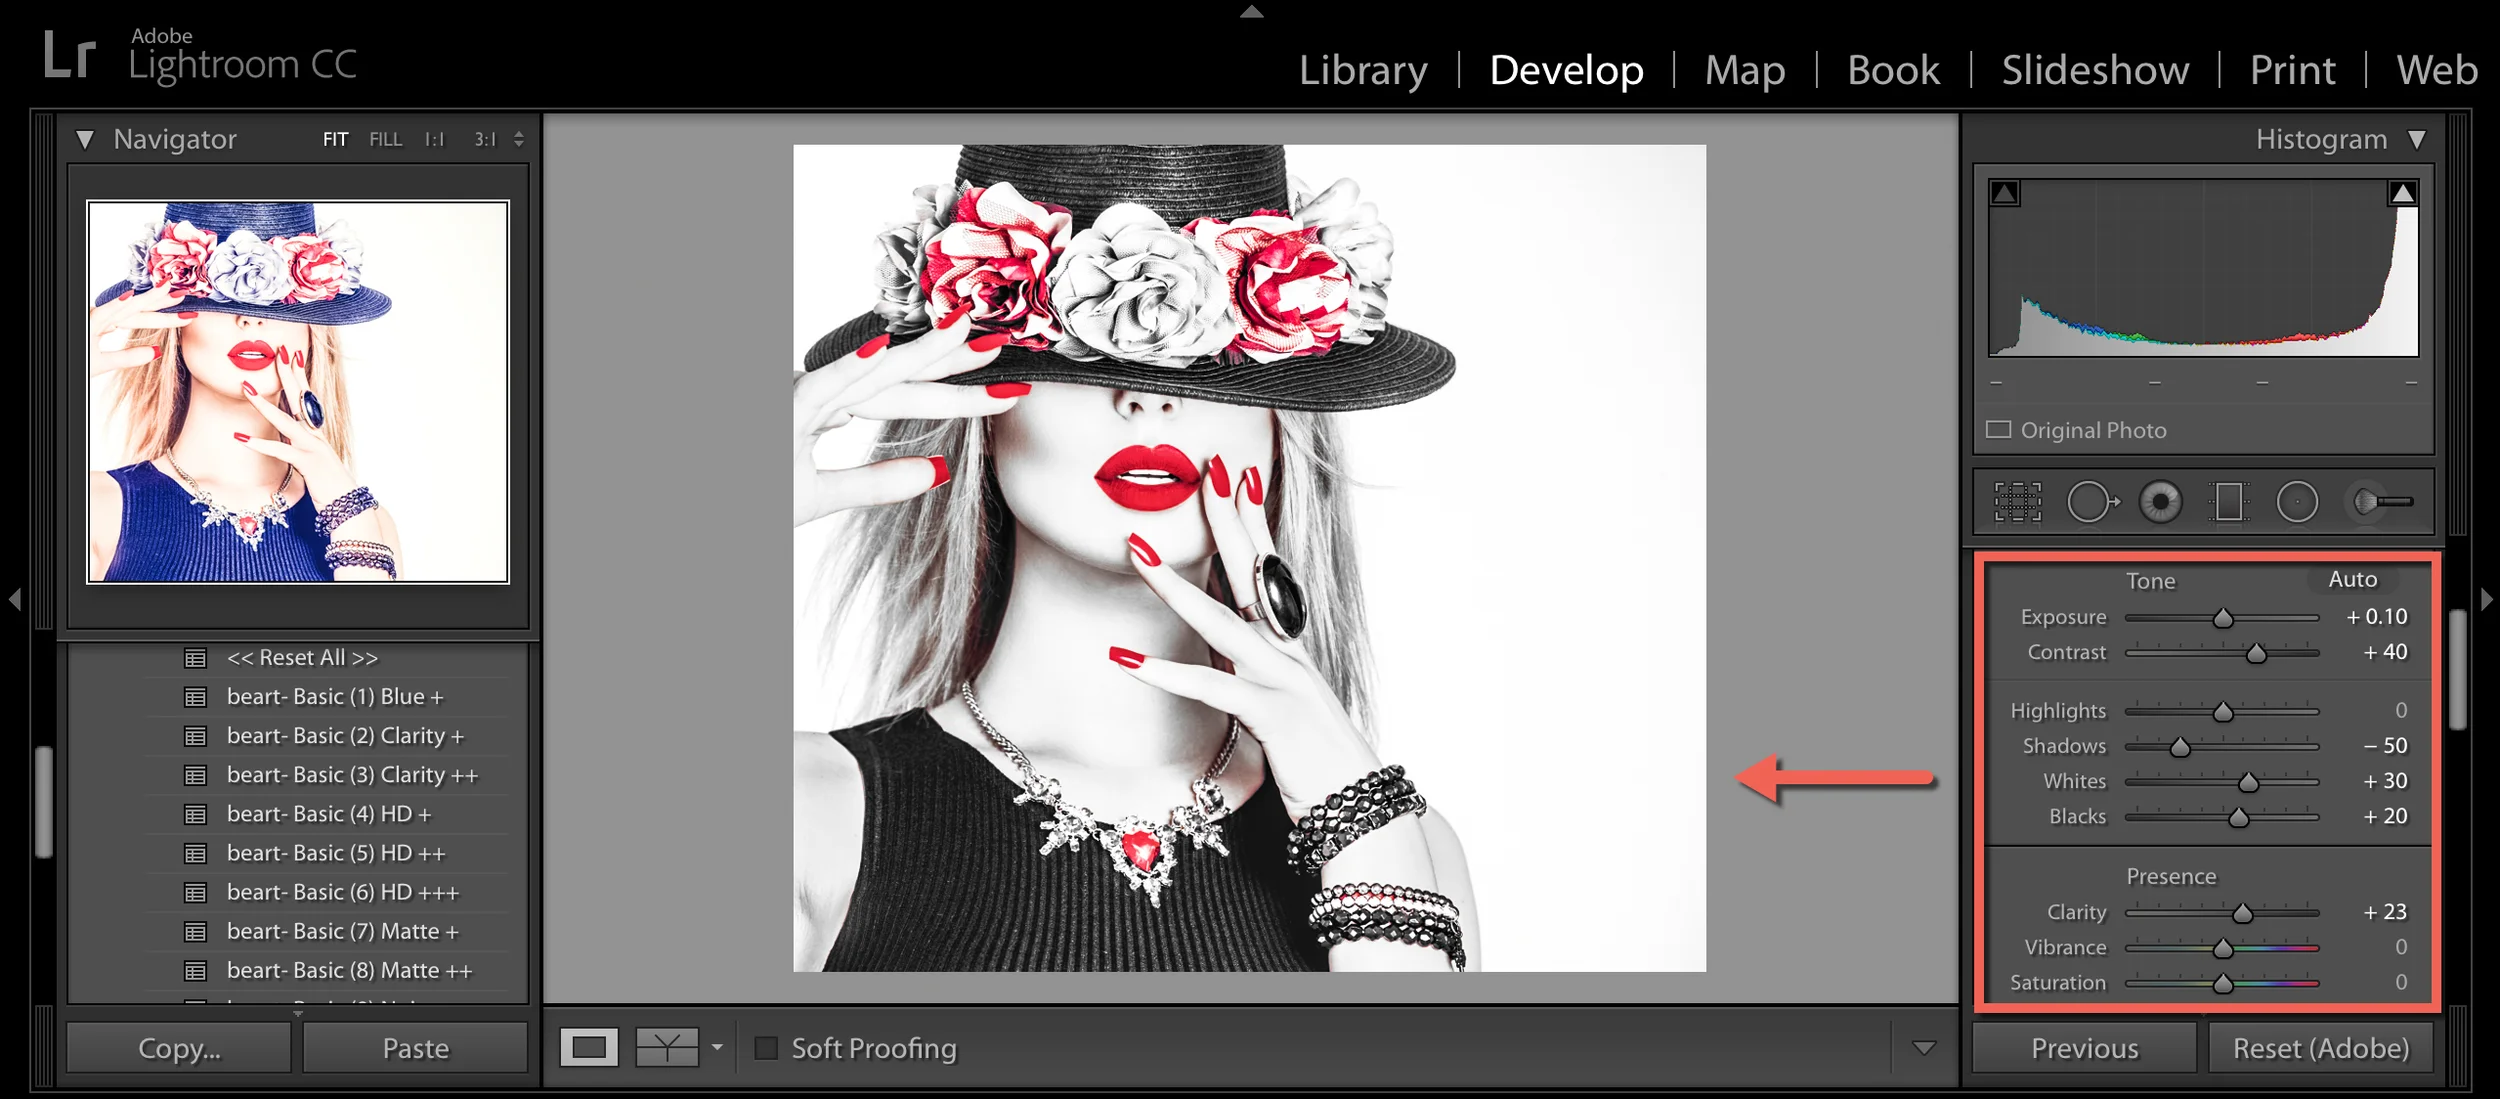
4. Use Adjustment Brush
To completely remove all colors besides Red color, use Adjustment Brush and decrease Saturation option to -100.
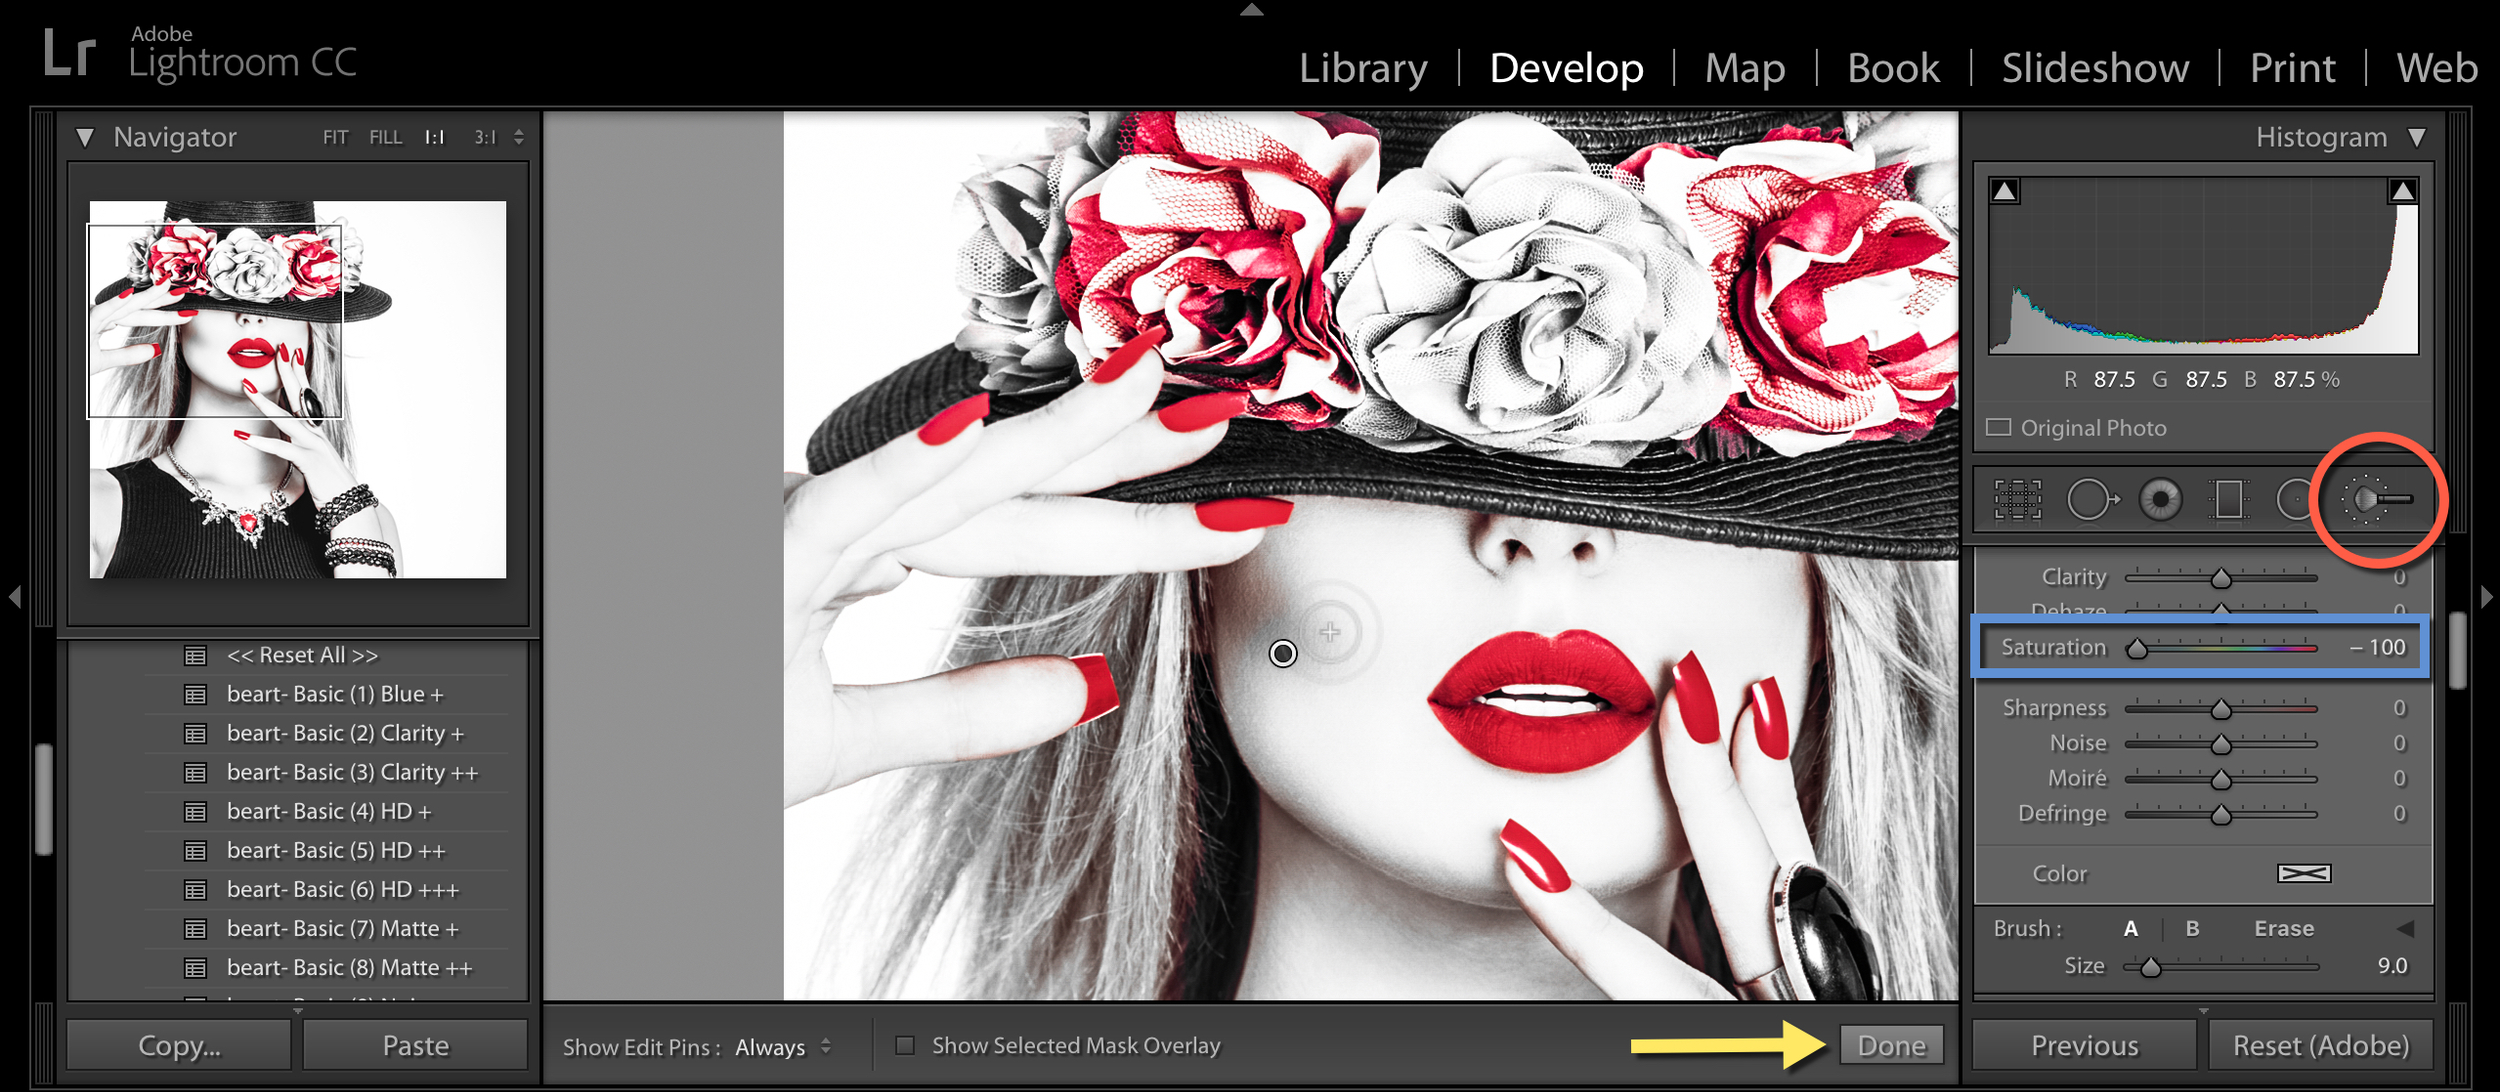
You can compare before and after in the image below.
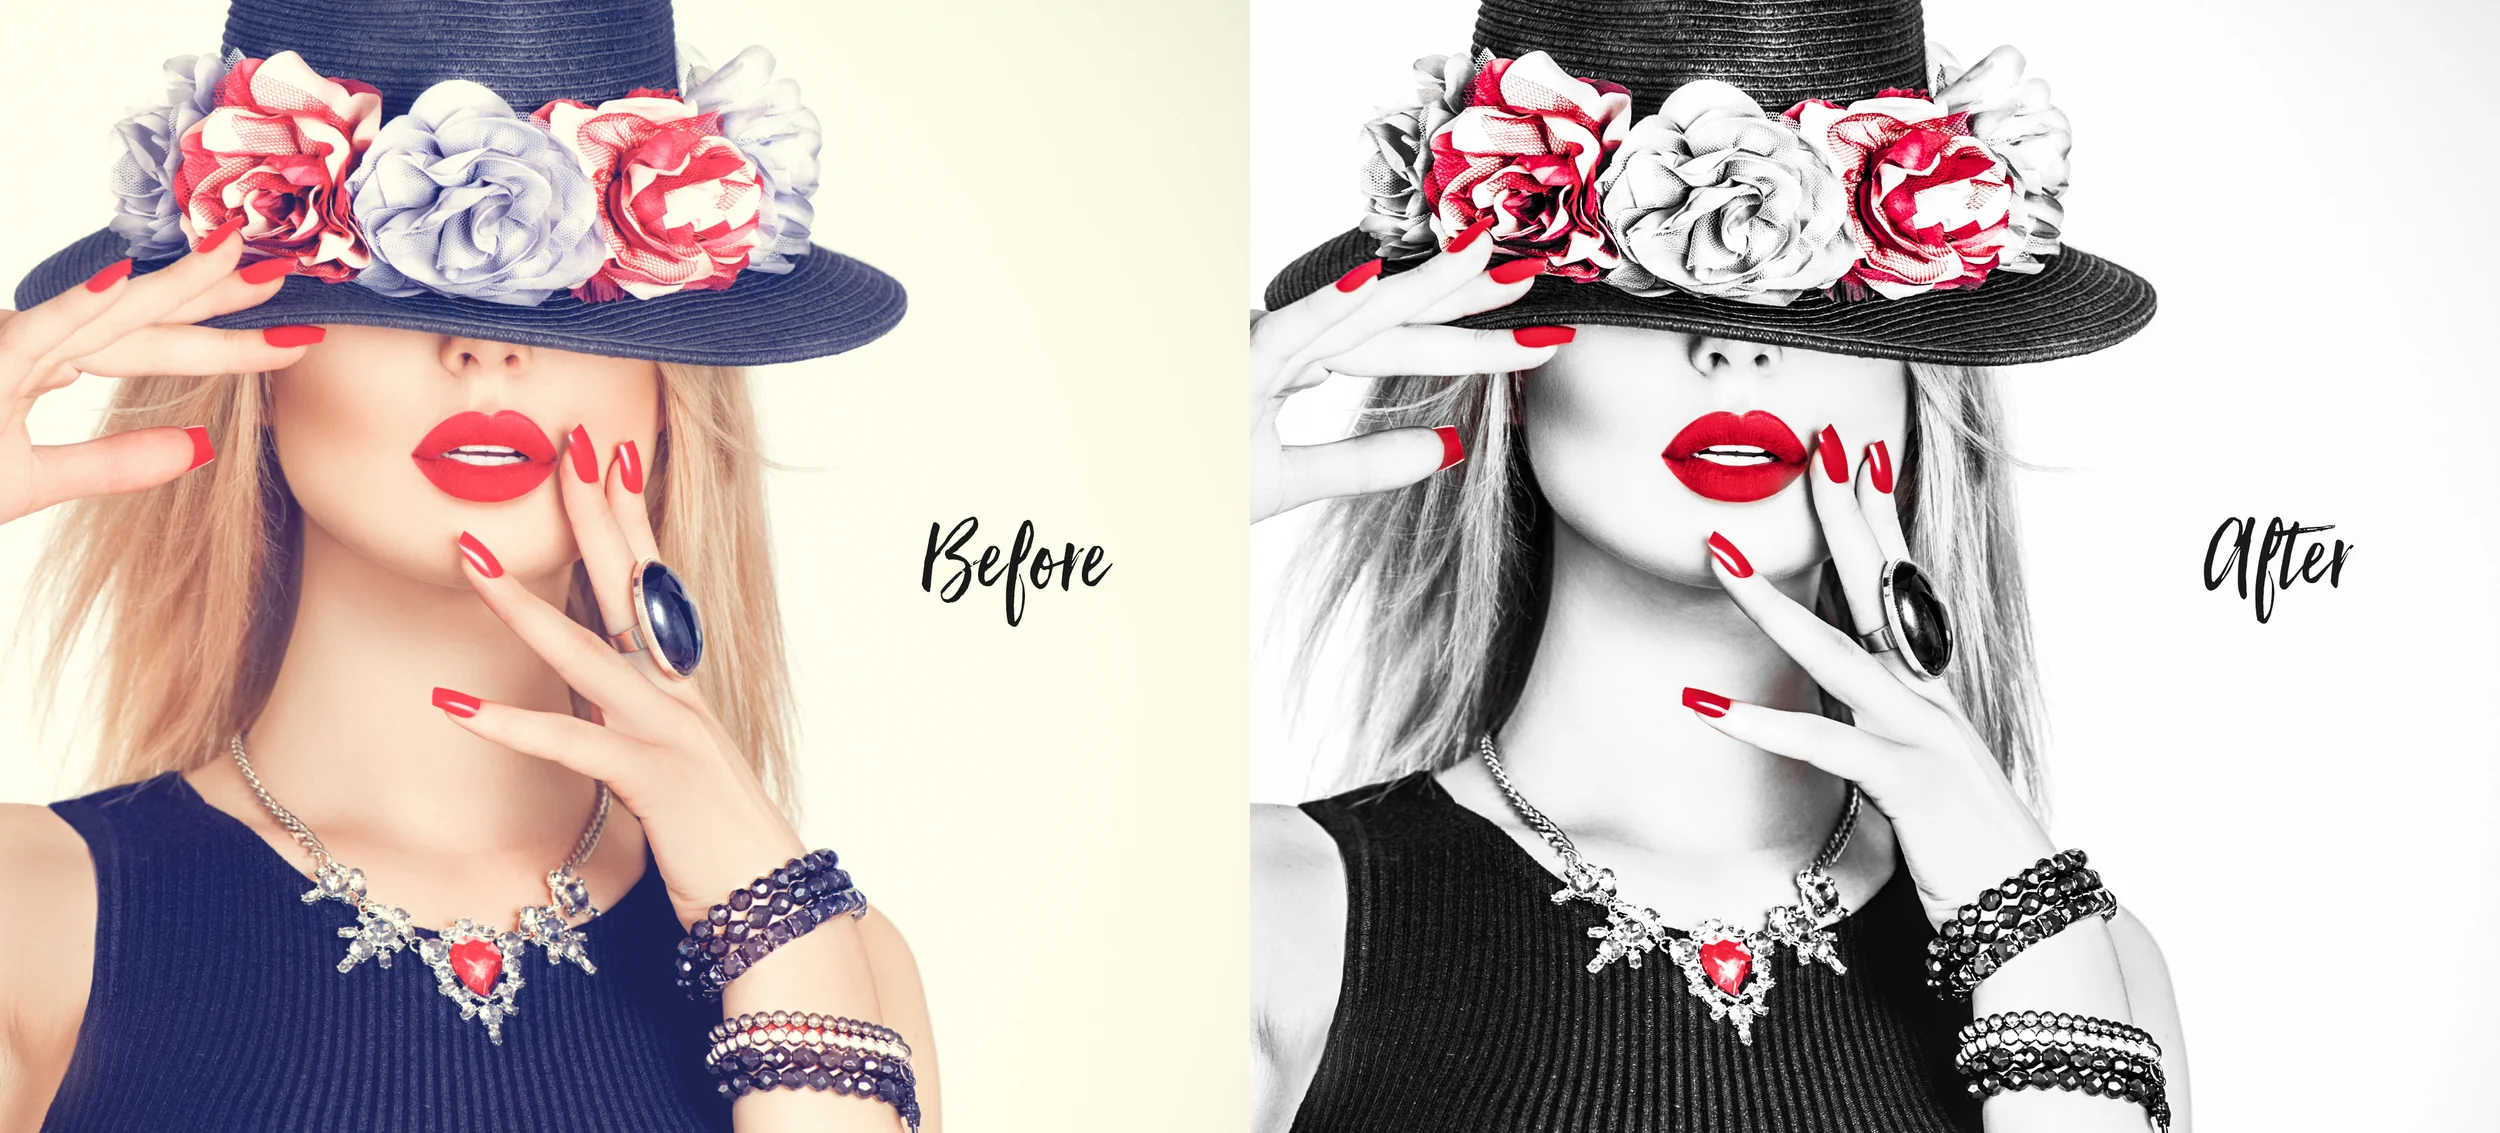
Thanks for reading! I hope you picked up one or two new tips.







Introducing the Idyllic Santorini Lightroom Presets Collection, created for both mobile and desktop versions of Lightroom. Inspired by the timeless beauty of Santorini, this collection captures the feeling of returning home from an unforgettable journey with a camera full of memories. Whitewashed villages glowing in the afternoon sun, charming streets adorned with bougainvillea, leisurely breakfasts overlooking the sea, and soft pink sunsets melting into the horizon.
BUY NOW