
Use DNG to increase the speed of Lightroom Classic
Did you know that you can make Lightroom Classic work faster in the Develop mode? You can do it by converting Raw files to DNG. It's possible because Lightroom Classic uses a different preview in the Develop module than in the Library module.

On the downside, making the conversion will mean that importing photos into Lightroom Classic take longer. If you're in a hurry when you're trying to import photos, this idea might not be for you. Also, not all applications will open a DNG file.
Let's delve into this concept a bit more.
Lightroom Classic's Library module

You have the option of either Minimal, Embedded & Sidecar, Standard or 1:1 preview when you import your images into Lightroom Classic. The Library module, not the Develop module, will use those to display any previews of your imported photos.
TIP: If you'd like to zoom into your images in the Library module, you should choose 1:1. Choose Standard if you don't want to zoom in. However, keep in mind that 1:1 previews take longer because they contain more data and are larger.
Lightroom Classic Develop module
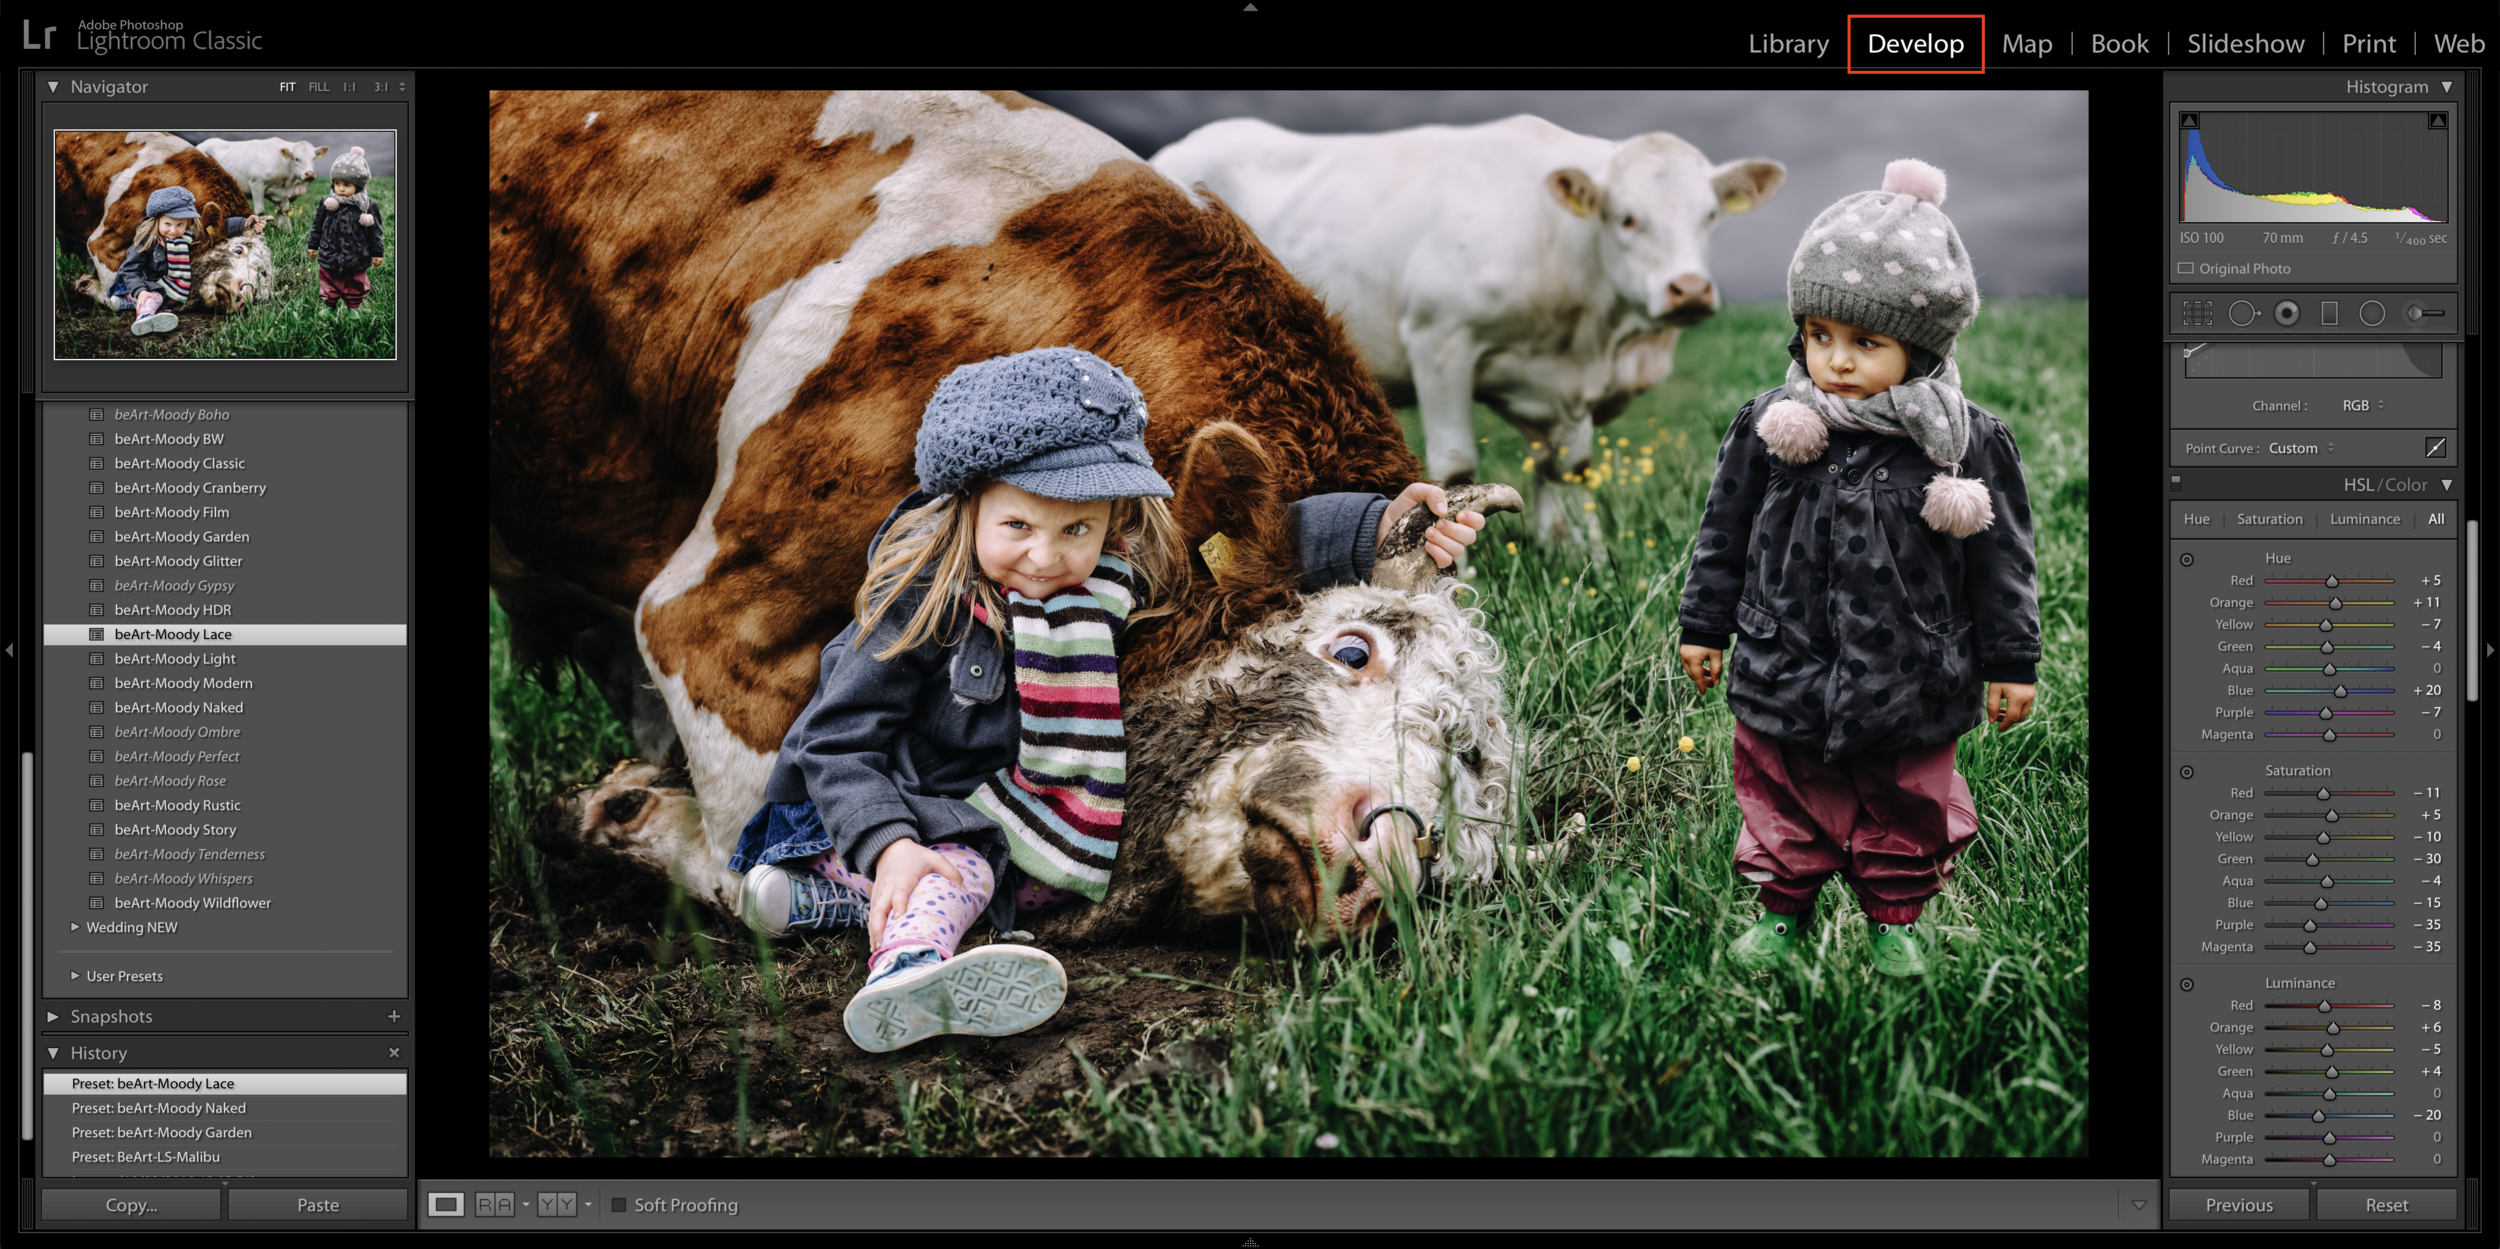
Lightroom Classic has a different preview in the Develop module because its preview is based on the current state of your Raw file. It takes into account whatever you have performed on it. Every time you do something to the photo, the preview is updated.
Now it's time to consider converting your Raw files to DNG (short for digital negative).
DNG is an open-source Raw file format created by Adobe.
Each time you convert a file to DNG in Lightroom Classic, it adds something called Fast Load Data to the file. It's a partially processed preview that allows Lightroom Classic to render any previews much faster in the Develop module.
Just how fast depends a lot on how many cores your computer's processor has. Each core can simultaneously build a different part of the preview. Thus the more cores, the faster the preview.
TIP: DNG files are smaller than other Raw formats. That means they take up to 20% less hard drive space.
Side note: There are some cameras, even smartphones, that already save files in the DNG format. Note that camera-generated DNG files do not contain Fast Load Data. Only DNG files created by Adobe software do.
Converting files to DNG in Lightroom Classic

We suggest converting your Raw files to DNG when you import them into Lightroom Classic. It's the easiest way of doing it.
TIP: Be sure to import your files from the camera's memory card instead of copying them to an external HD before the import. Make sure that you go to the File Handling tab in Preferences and click on the Embed Fast LoadData box. If you skip this step, you won't get the speed increase that DNG gives you!
Three steps to do during import
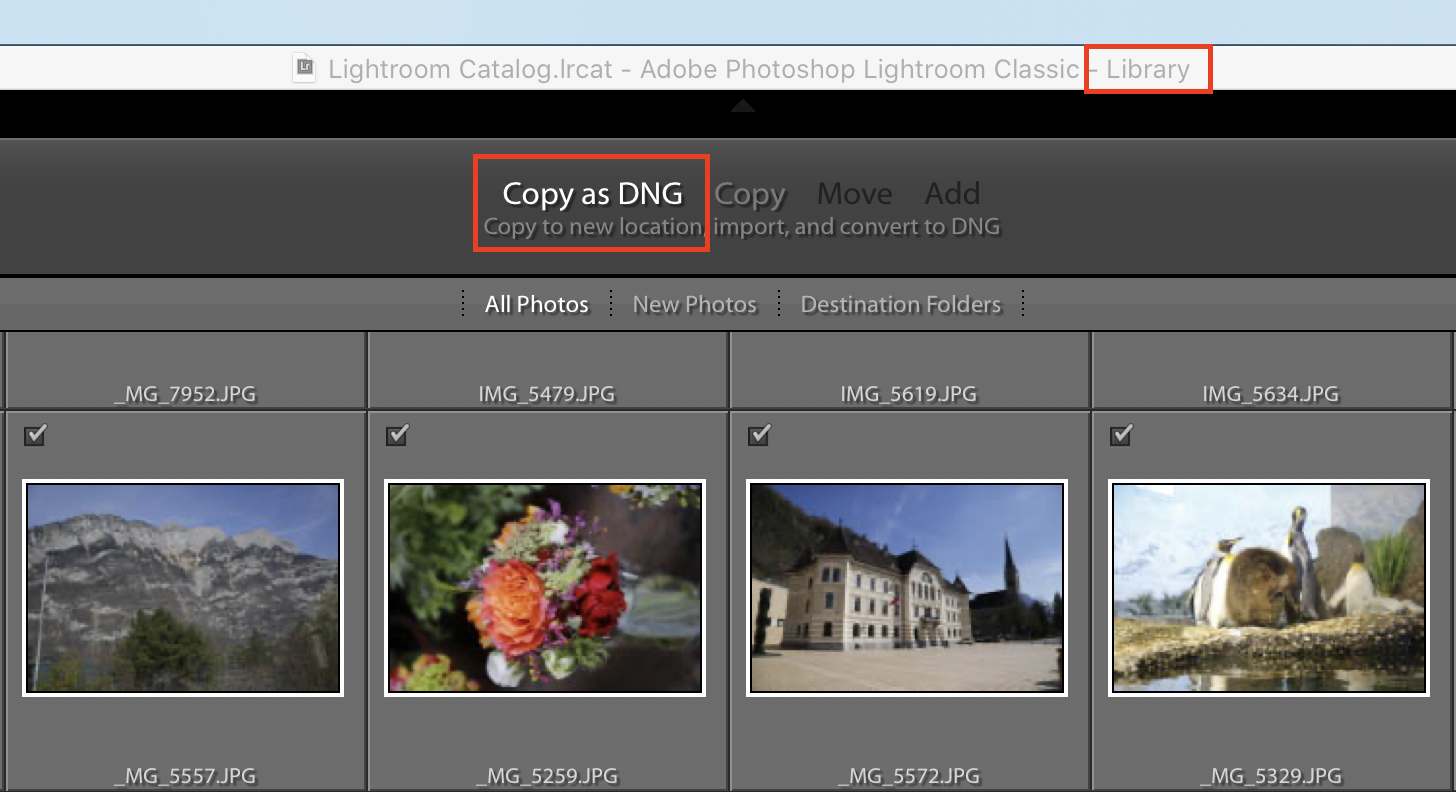
1. Select Copy as DNG File in the Import window. Lightroom will then copy the Raw files from the memory card to the specified folder on your hard drive (HD) and convert them to DNG.
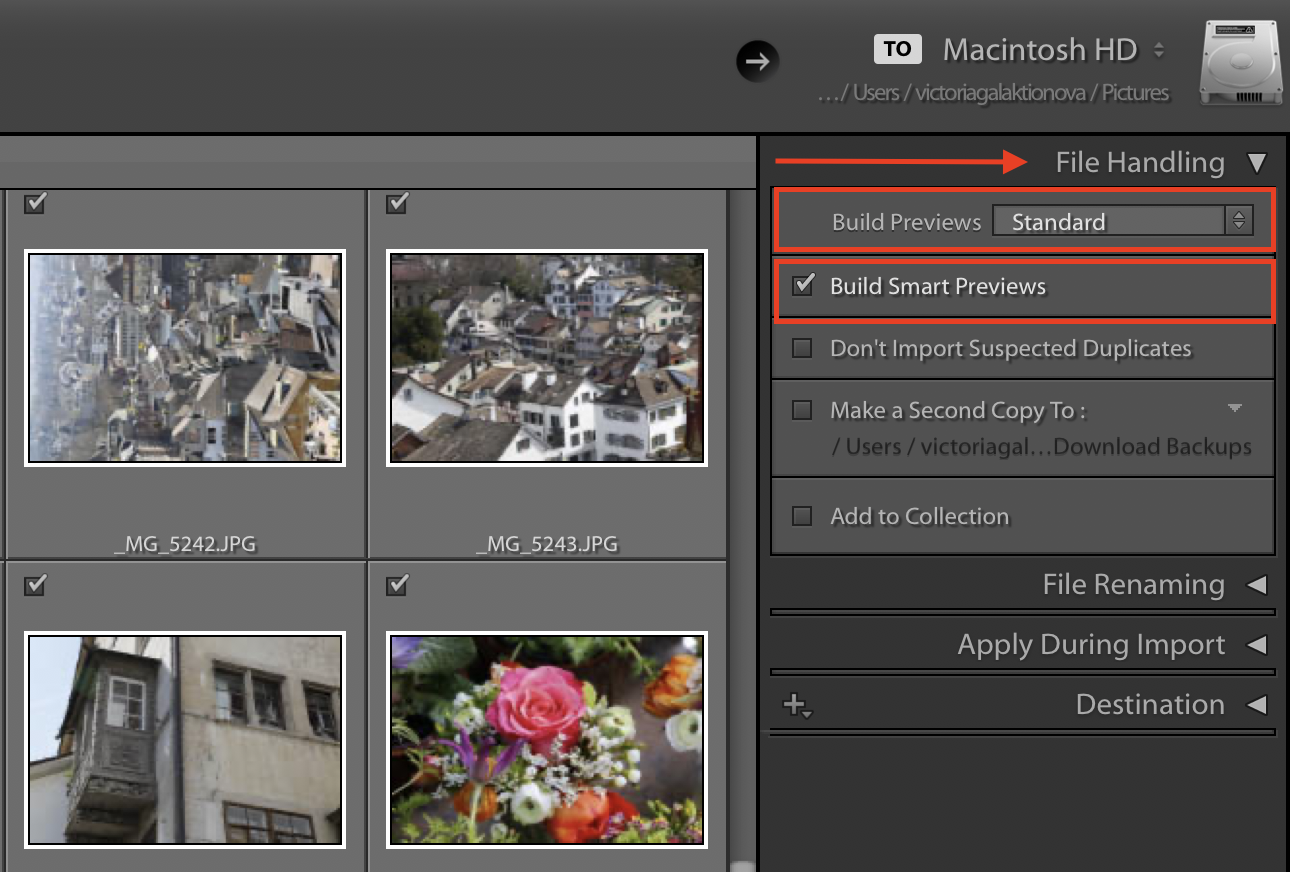
2. Set Build Previews to 1:1 or Standard in the File Handling panel.
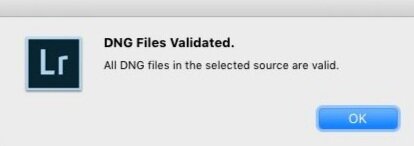
3. After the import, go to the Catalog panel and select Previous Import. Select all the images in the Collection and go to Library > Validate DNG files. Lightroom then checks the new DNG files to make sure they aren't corrupted and puts any corrupted files in a Temporary Collection in the Catalog panel.


