
Ten reasons why your photos are blurry
Sharpness – is one of the main criteria of a high-quality photo. It allows emphasizing the most important details. But a lot of newbie photographers have troubles when they want to get a nice clear shot. We will provide about the ten most common reasons why your photos are blurry.

1. Too slow shutter speed
This is the main reason why you can get blurry photos. If you think it is quite easy to stay still for half a second – you are wrong. If you don’t use a tripod, remember:
Your shutter speed should be reciprocal to the focal length of your lens.
For example, if you use a lens with a focal length 60 mm, the shutter speed should be 1/60 of a second or even less; if you have a 200 mm lens it is recommended to use a shutter speed of 1/200 of a second and so on.
Some lenses and cameras have a built-in image stabilization technology. This function allows reducing the minimum shutter speed by three stops. A stop is an exposure value, representing the increase or decrease of the amount of incoming light twice.
The slower is the shutter speed, the more light comes in; the faster - the lesser.
60 mm lens with an image stabilization function can endure a shutter speed of 1/8 of a second.
Moreover, you should know your personal minimum shutter speed. All of us can have shakes – some more, others less. If you want to know when you may experience camera shake, make such an experiment: choose a shutter priority mode on your camera and make the same pictures first with the shutter speed of 1/500, then slow it down. Upload the photos to your PC and examine when your images are blurry.

2. Absence of a tripod
A tripod or a monopod also helps to avoid camera shake. When is it highly recommended to use a tripod/monopod?
- When you can use it.
- When you can't use a faster shutter speed ( for example, lighting conditions are poor).
- When you have to use slow shutter speed ( for example, to blur something).
When using a tripod/monopod image stabilization is not required, as it may spoil everything. But remember to turn it on, when you don’t use it.
3. Wrong position
You should learn how to keep your camera and stand still not to lose rare shots because of the blur.
To do this, try to put one leg in the front, like a step forward. This will help you to stand still and move your upper body right-to-left and back-to-front.
Hold your camera with your right hand and support your lens with the left. Keep your elbows close to your body. Use a viewfinder, not the screen. So the face will be an additional support point for your camera.
These are the basic rules. However, there are photographers who do even more. They listen to their breathing and press the button in between the breaths.

4. Too wide aperture
The size of the aperture also influences directly on the depth of field, as it determines its depth.
The depth of field – is a distance between objects on the photo, reflected sharp.
When a lens focuses, it includes a specific distance – so-called plane of focus. For example, if you focus is at 4,5 meters, everything included in the shot at this distance will have the maximum sharpness. Everything that is located closer or further will be blurred. The intensity of this effect depends on the aperture.
With an aperture wide open (F/2.8) depth of field is very shallow. This effect is especially emphasized with a long-focus lens. If you use a telephoto lens and an aperture F/2.8, then only a narrow strip of your picture will be sharp. A smaller aperture ( for example, F/11 or F/18) will increase the depth of field.
While choosing an aperture, you should consider what image you would like to get. So to make the sharpest photo, use a small aperture with a larger F-number. However, remember: when using a small aperture, you will need a slower shutter speed to compensate the lack of light. So you need to apply the first rule.
5. Autofocus
Is your eyesight really poor? Wearing glasses? Then it will be better to use autofocus. Modern cameras are really smart and in many models, the autofocus function is implemented perfectly – so, let it do what it is made for.
To adjust focusing to your eyesight, use a diopter.
A diopter is a tool (usually it looks like a wheel) next to a viewfinder, that allows adjusting the sharpness of an image. A diopter will also be helpful if you have weak eyesight, but you don’t wear glasses.

6. Wrong focusing
Let's say, a lens is adjusted correctly, your camera is fixed on a tripod, the day is sunny, you use a small aperture and fast shutter speed with low ISO. BUT! All of this will not save from a blurry image if you haven't focused correctly. This is especially crucial when an aperture is open wide, making the depth of field as thin as a razor. Even the slightest miscalculation can exclude the subject out of the focal plane. It may happen, you will get a portrait photo with clear sharp ears and blurred eyes.
Quite often photographers use an auto-area AF mode in their cameras. Such adjustment allows a camera to choose what part of an image should be in focus. The majority of modern cameras can handle this pretty good. Especially if the subject of shooting stands out in the shot. However, if your composition is more complex, a camera can make a mistake. If you want to choose the focus point yourself, switch to single-point AF area mode.
When you look through a viewfinder, you should see a lot of little dots (if a screen – squares) – these are focus points. They show where your camera may focus. With a single-point AF area mode, you may use a direction pad of your camera to choose the point you want to focus on.
Everyone knows that to make your camera focus you need to press the shutter button halfway. And when the required object is selected, you should press a shutter button to the end to take a shot. This isn't a bad decision. However, a shutter button may be rather sensitive. If you press it too delicate it may not work, so you should do all the work and re-focus again. If you press too hard – a shot will be made before the focus is ready. Moreover, if a photographer takes multiple shots in succession, a camera will try to focus before each shot. For this reason, some photographers prefer to use a back focus button instead.
Back-button focusing – is a way to adjust AF, it is activated not with a shutter button, but with a separate button on the back side of a camera’s panel. This button can also be named as AF-ON or just Fn. It may be activated by default, or you should do this via camera's menu. After pressing this button your camera will focus and won't try to re-focus until you press it again. This allows to change a composition and make various shots of the same object – your camera will not lose its focus every time you press a shutter button.
7. Incorrect focus mode
There are three main AF modes, and almost every camera is equipped with it:
- AF-S — focus for one shot. Is used when an object doesn't move.
- AF-C — continuous autofocus, used to track movement. It is used when an object is moving.
- AF-A — automatic mode (often by default), when your camera chooses, which of the previous modes to use.
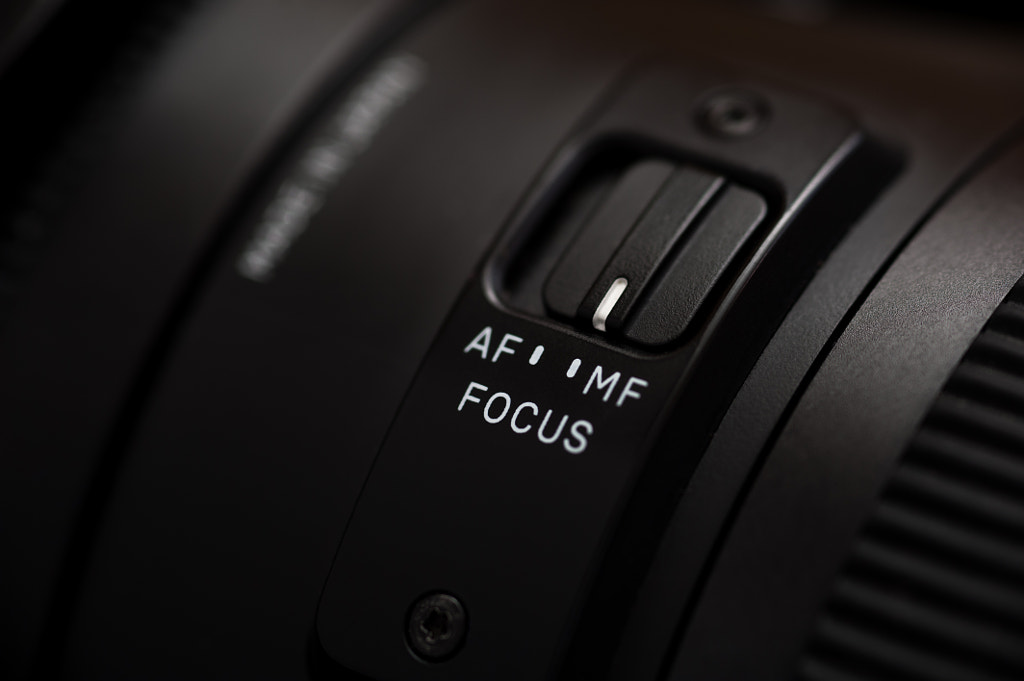
8. Don't know how to use manual focus
In spite of the obvious benefits of AF, sometimes you have to use manual focus. For example. When using a tripod/monopod and an aperture is open wide, to achieve a small depth of field, and you want to make sure that the most important areas of your shot in focus, then you switch to manual focus. You can adjust this focus using a zoom button, and so increase an image by 5-10 times.
9. Dirty lens and filters
If there is a smear on your lens, don't expect your picture to be sharp. Cheap plastic filters will make the quality of your image even worse. If you use a UV filter of poor quality, try to make several shots without it and you will see the difference.
10. Low-quality lens
Newbie photographers, that often get blurry images, sometimes complain that the reason is a poor lens. Actually, this is the last reason of camera shake. However, the quality of lenses may differ a lot.
Quality of a lens is presented with the materials + its inner construction. A lens consists of several accurately aligned lenses, that allow focusing, increase an image, and correct optical aberration.
Some lenses are sharper than others. Some can create perfect sharpness in the center (not the corners and the area around), others give clear picture only when using a particular aperture, the third cause color fringing around the points of contrast.
In other words, every lens has a unique character and handles some tasks just perfect, while providing a bad result when used for other tasks. Also, every lens has a certain aperture, at which it works the best. As a rule, it's around F/8 or F/11.
For shots with the maximum sharpness, it's better to use lenses with a fixed focal distance. It's not very convenient to keep constantly two or three lenses when you go somewhere. But even the simplest and the cheapest prime lens can provide amazing results if you can handle it correctly.
