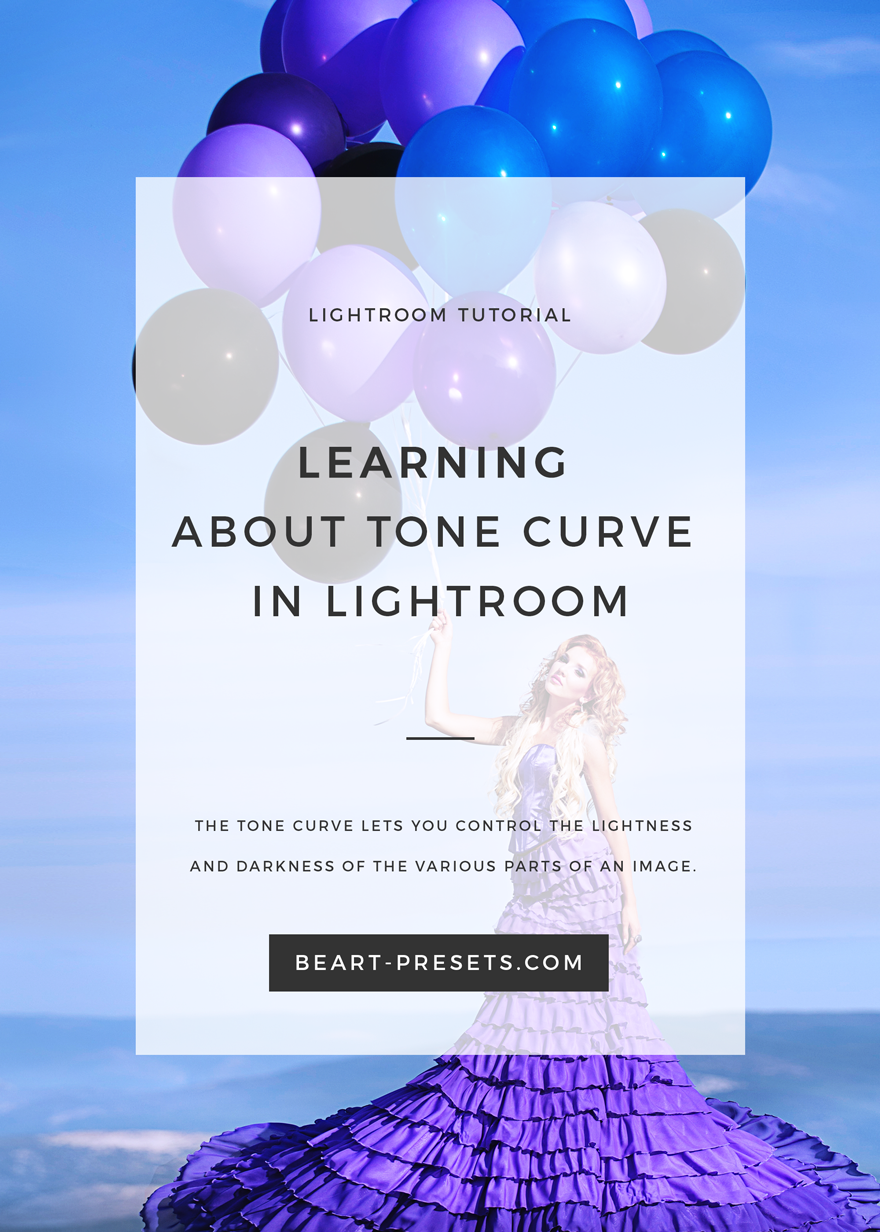
Learning About Tone Curve in Lightroom
If you’re not using Lightroom, you are missing out on what could be your greatest ally in the pursuit of photo editing excellence! Adjusting just a few of Lightroom’s sliders can get you that perfectly balanced picture chased by every serious photographer. While Lightroom’s Basic Panel could be the end-all, be-all for editing an image, there is a lesser known tool which can be equally invaluable: the Tone Curve.
What is Lightroom's Tone Curve:
Some photographers will tell you that they don't use the Tone Curve or they rarely use it. Whether you use Tone Curve or not depends on what you’re trying to do. The Tone Curve lets you control the lightness and darkness of the various parts of an image. This tool can manage some of the ranges of actual tones in the picture. In other words, the Tone Curve allows you to control the contrast and tonal range of your picture better than the Basic Panel sliders. You can easily modify the levels of lights and how they appear in your image using Tone Curve. In certain images, this can make a significant difference in the picture’s overall tone and highlights.

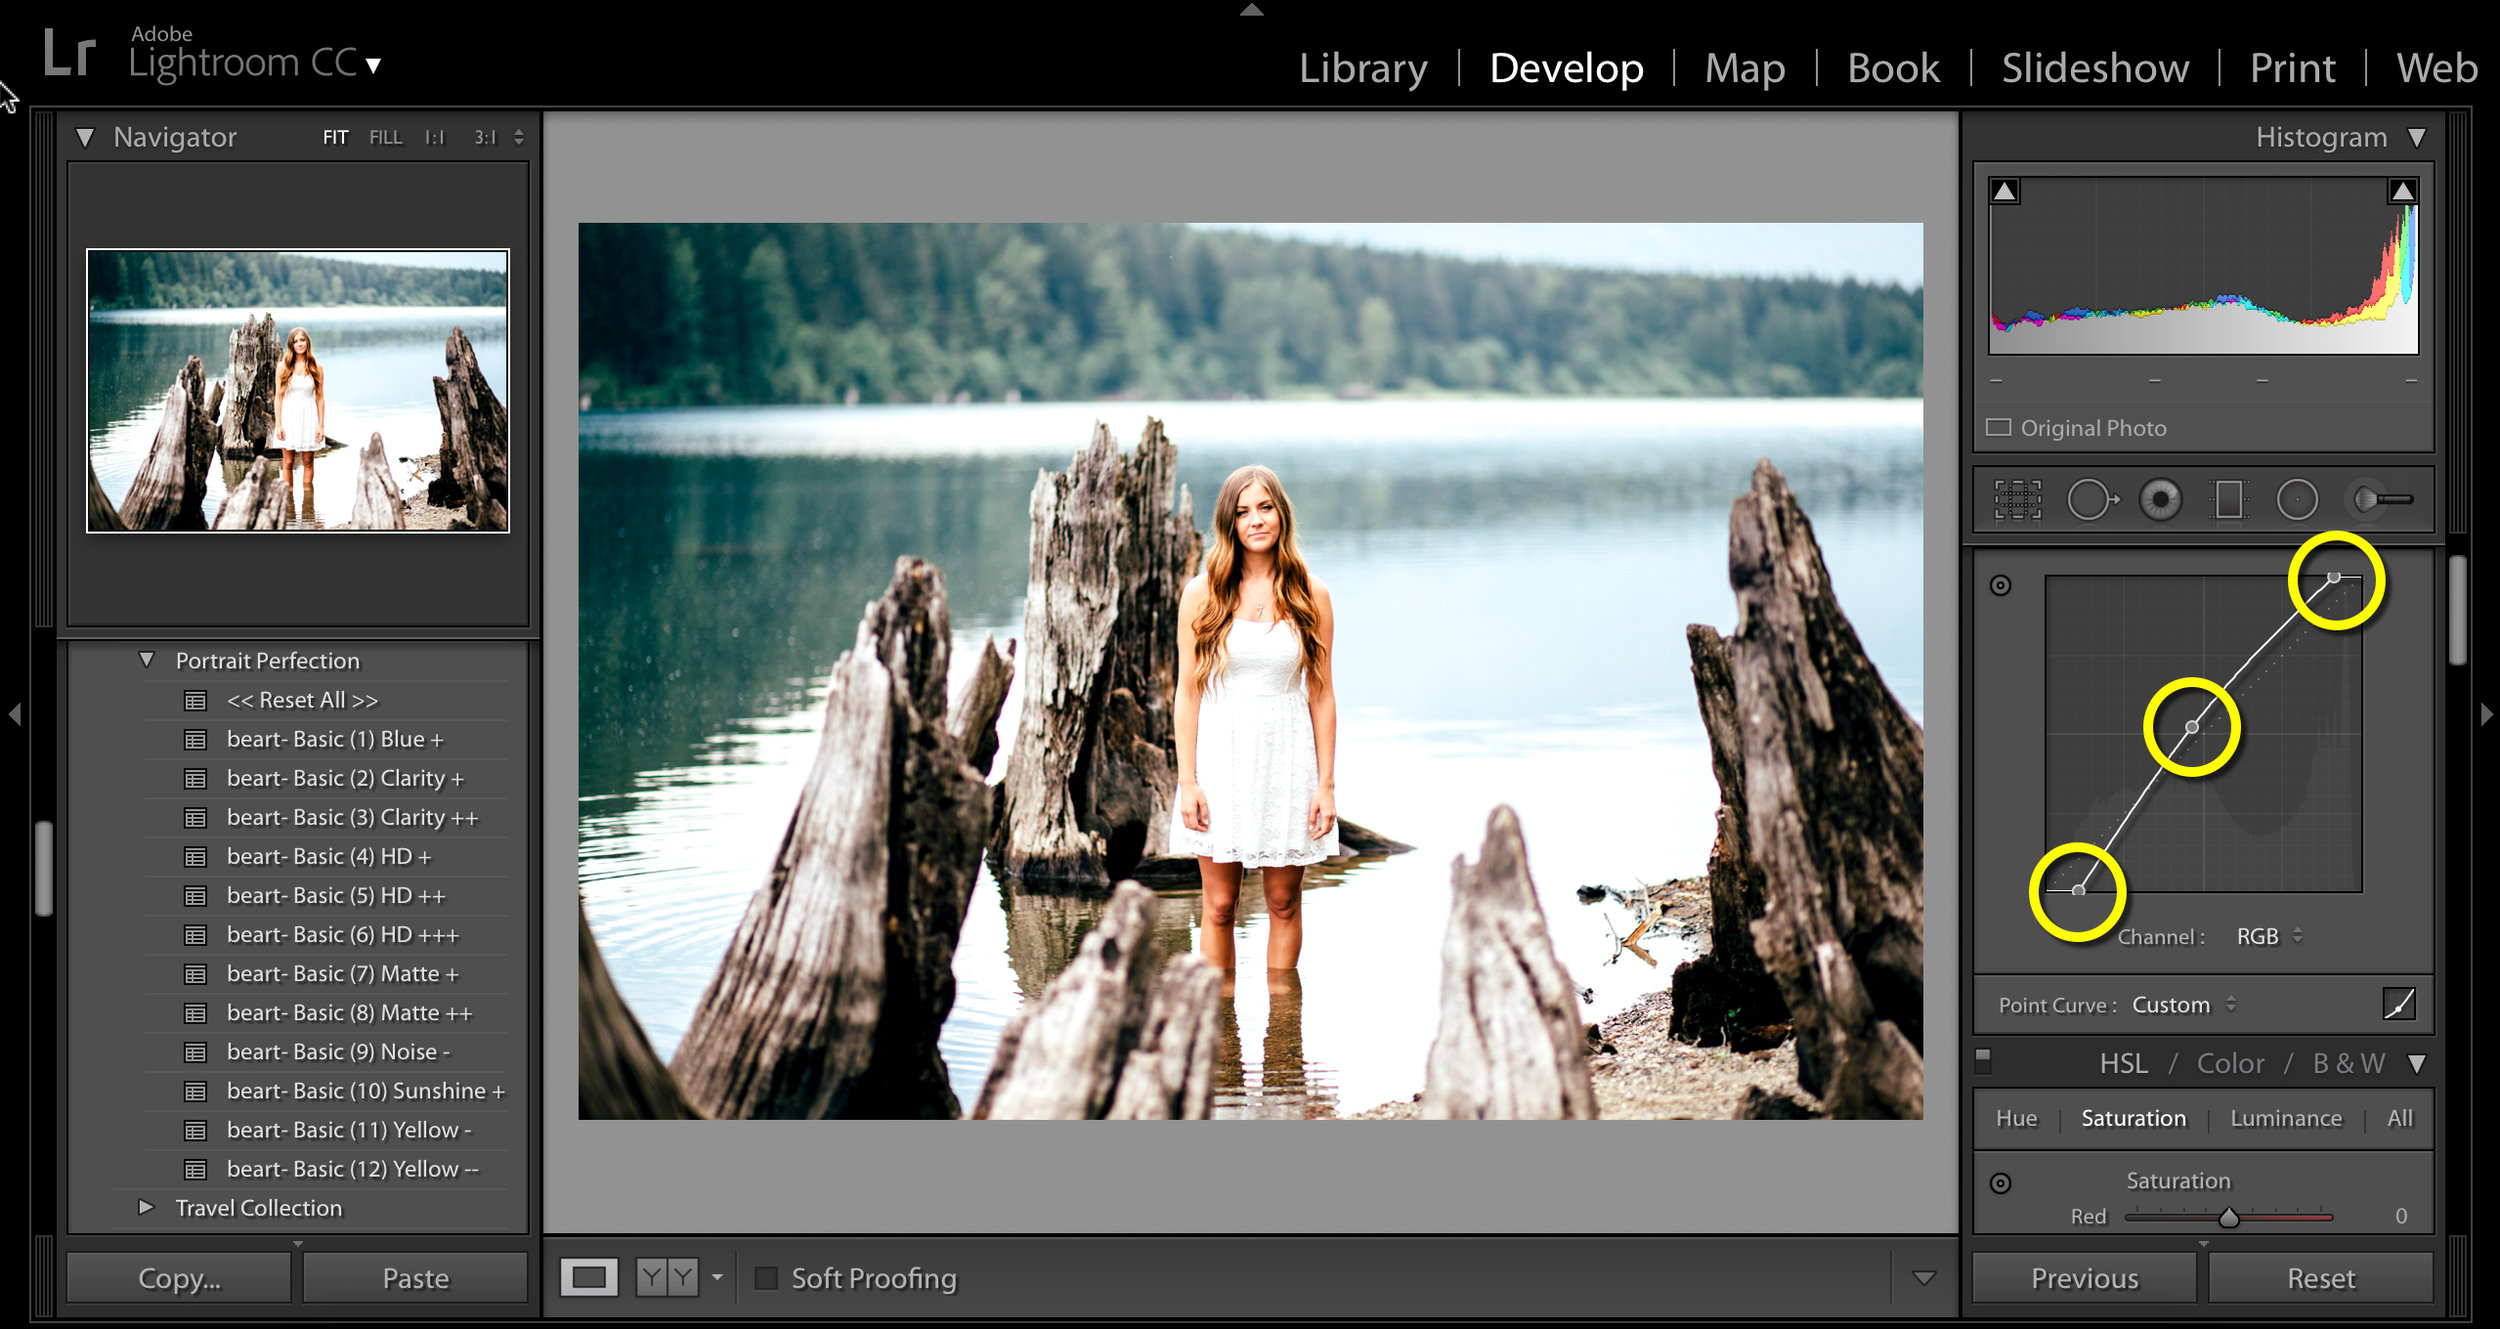
You will be able to easily click and drag within your photo to make any adjustments. Hover over the image until a small pointer appears in your Tone Curve box. The point will move as your mouse moves according to the level of light where you are hovering. This makes it easier to figure out what levels of light need adjusting in the image. You can click and drag down for less and up for more effect across the entire image. It takes a little practice playing around with it!
Drag for Tone Curve Adjustments:
The bottom axis of the Tone Curve represents the Tone axis - shadows at left and Highlights on the right. The middle represents the mid-tones (Darks & and Lights). Move up for brighter; down for darker. Click on the middle portion of the curve to change the mid-tones of your image.
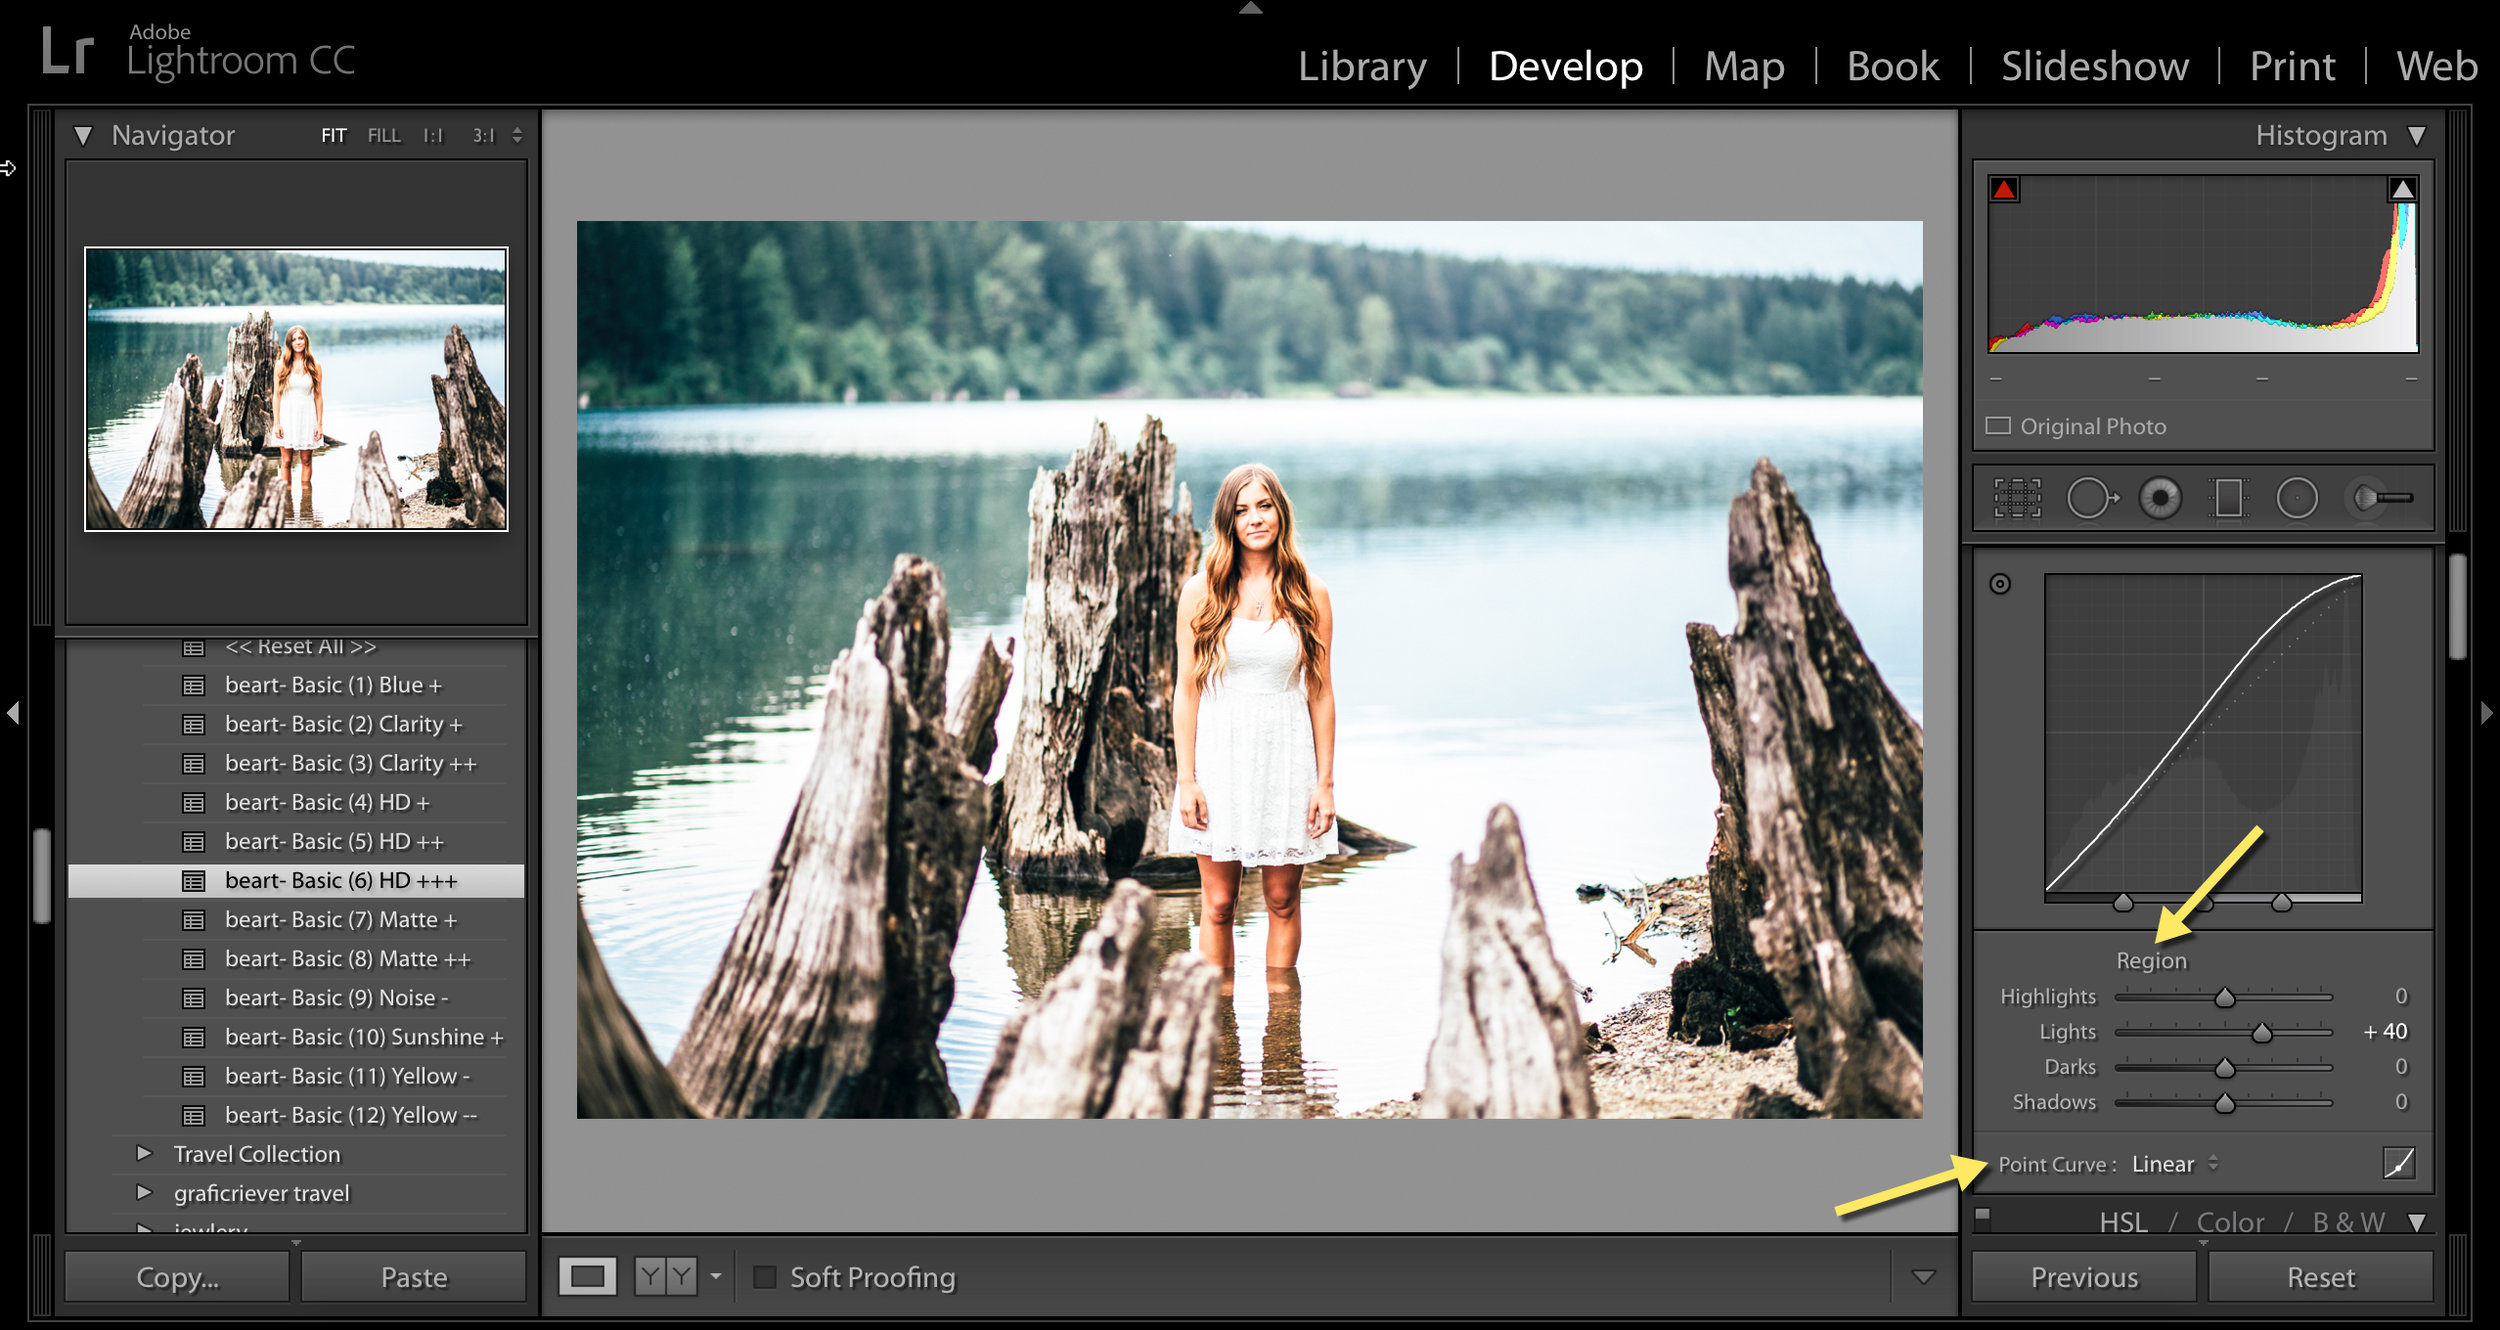
The Region and Point Curves:
The Tone Curve isn’t alone! These two: the Region and the Point Curves.
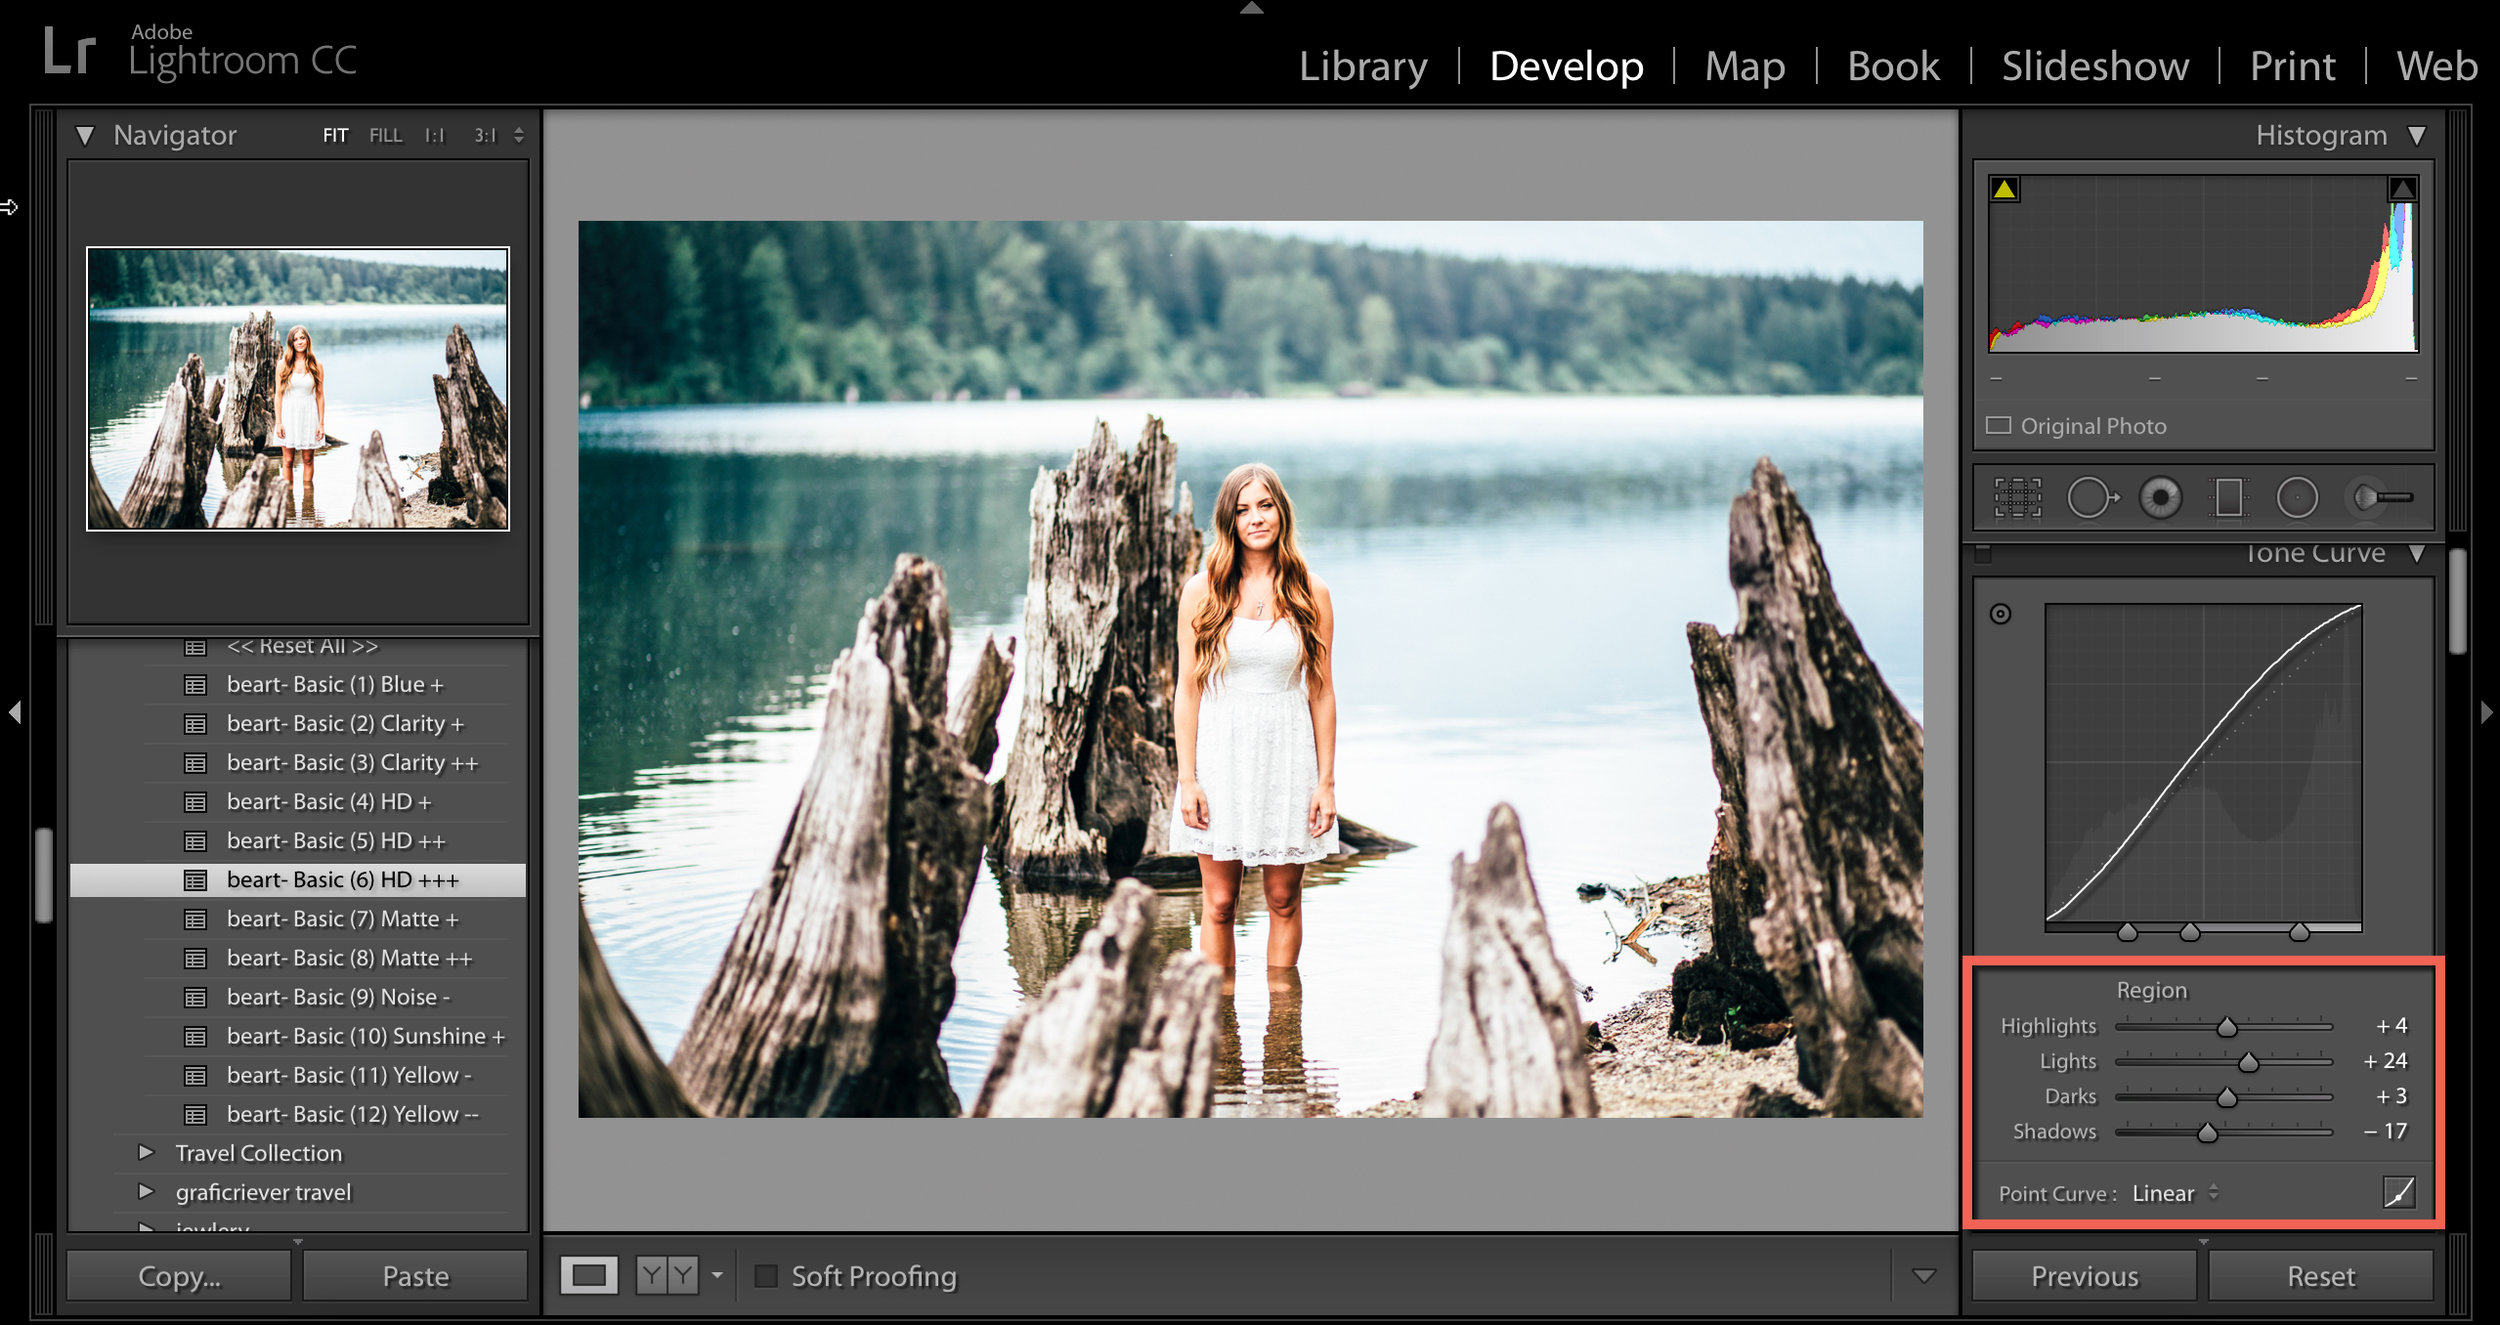
The Region Curve is best for beginners because it does a lot of the work for you making it much easier to alter a picture. To adjust it, just drag the Curve or use the sliders beneath it. Either way, you can get the same results.
The Point Curve is more manual allowing you to do whatever you like to your picture, and that includes ruining it. Click on the small square on the bottom right of the Tone Curve panel. The sliders become the "Channel" which allows you to select the color you’d like to alter - green, red, or blue. Being able to play around colors means that you broaden what you can do with an image and how much you can change it!
Adjust the Curve:
If you want to adjust or modify the Tone Curve, you can do it by clicking and dragging on the area of the image you’d like to change. Once again, as you hover over the curve itself, you’ll see that various parts become highlighted. It is showing you the levels of light you could alter. For example, you can add a little more contrast simply by dropping a point towards the shadow end of the curve or raise a point on the highlight end of the curve. It’s very similar to other Lightroom sliders.

Adjust Using the Slider:
Just like other Lightroom sliders in the Basic Panel, the Tone Curve works in a similar way. If you slide right, you’ll raise a setting; slide left, and you lower it. To set to zero, just double click. It’s pretty straightforward no matter what you do.
When to use Tone Curve:
Many photographers find that with all that Lightroom has to offer already they rarely use the Tone Curve. The Basic Panel sliders are sufficient for their work. While the Tone Curve is less popular than the Basic Panel Sliders, there are moments when it can come in handy. The Tone Curve is more practical than the Basic Panel for small changes or tweaks to the image, particularly with highlights and shadows. If you want to get creative, then try playing around with it for some interesting effects.
The beauty of Lightroom is that you become adept at using it by practicing with it!
We would absolutely love for you to follow us on FACEBOOK and be a part of our community. Don't forget to Share your photos with us using hashtag #BeArtPresets