Six Great Tips for Editing RAW in Lightroom
Photo editing is an organic step for any serious photographer's workflow. And if you shoot images in RAW format, then editing is a must. Only edited RAW photos will turn out realistic-looking.
Unedited RAW images will not resemble the scene you captured when shooting. However, with some editing, you can create a realistic picture. Adobe Lightroom is an excellent resource for editing RAW files.
With some editing knowledge and not too much effort, you can transform your RAW photos into what you saw when you were shooting a scene. In other words, you can edit files to be more realistic and authentic to the scene.
Below are six valuable tips for how to edit your RAW images using Lightroom.
Use Correct Settings
The most important thing you can do - before you need to edit - is to get your camera's settings correct out in the field. Check your camera's settings and adjust them as required by the scene. Also, check your composition. Is it correct? The better your settings and composition, the less editing you need to do later.
If you need to shoot quickly without too much time to adjust your camera's settings, set your highlights to be overexposed while retaining some shadow detail. This comes closest to mimicking how eyes perceive bright lighting conditions. You can make the necessary corrections, as explained in the Highlights and Shadows section further down.
Camera vs. Computer
It's essential to understand the differences between JPEG and RAW image files and how those differences can affect your final product. There is a big difference between the two file types, especially if you plan on doing some editing.
After shooting a picture in RAW, what you see on your camera won't match what you see later on your computer. The camera is showing you a JPEG image, not a RAW file. Your camera will automatically process the JPEG file to realistically capture what you saw and shot. Once you import the RAW file into Lightroom, that JPEG processing vanishes. You're left with the unedited (original) RAW file. Thus, the difference between what you see on your camera and your computer.
It's not all doom and gloom, though. RAW files contain a lot of data, giving you more to work with for editing. While JPEG images might look good in your camera, they have less detail, making them trickier to edit without losing quality. This is why many serious photographers prefer to shoot RAW images. It will cost them some effort and time to edit, but they will have more to work with. The results are far better images than an average JPEG.
Restraint With Editing
Achieving excellent photo editing results involves using restraint to ensure a balanced outcome. Make the edits selectively, keeping in mind that if your goal is to create a realistic image, you'll want to be selective and avoid dramatic changes.
While most images need individualized edits, the most common elements to adjust are:
Exposure
Shadows
Highlights
Saturation
Temp
When and how (and probably where) you shoot an image will influence the edits needed. For example, photos taken outdoors will likely need different modifications than images taken inside because lighting significantly impacts photos.
Often, a few tweaks of the sliders are all that's needed to correct an image. The further you push a slider, the more you erode the image quality. You'll begin to lose detail, and imperfections will start to appear.
Highlights and shadows
The amount of detail contained within a RAW image's highlights and shadows is essential. As ideal as Lightroom's editing capability is for making RAW edits, it does have its limits - as do most photo editing software. The limits primarily relate to the original RAW file and how much detail it contains in the highlight and shades. No amount of editing can create or bring back details that don't already exist in the highlights and shadows.
While RAW files contain a lot of details, you should still check the highlights and shadows of each image. Use the histogram and look for peaks that push up against the sides of the graph. (That indicates a loss of detail.) If you notice a loss of detail, you should take steps to recover them.
Use Lightroom's Highlights and Shadows sliders to bring down highlights to recover shadow details.
Bringing down the highlights to boost the shadows can help recover lost information.
Before you do this, however, be sure to correct the exposure using the Exposure slider.
Consider Shooting & RAW Editing
Do not think of shooting and RAW editing as two separate processes. Think of them jointly. For example, as you prepare to shoot a scene, consider the RAW edits you might need to make later. Consider what details you can recover later (and what you can't). With that in mind, adjust your camera settings and composition accordingly. This optimizes the opportunity and image - and your time.
Whether we're shooting in JPEG or RAW, we like to consider how much detail is or isn't captured and what edits we might need to make later. It's a valuable component in the process of creating great images. Use your camera's technology to your benefit whenever possible since that can save you time later in post-production.
Presets Can Be Valuable
One of Lightroom's many editing assets is its presets, and it's worth exploring what they offer and can do for your work. Presets are like templates that allow you to assign specific edits to photos, individually or in batches. In the world of editing, they can be invaluable tools. Lightroom comes with some presets, but countless presets are available online, including those we offer on our website.
Presets can apply particular looks and effects to images, allowing you to create styles. You can add artistic effects such as old-time portraits, vibrancy, portrait vignettes, ethereal or moody looks, and more.
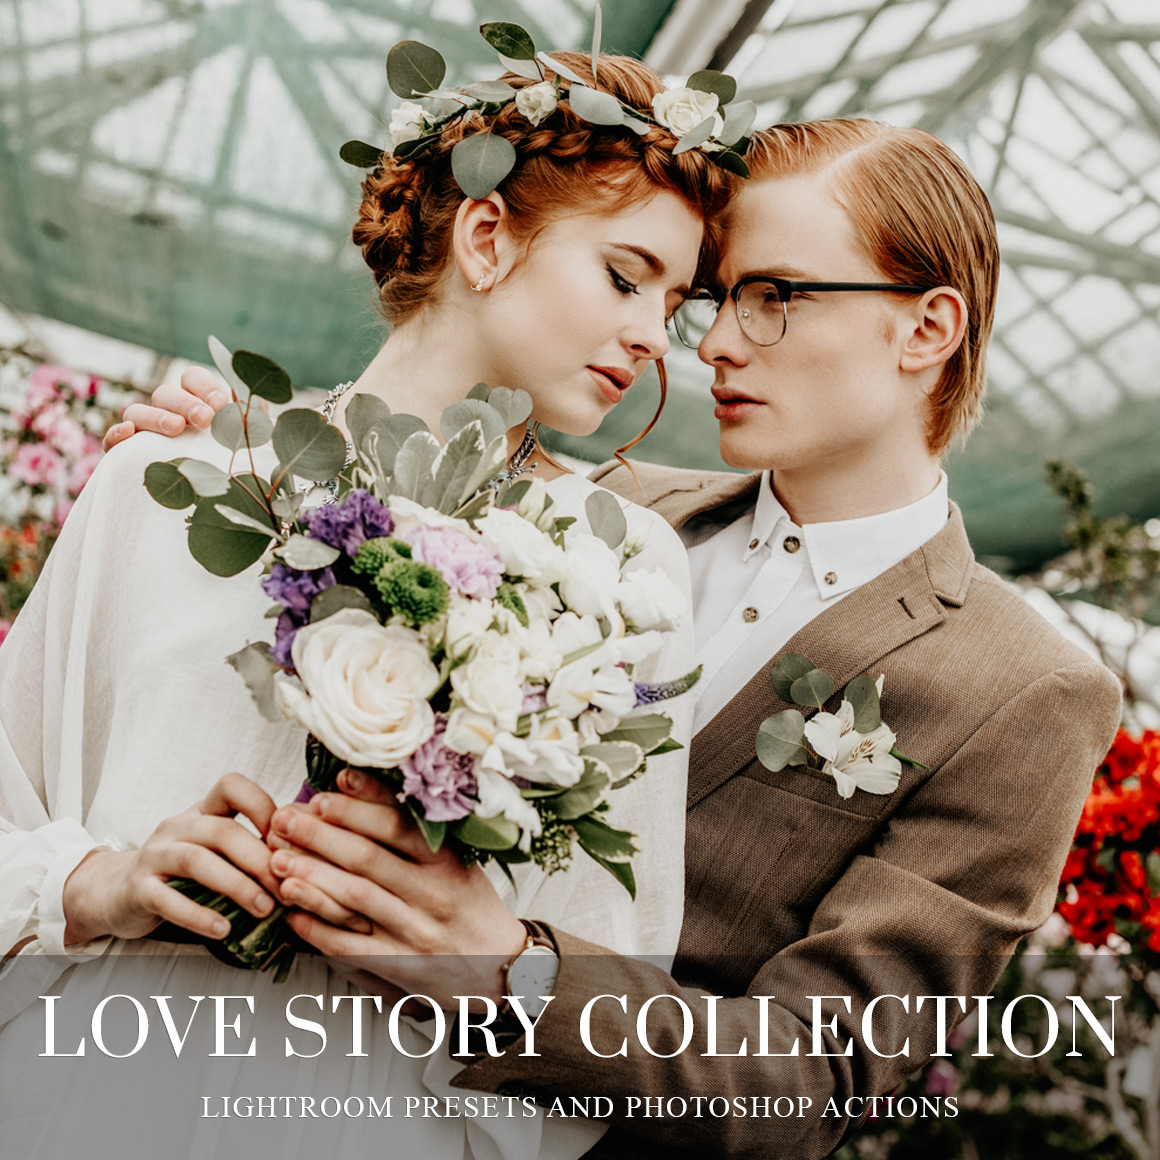
Be selective when selecting and applying presets to ensure the effects look natural. For example, wedding photographers might prefer presets designed especially for wedding portraits.
Lastly, you can make your own presets in Lightroom by saving edits to apply to other images. Making your own presets also allows you to create your unique branding style. Whether you make your own presets or use others, we urge you to use them selectively or risk creating images that aren't realistic or authentic to the original scene or subject. Keep in mind that presets can be adjusted, so they're not a set-in-stone template.
Conclusion
We hope you've found our tips helpful when editing your RAW images. Shooting in RAW format offers you much more freedom when refining photos later in post-production. The more you edit your RAW files in Lightroom, the more proficient you will become and the faster it will go.


