The Photographer's Companion: Mastering Adobe Lightroom for Product Photography
Product photography is a world where a subtle shift in light or a minor tweak in the angle can dramatically change how a product is perceived.
The process isn't simply about pointing your camera and clicking the shutter. The magic truly unfolds when you fire up your computer and start editing in Adobe Lightroom.
As a seasoned product photographer, my journey with Lightroom has been a blend of explorations, experiments, and plenty of 'ah-ha!' moments. I’m excited to share with you some nuggets of wisdom that I've gleaned along the way. Let's dive deep into some of my favorite Lightroom tips for product photography.
Getting into product photography can be a scary process for a lot of people who are starting out. But I can tell you that it is an exciting endeavor with a lot to learn and master. You can always look at the tips that we have shared with you that can help you get into product photography with ease.
Use the Lightroom Catalog to Save Yourself From Trouble
I remember when my photography projects started ramping up, my computer was a labyrinth of folders filled with countless product photos. It was Lightroom Catalog that rescued me from this chaos, keeping my workspace organized and my mind clear.
Think of Lightroom Catalog as the signpost in your digital world. It keeps track of your photos' location on your storage drive and records your edits and metadata without storing the actual images. My tip is to create a separate catalog for each project. This makes navigating through your projects a breeze.
Don't forget to back up your catalog routinely. Trust me; nothing is more gut-wrenching than losing your catalog with a library of edits. A safe practice is to set Lightroom to back up your catalog every time you exit the program. And don't worry; Lightroom automatically prompts you to choose a location on your storage drive for the backup.
Mastering the Basic Panel and Tone Curve
Capturing a product photo is half the battle. The real task begins when you start editing and fine-tuning the image to highlight the product's features. That's where Lightroom’s Basic Panel and Tone Curve become indispensable.
The Basic Panel is the cornerstone of editing in Lightroom. This is where you control the overall exposure and white balance of your product photos. A slight adjustment in the white balance can make a stark difference in your image's color accuracy. On the other hand, the 'Tone' section lets you adjust the overall exposure, contrast, and tone of your image.
However, the 'Presence' section is my favorite part of the Basic Panel. Here, you can increase clarity to add more definition to your product and boost vibrance and saturation to make the colors pop.
The Tone Curve is your playground for fine-tuning. It lets you control the shadows, mid-tones, and highlights of your image separately, adding more depth and character to your product photos. The real magic happens when you start experimenting with the curve, discovering the sweet spot for each product. But remember, subtlety is key. The aim is to enhance the product's appeal, not to mislead.
Local Adjustments and Virtual Copies: The Creative Playground
As an artist, I believe in the power of details. That's why I love the Local Adjustments tools in Lightroom. They allow me to paint my edits onto specific areas of the image, highlighting the star features of a product or suppressing any distracting elements.
My favorite is the Adjustment Brush. It lets you 'paint' your edits onto specific parts of your photo. Whether it's highlighting the unique texture of a product or muting an overpowering background, the Adjustment Brush gives you the precision you need.
But what about when you want to create multiple versions of the same photo? Duplicating high-resolution images can consume a lot of storage space. This is where Virtual Copies come to the rescue. They are instances of the same photo in the Lightroom Catalog but without creating an actual copy of the original file.
You can create multiple Virtual Copies, apply different edits, and export them as separate images. It’s an excellent way to experiment with different editing styles without the worry of losing your original edit.
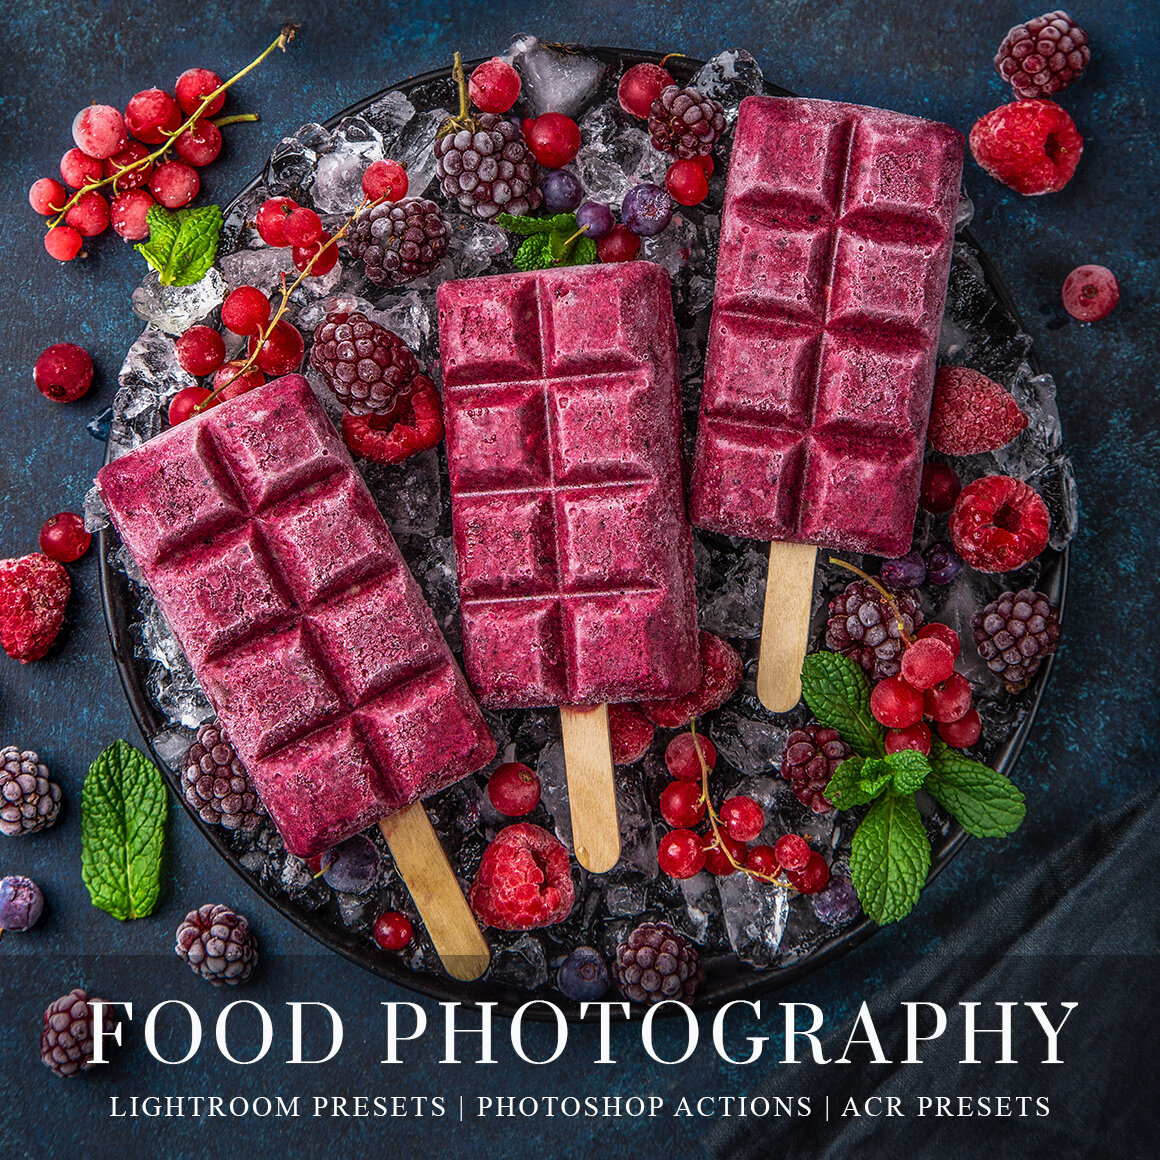
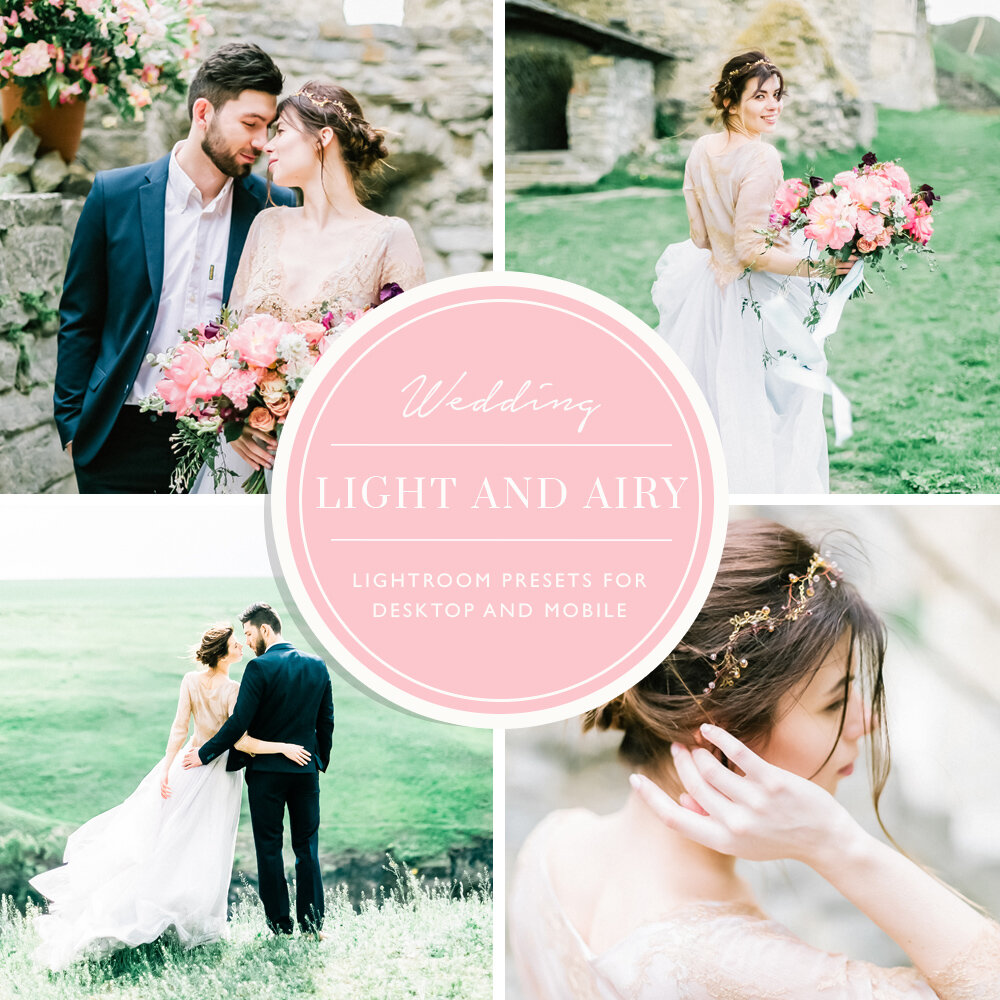
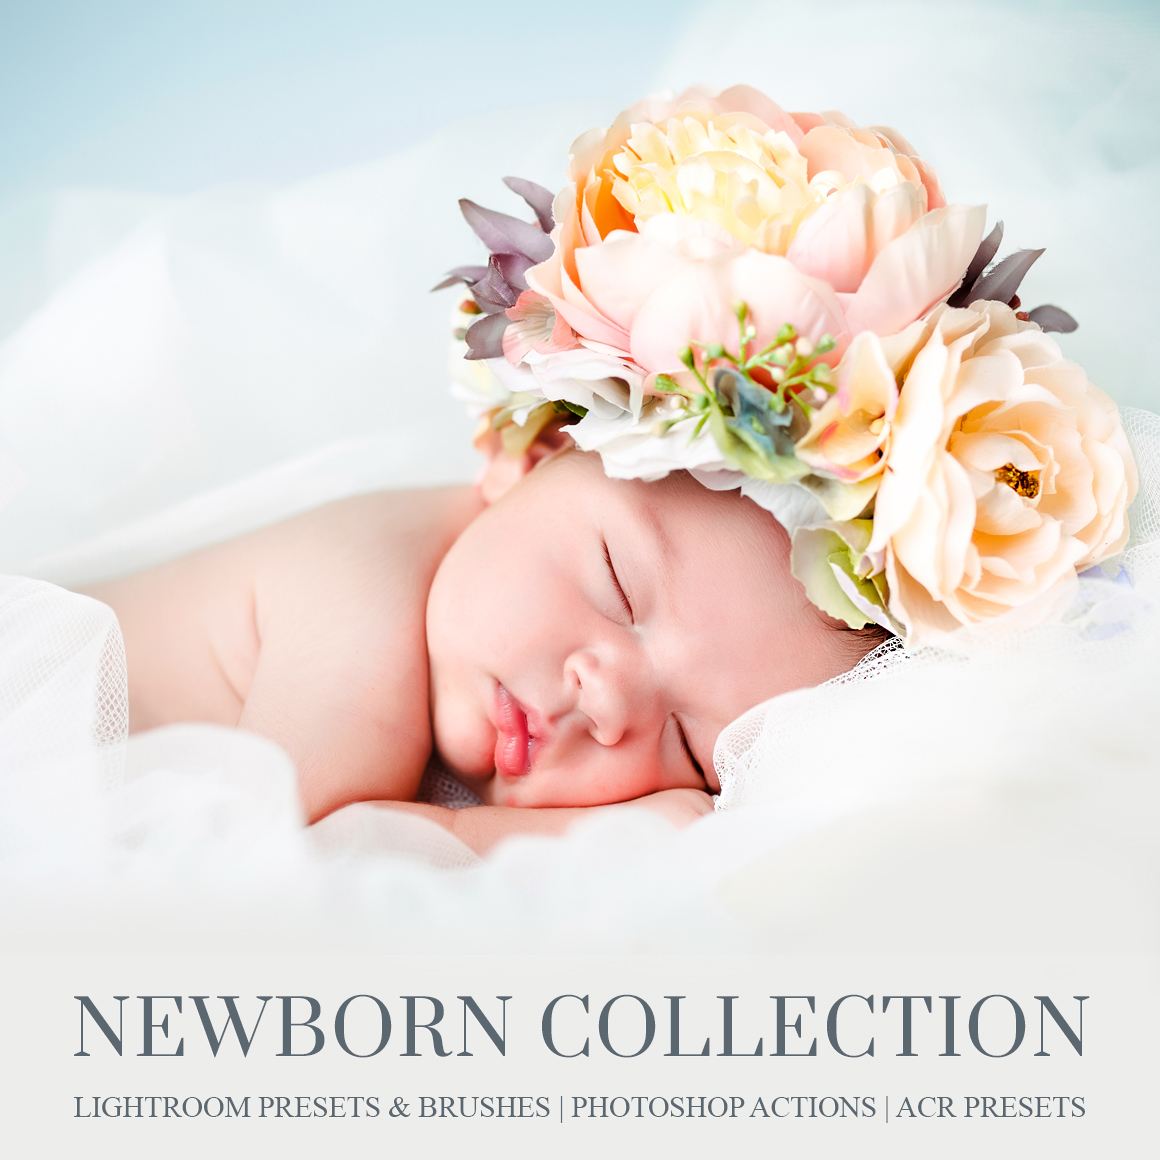
Product Photography Lightroom presets Collection, are my secret weapon for efficiency. Think of them as filters but with superpowers. These are predefined settings that can apply a specific look or style to your images at the click of a button.
Creating my own presets has been a game-changer. When I stumble upon a combination of edits that nails the look I want, I save it as a preset. It's like bottling up magic to sprinkle on future photos. But remember, presets aren't always a silver bullet. They are excellent as a starting point, but sometimes, an image needs that personal touch with manual adjustments.
Embracing RAW Files: Extracting Maximum Detail
Shooting in RAW format opens up a whole new realm of possibilities in post-processing, and Adobe Lightroom is fully equipped to handle these files. RAW files are uncompressed and retain much more detail than JPEGs, making them a treasure trove of data that you can tap into during the editing process.
When working with RAW files in Lightroom, you can extract maximum detail from your shadows and highlights, correct exposure issues, and adjust white balance post-capture with minimal impact on image quality. This can be a game-changer, especially when dealing with challenging lighting conditions. However, keep in mind that RAW files are larger and require more storage space.
Enhancing Workflow with Smart Previews
When it comes to working efficiently, Lightroom’s Smart Previews feature is a lifesaver, especially when you're dealing with a large number of high-resolution images. Smart Previews are smaller, stand-in files of your photos that Lightroom generates to speed up your workflow.
The beauty of Smart Previews is that they allow you to edit photos even when the original images aren't available—like when they're on an external storage drive that isn't connected to your computer. You can make your edits using the Smart Preview, and Lightroom will automatically apply those edits to the original photo when it's available. This is incredibly helpful when you're on the move and can't carry all your photos with you.
Embrace the Journey
Mastering Lightroom, much like photography itself, is a journey. Don’t shy away from pushing buttons, turning knobs, and sliding sliders. It’s through this exploratory process that I’ve discovered new ways to enhance my product photos. Keep experimenting, and remember that every mistake is an opportunity to learn and grow.
There you have it - a few pages from my Adobe Lightroom playbook. Armed with these tools and tips, you're now ready to venture into the enthralling world of product photography. So gear up, dive in, and let your creativity take flight.
FAQs
1. How can I ensure color accuracy in my product photos while editing in Lightroom?
Ensuring color accuracy is crucial in product photography, as you want the colors of the product in the photo to match the real product as closely as possible. The first step is to ensure your monitor is calibrated correctly. Adobe Lightroom provides a suite of color correction tools, such as the White Balance selector and the HSL sliders that allow you to adjust and fine-tune the colors in your image. However, it's also essential to remember that colors can appear differently on different devices due to variations in screen calibration.
2. What's the best way to manage a large number of product photos in Lightroom?
Adobe Lightroom offers powerful tools to manage and organize your photos effectively. The key feature here is the Lightroom Catalog, which acts like a database for your photos, tracking their location, edits, and metadata. You can create separate catalogs for different projects or clients to keep your workspace organized. Lightroom also offers Collections and Smart Collections to group related photos together without duplicating the actual files.
3. How can I create a consistent look for all my product photos using Adobe Lightroom?
Consistency in your product photos enhances your brand image and makes your product listings look more professional. Lightroom Presets can help achieve this consistency. A preset is a saved set of editing settings that you can apply to any photo with a single click. By using the same preset or a series of similar presets across your photos, you can maintain a consistent look and feel. However, remember that each photo is unique, and you might need to make further adjustments after applying the preset to achieve the desired results.


